This is a genuine OEM drain hose for your top-load washing machine. It is made with a flexible and corrugated black material, and measures 57-inches in length. The purpose of the drain hose is to move...
This is an authentic agitator for your washer, responsible for moving clothes inside the tub. Please note, it does not come with the fabric dispenser, so you will need to either transfer the old one t...
If your washer is leaking when it is filling or agitating, you may need to replace the tub seal. The tub seal is found between the transmission and the outer tub in your washing machine. This genuine ...
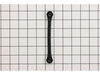
This is a 6-rib washer drive belt. It is sourced directly from the original manufacturer and constructed with a durable Poly V material. This part connects the drive motor to the drive system that tur...
The tub bearing secures the spin basket in the tub assembly of a washer. It is located on the bottom of the outer tub. A common symptom of a worn tub bearing is a very loud noise (including a grinding...
This replacement inlet drain hose connects your washer's water pump to its tub. This hose is seven and a half inches in length and only two inches wide.
This is a water pressure switch hose, also known as the air dome tube, for your washer. It is made of clear plastic and is sold individually. The hose transports water to your water pressure switch, s...
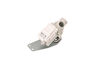
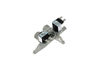
The purpose of the triple water valve is to properly fill your washer with water by controlling the hot and cold water going into the tub. If your washer is overfilling or not filling, you may need to...
In Stock
Order now and your part arrives by Jun 28
Questions and Answers
Ask our experts a question about this part and we'll get back to you as soon as possible!
8 questions answered by our experts.
< Prev
1
2
Next >
Sort by:
Search filter:
Clear Filter
Your search term must have 3 or more characters.
Keep searches simple. Use keywords, e.g. "leaking", "pump", "broken" or "fit".
Sorry, we couldn't find any existing answers that matched. Try using some different or simpler keywords, or submit your new question by using the "Ask a Question" button above!
Christy
August 18, 2022
Is this washing machine he? I want to use the affresh washing machine cleaner and it has different directions depending on if it is an he machine. My washing machine says it is energy Star, but i don’t know if that’s the same thing.
For model number GTWN4250D1WS
Hi Christy,
Thank you for your question. It is recommended to use HE detergents when using this washer. Add HE detergent to the bottom of the basket and fabric softener to the dispenser prior to loading clothes.
If you have any questions, please let us know. We are open 7 days a week. We look forward to hearing from you!
1 person found this helpful.
Was this helpful?
Thank you for voting!
Mike
January 3, 2023
Won't spin checked lid sensor, motor, and belt all good. If the issue is with the agitator coupler will it not spin until replaced? I ask because washer started spinning again for a few loads but is once again dormant. Would a broken coupler keep it from spinning at all?
For model number GTWN4250D1WS
Hello Mike, thank you for contacting us. A faulty agitator coupler, part number FIX1482517, can affect the spin cycle but the chances of stopping the spin completely are very slim. We would recommend checking the shaft and drive tube assembly, part number FIX3652839. It connects the motor with the wash plate and shifts the drive system between agitate and spin. We look forward to hearing from you if you need assistance with placing an order through our 7-day-a-week customer service. We hope this helps!
Lately we have been getting small black fabric like pieces coming out in the loads of wash What is causing this?
For model number GTWN4250D1WS
Hello Pam, thank you for your inquiry. Your washer may be facing this issue if you are mostly using cold wash or the hot water tap is running on low pressure. This could cause of forming build-up of dirt and un-dissolved detergent on the walls of inner bowl. We hope this information helps!
Was this helpful?
Thank you for voting!
Daniel
October 6, 2021
Motor runs will not spin or drain
For model number GTWN4250D1WS
Hello Daniel, Thank you for the question. We suggest testing the Lid Switch. If the switch is defective it may think the lid is open and not safe to start the drain and spin cycle. You can test the switch with a Multimeter. You will need to replace if there is no continuity. We hope this helps!
What is the small kitty litter type grit/sediment i’m getting during the cycles? We’ve tried running empty cleaning cycles and also checked all screen filters. We also have a water softener and new water heater
For model number GTWN4250D1WS
Hello Michael, Thank you for your inquiry. The filter screens in the water inlet valve or fill hoses may be damaged and allowing sediment in the lines to be coming through to your washer tub. Sediment in the lines can be broken loose any item the water supply is turned off and then back on again, and air forced through the lines also contributes to the problem. Try pulling the washer out until you can get to the water hose connections at the back. Turn the water supply to the washer off and unscrew the fill hoses, check the screen filters inside the hoses (if you haven't checked those ones already) for any visible damage. Check the water inlet valve filters as well inside the solenoids. The issue may also be with the fill hoses themselves and may need replacing. We hope this helps and if you need help placing an order, customer service is open 7 days a week. Please feel free to give us a call. We look forward to hearing from you!
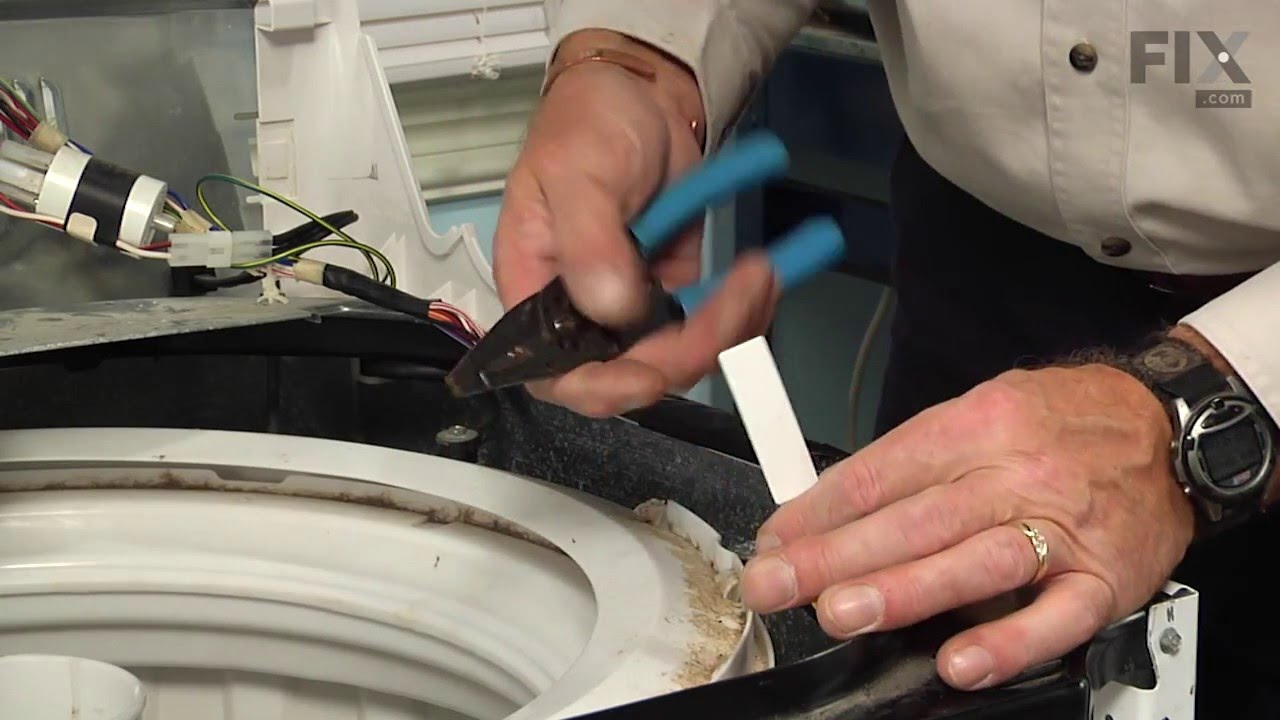
After removing frt panel which prys off I checked for anything obvious like a loose belt. Then I jiggled the magnet switch located on the inside of the loading cover. I saw the machine start agitating the it stopped again when I stopped touching it. I ordered the new part and spliced it in with the wire crip tool. Now the machine is A ok.
To diagnose, first I unhooked the washer: power, water supply, and drain pipe. I then slid the washer out, laying it on its front. With nutdriver, I unscrewed two screws that held the other end of the drain tube and removed it completely. Then, again with the nutdriver removed 4 screws from the back near the legs, two in between the leg
... Read mores in the middle, and approx. 4 to 6 on the bottom. This let me pull the bottom off partially to access the motor area. (I did did not take the bottom completely off, only about 2/3 off and let it bend over, as it was flexible tin) The belt was broken. After receiving the new belt, I positioned it between the pulley and the motor and between the drum and the big pulley. Then I rotated the big pulley, pulling the belt onto it as I rotated. At the same time, as I rotated, I pulled the other end of the belt on to the little pulley. Once it was on, I would put pressure on it as I turned the pulley, to jump the belt to the appropriate grooves on the little pulley. Note: the replacement belt had been modified, so it had one less groove than the pulley. I would have known this if I had read the insert that came with the belt first! Anyway, this was not a problem, only a design change. Also it was important to start the belt on the inside, so if it slipped, you didnt loose your bite. Total diagnostic, repair, and reassembly time: 30 minutes plus or minus. I had read other online forums that said you had to loosen the motor, etc. And I do know some type of a belt installation tool was offered on line, but I got along fine with my installation method. An extra set of hands would have been helpful, but not necessary.
Simply put hands, one under each side of the agitaror and pulled up. The part snapped off very easily. I then placed the new part in the tub and pressed down. Extremely easy, should have done it sooner!