



Models
>
WSM2700WBWCC
WSM2700WBWCC General Electric Washer Dryer Combo
Jump to:
Find Part by Name
Keep searches simple, eg. "belt" or "pump".
Diagrams for WSM2700WBWCC
Viewing 6 of 6


Keep searches simple, eg. "belt" or "pump".

In Stock
Order now and your part arrives by Sep 17

This is the replacement lint filter for your dryer. The lint filter traps unwanted lint and debris so your dryer can effectively dry your clothes.
No Longer Available
Bearing Only. This part helps your appliance run as quietly as possible.
No Longer Available
$70.95
Sold individually. There are some dryers that require 2 per dryer. They attach to the outer-most sides of the bearing.
In Stock
Order now and your part arrives by Sep 17
$25.10
This hose clamp kit contains two clamps. The smaller of the two is an inch in diameter while the larger of the two is two inches in diameter.
In Stock
Order now and your part arrives by Sep 17
Special Order
This pump helps expel water from the washing machine and is activated after the spin speed is maintained for a specific period of time.
No Longer Available

On Order

$69.95
This hi-limit thermostat acts as a safety mechanism that keeps the dryer from overheating. With this thermostat, a dryer's heating element will cut out if the internal temperature reaches 260 degrees...
In Stock
Order now and your part arrives by Sep 17
Common Problems and Symptoms for WSM2700WBWCC
Viewing 5 of 5Noisy
Fixed by these parts

How to fix it
Marks left on clothes
Fixed by these parts
How to fix it
Leaking
Fixed by these parts
How to fix it
Will not agitate
Fixed by these parts
How to fix it
Will not drain
Fixed by these parts
How to fix it
Keep searches simple. Use keywords, e.g. "leaking", "pump", "broken" or "fit".
- Customer:
- Jack from Canyon Lake, TX
- Parts Used:
- WH23X10041
- Difficulty Level:
- Really Easy
- Total Repair Time:
- 15 - 30 mins
- Tools:
- Nutdriver, Pliers
Washer would not drain
Removed 2 Hose clamps with pliers. Unplug power source from drain pump. Unscrew 2 mounting screws with 5/16" nut-driver then replace unit in reverse sequence...... Very simple.
Was this instruction helpful to you?
Thank you for voting!
- Customer:
- Patricia from chicago, IL
- Parts Used:
- WE16X29397
- Difficulty Level:
- Really Easy
- Total Repair Time:
- Less than 15 mins
filter had a hole
simple replacement
Was this instruction helpful to you?
Thank you for voting!
- Customer:
- Robert from York, PA
- Parts Used:
- 5303937183
- Difficulty Level:
- Really Easy
- Total Repair Time:
- 15 - 30 mins
- Tools:
- Screw drivers
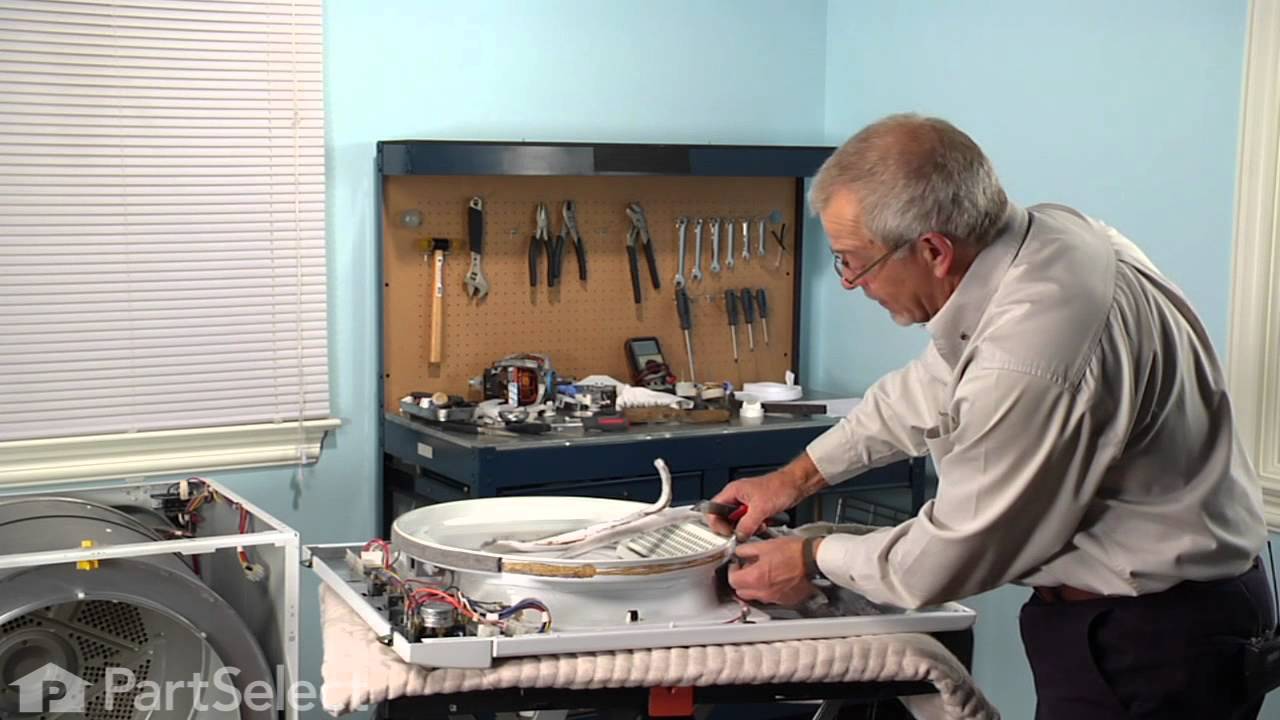
Felt around drum holder worn and torn.
1. Removed face of dryer (drum 'holder')
2. Disconnected door switch wires
3. Tore off existing felt
NOTE: The length of the felt that I recieved from PartSelect was incorrect (too short). Since the existing felt was worn and torn at the top, I replaced only a length that matched the length of the new felt.
... Read more >4. Used a razor blade-type gasket remover/scraper to remove the exisitng glue
5. Applied new glue (which comes with the felt) onto the felt and let it set up
NOTE: In hindsite, I would apply the glue to the drum holder instead, as the glue otherwise soaks into the felt. If applied to the drum holder instead, the glue will spread out and provide more surface area for adherence.
6. Installed the new felt, starting at one end and working my way around to the other end, being careful not to stretch it
7. Trimmed the remainder of the existing felt (see first NOTE)
8. Scraped the drum holder below the pulled away ends of the exisitng felt
9. Applied glue to the existing felt, including the trrimmed ends so that the ends do not pull away from the ends of the new felt
10. Re-attached the existing felt
11. Let the glue set-up overnight
12. Reinstalled the face of the dryer, turning the drum so that the felt will not get pushed away
13. Reconnected the door switch wires
14. Turned dryer on, with lid still raised, to check for any drifting of the felt
15. Once assured that the felt would stay in place, put the dryer in service
NOTE: I replaced the felt becasue of the gap that opened due to compression of the felt. The gap, as well as a torn piece of the felt that entered the interior of the drum, was catching clothes and tearing them as they were rotated between the drum and the drum holder. The new felt eliminated this problem.
2. Disconnected door switch wires
3. Tore off existing felt
NOTE: The length of the felt that I recieved from PartSelect was incorrect (too short). Since the existing felt was worn and torn at the top, I replaced only a length that matched the length of the new felt.
... Read more >4. Used a razor blade-type gasket remover/scraper to remove the exisitng glue
5. Applied new glue (which comes with the felt) onto the felt and let it set up
NOTE: In hindsite, I would apply the glue to the drum holder instead, as the glue otherwise soaks into the felt. If applied to the drum holder instead, the glue will spread out and provide more surface area for adherence.
6. Installed the new felt, starting at one end and working my way around to the other end, being careful not to stretch it
7. Trimmed the remainder of the existing felt (see first NOTE)
8. Scraped the drum holder below the pulled away ends of the exisitng felt
9. Applied glue to the existing felt, including the trrimmed ends so that the ends do not pull away from the ends of the new felt
10. Re-attached the existing felt
11. Let the glue set-up overnight
12. Reinstalled the face of the dryer, turning the drum so that the felt will not get pushed away
13. Reconnected the door switch wires
14. Turned dryer on, with lid still raised, to check for any drifting of the felt
15. Once assured that the felt would stay in place, put the dryer in service
NOTE: I replaced the felt becasue of the gap that opened due to compression of the felt. The gap, as well as a torn piece of the felt that entered the interior of the drum, was catching clothes and tearing them as they were rotated between the drum and the drum holder. The new felt eliminated this problem.
Read less
Was this instruction helpful to you?
Thank you for voting!