



Models
>
CWG400
CWG400 Maytag Wall Oven
Jump to:
Find Part by Name
Keep searches simple, eg. "belt" or "pump".
Diagrams for CWG400
Viewing 8 of 8


Keep searches simple, eg. "belt" or "pump".
$19.63
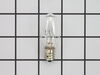
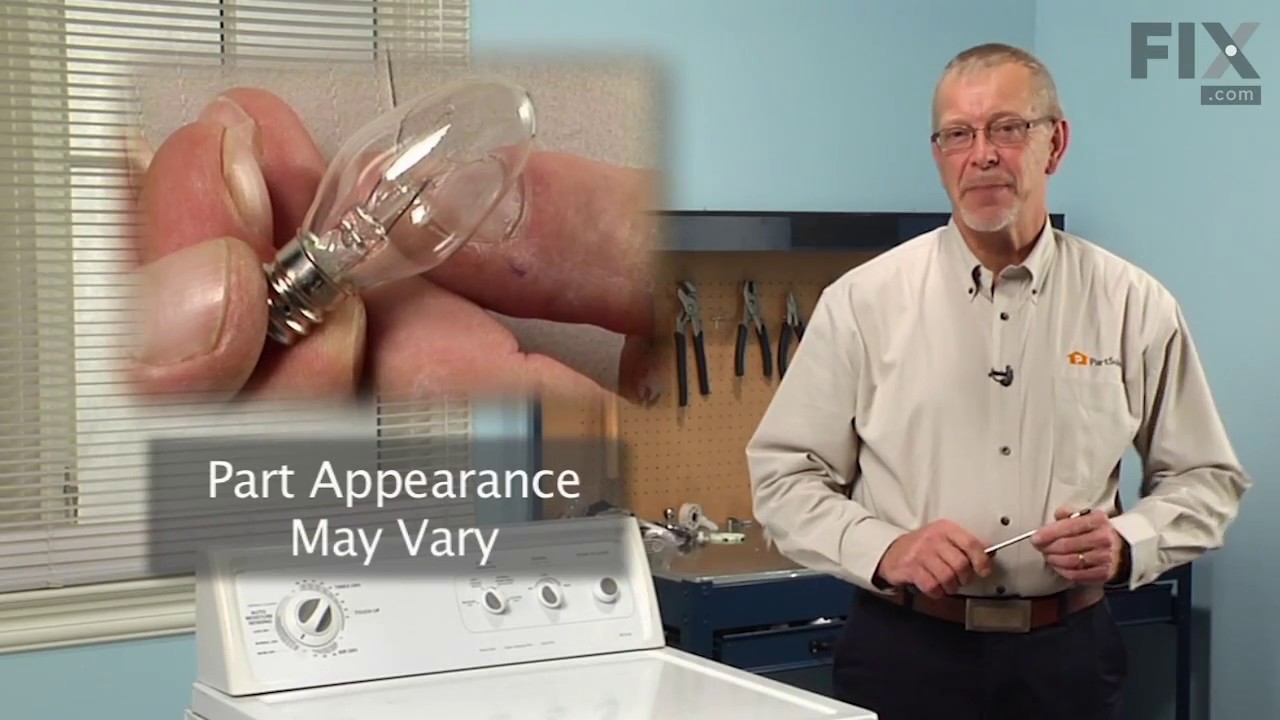
This 10-watt clear bulb provides dependable lighting inside dryers and refrigerators, helping you see the interior clearly when the door is open. Compatible with a variety of appliance models, it inst...
In Stock
Order now and your part arrives by Aug 4
$50.36
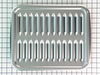
This broiler pan and roasting rack set features a two-piece design that allows fat to drain away for cleaner cooking and reduced splatter. Made with a durable, high-heat resistant porcelain finish, it...
In Stock
Order now and your part arrives by Aug 4
$7.60
This is a multi-use frame screw that fits a variety of power tools and equipment. Follow installation instructions and safety practices provided in the manual by the manufacturer.
In Stock
Order now and your part arrives by Aug 4
$63.68
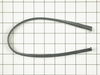
This oven door seal is seventeen and a half inches long. It is made of rubber and has a metal hook on either end to hold it in place. This seal sits on top of the glass window pane.
In Stock
Order now and your part arrives by Aug 4
In Stock
Order now and your part arrives by Aug 4
Special Order
$21.82
This is a genuine OEM replacement part. This nut is used in a number of appliances. Most often it can be found in the assembly of ranges, air conditioners, cook tops, washers, microwave oven combos, r...
Special Order
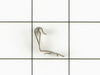
This capillary tube clip is just under an inch long. It is made of metal.
No Longer Available

Special Order

Keep searches simple. Use keywords, e.g. "leaking", "pump", "broken" or "fit".
- Customer:
- Raymond from BLOOMINGTON, MN
- Parts Used:
- 4396923
- Difficulty Level:
- Very Easy
- Total Repair Time:
- Less than 15 mins
Purchased home but stove had no broiler pan.
Purchased 2 piece broiler pan from this site
Was this instruction helpful to you?
Thank you for voting!
- Customer:
- Amy from JUNCTION, TX
- Parts Used:
- WP22002263
- Difficulty Level:
- Easy
- Total Repair Time:
- Less than 15 mins
- Tools:
- Screw drivers
Bulb worked for a couple days and has now burned out, filaments dangling
To replace the light bulb, I removed the screw and the cover, unscrewed the old bulb, replaced with the new bulb and replaced the cover, securing it with the small screw. It worked appropriately with normal use for a few days and then I noticed the light was not coming on when I opened the door.
I removed the cover and pulled ... Read more out the bulb to find that the filaments inside are dangling and burned through. I need them replaced, please.
I removed the cover and pulled ... Read more out the bulb to find that the filaments inside are dangling and burned through. I need them replaced, please.
Read less
Was this instruction helpful to you?
Thank you for voting!
- Customer:
- mohd fouad alahdab ruh from JAMAICA, NY
- Parts Used:
- WP74003387
- Difficulty Level:
- Very Easy
- Total Repair Time:
- Less than 15 mins
- Tools:
- Pliers, Screw drivers, Socket set
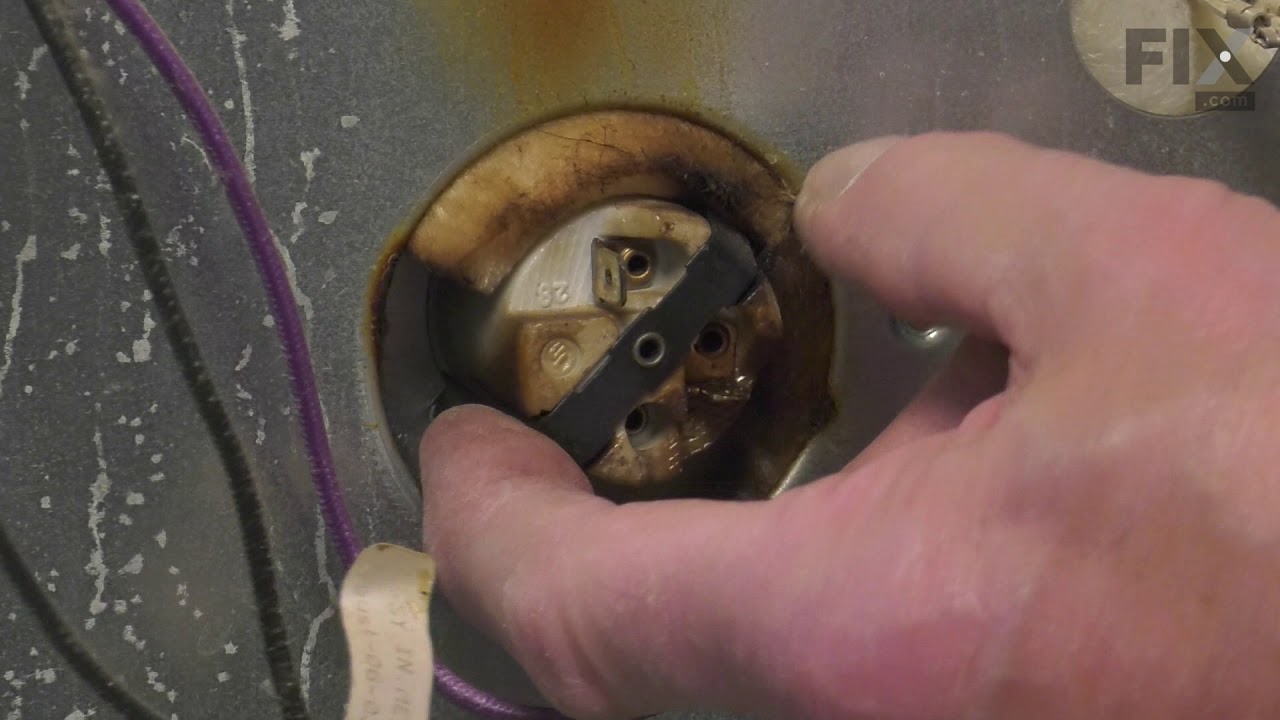
The oven light went off, changing the bulb did’n’t solve the proble, beacause the socket was burned.
First thing
disconnect from electricity
Remove the back cover by unscrewing its fixing screws
Using philips screw driver, To remove the scocket assembly, pull the tow electric wires from the socket, using a fine plier.
Open the oven door and unlock the glass cover and remove it.
Remove the 2 screws fixjing the so ... Read more cket from inside the oven.
Now the socket is ready to be disassembled by just pushing the clips with tow fingers.
Replace the socket and do same steps in reverse way.
insert the lamp, and the glass cover, connect the electricity and you are done.
disconnect from electricity
Remove the back cover by unscrewing its fixing screws
Using philips screw driver, To remove the scocket assembly, pull the tow electric wires from the socket, using a fine plier.
Open the oven door and unlock the glass cover and remove it.
Remove the 2 screws fixjing the so ... Read more cket from inside the oven.
Now the socket is ready to be disassembled by just pushing the clips with tow fingers.
Replace the socket and do same steps in reverse way.
insert the lamp, and the glass cover, connect the electricity and you are done.
Read less
Was this instruction helpful to you?
Thank you for voting!