



Models
>
KOSE500EBL03
KOSE500EBL03 KitchenAid Wall Oven
Jump to:
Find Part by Name
Keep searches simple, eg. "belt" or "pump".
Diagrams for KOSE500EBL03
Viewing 6 of 6


Keep searches simple, eg. "belt" or "pump".
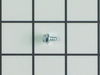
$7.60
This is a multi-use screw and can be used on a variety of appliances. The measurements of the screw are: 8/18 x 3/8. *Please note: the screw is sold individually. Refer to the manual provided by the m...
In Stock
Order now and your part arrives by Oct 25
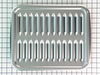
$50.36
This broiler pan and roasting rack set features a two-piece design that allows fat to drain away for cleaner cooking and reduced splatter. Made with a durable, high-heat resistant porcelain finish, it...
In Stock
Order now and your part arrives by Oct 25
In Stock
Order now and your part arrives by Oct 25
In Stock
Order now and your part arrives by Oct 25
In Stock
Order now and your part arrives by Oct 25
In Stock
Order now and your part arrives by Oct 25
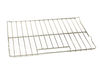
$91.52
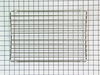
Support cookware securely inside a compatible oven with a replacement wire rack. Replacement may be needed when the original rack is warped, corroded, missing, or no longer slides smoothly along the s...
In Stock
Order now and your part arrives by Oct 25
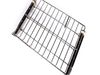
$84.05
This sliding rack restores smooth, stable support for baking and roasting in ovens and ranges. It’s ideal for replacing a damaged or missing rack and fits into the existing support rails for easy inst...
In Stock
Order now and your part arrives by Oct 25
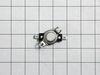
$95.79
This high-limit thermostat helps prevent overheating by cutting power when the oven reaches unsafe temperatures. It protects internal components and supports safe operation. Replace it if the oven won...
In Stock
Order now and your part arrives by Oct 25

$53.58
A worn oven-door seal can allow extra heat to escape while food is cooking. This replacement gasket forms a barrier around the oven opening when the door closes. Check for broken clips, loose sections...
In Stock
Order now and your part arrives by Oct 25
Common Problems and Symptoms for KOSE500EBL03
Viewing 4 of 4Will Not Start
Fixed by these parts
How to fix it
Will not program
Fixed by these parts
How to fix it
Element will not heat
Fixed by these parts
How to fix it
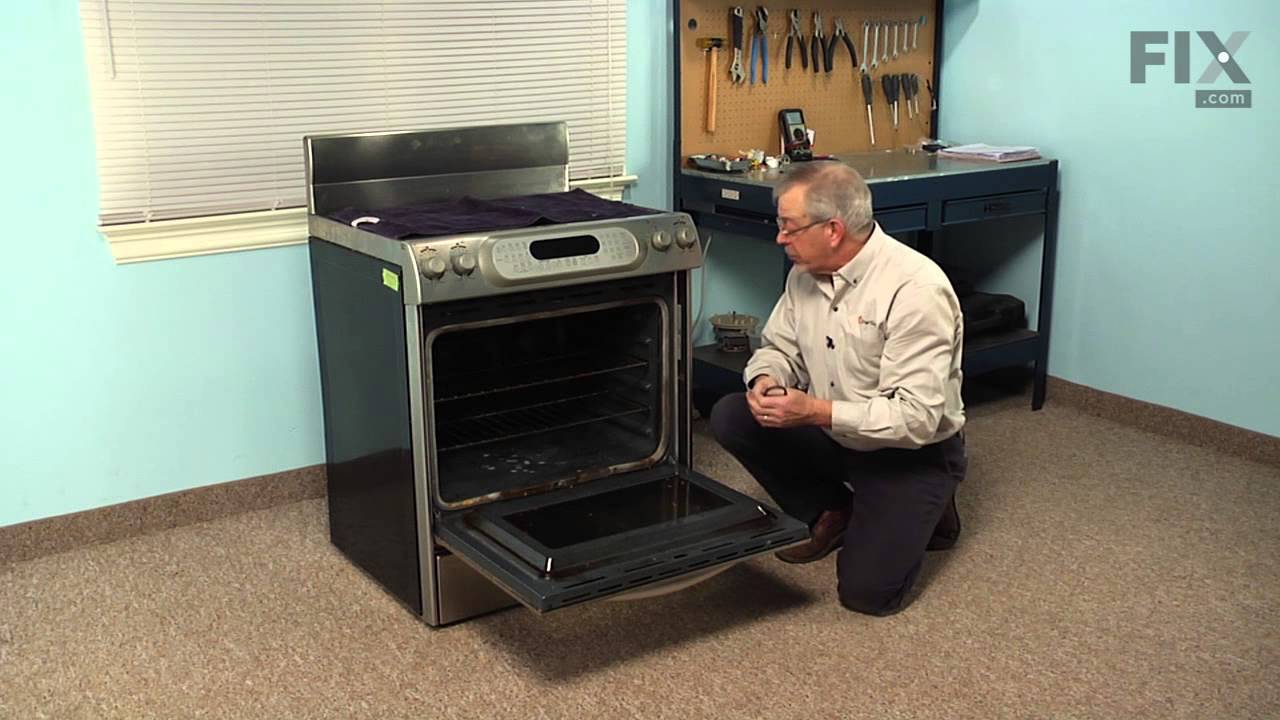
Door won’t open after self cleaning cycle
Fixed by these parts
How to fix it

Keep searches simple. Use keywords, e.g. "leaking", "pump", "broken" or "fit".
- Customer:
- Kent from Seattle, WA
- Parts Used:
- WP9755542
- Difficulty Level:
- Really Easy
- Total Repair Time:
- Less than 15 mins
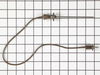
faulty meat probe
Not a repair. Just needed to replace the meat probe sensor for the programmable oven. Quick and easy purchase and very fast delivery took care of the problem. I was back in business.
Was this instruction helpful to you?
Thank you for voting!
- Customer:
- Raymond from BLOOMINGTON, MN
- Parts Used:
- 4396923
- Difficulty Level:
- Very Easy
- Total Repair Time:
- Less than 15 mins
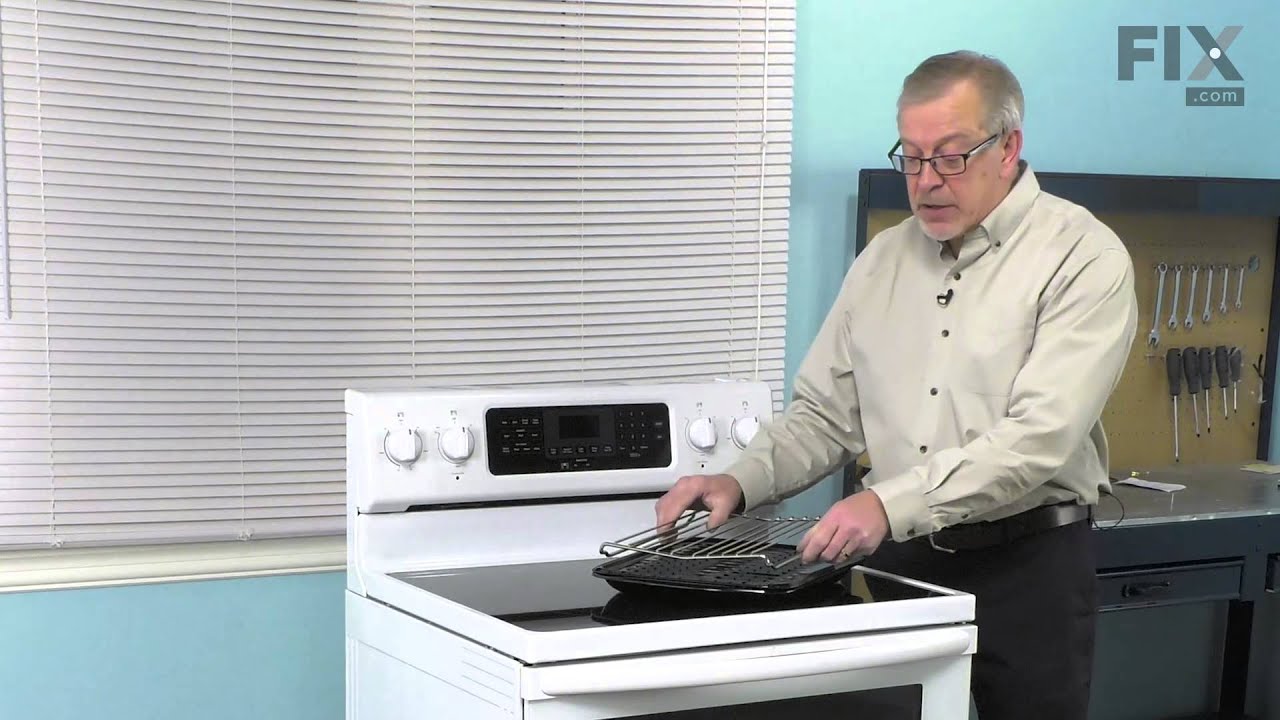
Purchased home but stove had no broiler pan.
Purchased 2 piece broiler pan from this site
Was this instruction helpful to you?
Thank you for voting!
- Customer:
- John from NEW WINDSOR, NY
- Parts Used:
- W10804429
- Difficulty Level:
- Really Easy
- Total Repair Time:
- 15 - 30 mins
- Tools:
- Nutdriver
Broil element was burned out
1. Turn off the breaker.
2. Remove all of the oven racks.
3. Remove the oven door as per users manual.
4. Remove two 1/4" screws on the plate holding the broil element
to the back of the oven.
5.. Remove two 1/4" screws in the front of the element holding
reflective plate and element toward th ... Read more e front of the oven.
6. Carefully pull the element out enough to remove the wire spade
contacts with from the rear of the element with long nosed pliers
being careful not to let the wires go behind the rear oven cavity.
7. Element and top reflective plate assembly can now be removed
from the oven.
8. The old element is removed from the reflective plate by removing
four 1/4" screws.
9. Install the new element on the plate and reverse the procedure to
reinstall the completed assembly into the oven.
10 Reinstall the door and racks, turn on the power and test.
2. Remove all of the oven racks.
3. Remove the oven door as per users manual.
4. Remove two 1/4" screws on the plate holding the broil element
to the back of the oven.
5.. Remove two 1/4" screws in the front of the element holding
reflective plate and element toward th ... Read more e front of the oven.
6. Carefully pull the element out enough to remove the wire spade
contacts with from the rear of the element with long nosed pliers
being careful not to let the wires go behind the rear oven cavity.
7. Element and top reflective plate assembly can now be removed
from the oven.
8. The old element is removed from the reflective plate by removing
four 1/4" screws.
9. Install the new element on the plate and reverse the procedure to
reinstall the completed assembly into the oven.
10 Reinstall the door and racks, turn on the power and test.
Read less
Was this instruction helpful to you?
Thank you for voting!