



Models
>
KEBS209BWH00
KEBS209BWH00 KitchenAid Wall Oven
Jump to:
Find Part by Name
Keep searches simple, eg. "belt" or "pump".
Diagrams for KEBS209BWH00
Viewing 7 of 7


Manuals & Guides for KEBS209BWH00
Click to downloadInstall
Installation Instructions
(12.16MB)
Install
Installation Instructions
(3.47MB)
Install
Installation Instructions
(2.86MB)
Manual
Owner's Manuals
(5.21MB)
Keep searches simple, eg. "belt" or "pump".
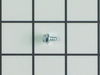
$7.60
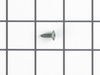
This is a multi-use screw and can be used on a variety of appliances. The measurements of the screw are: 8/18 x 3/8. *Please note: the screw is sold individually. Refer to the manual provided by the m...
In Stock
Order now and your part arrives by Sep 17
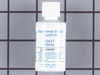
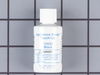
This 18 ml bottle of white appliance touch-up paint is used to cover scratches or marks on your appliance. The white touch-up paint can be used on refrigerators, microwaves, ranges, clothes dryers, an...
No Longer Available
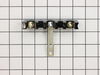
$27.83
It provides a way of connecting individual electrical wires and offers protection of the device from electrical surges (voltages and/or currents).
In Stock
Order now and your part arrives by Sep 17
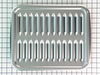
$50.36
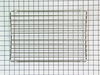
This broiler pan and roasting rack set features a two-piece design that allows fat to drain away for cleaner cooking and reduced splatter. Made with a durable, high-heat resistant porcelain finish, it...
In Stock
Order now and your part arrives by Sep 17
In Stock
Order now and your part arrives by Sep 17
In Stock
Order now and your part arrives by Sep 17
In Stock
Order now and your part arrives by Sep 17
In Stock
Order now and your part arrives by Sep 17
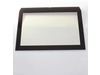
This heat-resistant inner oven door glass helps maintain consistent cooking temperatures and provides a clear view into the oven. It features a black-painted outer side and a smooth inner surface. Com...
In Stock
Order now and your part arrives by Sep 17
In Stock
Order now and your part arrives by Sep 17
In Stock
Order now and your part arrives by Sep 17
In Stock
Order now and your part arrives by Sep 17
Common Problems and Symptoms for KEBS209BWH00
Viewing 7 of 7Will Not Start
Fixed by these parts
How to fix it
Element will not heat
Fixed by these parts
How to fix it
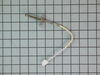
Little to no heat when baking
Fixed by these parts
How to fix it
Oven not heating evenly
Fixed by these parts
How to fix it
Door won’t open after self cleaning cycle
Fixed by these parts
How to fix it
Will not program
Fixed by these parts
How to fix it
Touchpad does not respond
Fixed by these parts
How to fix it


Keep searches simple. Use keywords, e.g. "leaking", "pump", "broken" or "fit".
- Customer:
- Joseph from Decatur, GA
- Parts Used:
- WPW10245259
- Difficulty Level:
- Easy
- Total Repair Time:
- 30 - 60 mins
- Tools:
- Nutdriver, Screw drivers, Socket set, Wrench set
Burned terminal block and filter board
Removed and replaced above named parts, rewired.Be sure to tighten all nuts that secure wires. I believe this is what caused the problem.
Was this instruction helpful to you?
Thank you for voting!
- Customer:
- Kent from Seattle, WA
- Parts Used:
- WP9755542
- Difficulty Level:
- Really Easy
- Total Repair Time:
- Less than 15 mins
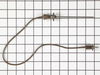
faulty meat probe
Not a repair. Just needed to replace the meat probe sensor for the programmable oven. Quick and easy purchase and very fast delivery took care of the problem. I was back in business.
Was this instruction helpful to you?
Thank you for voting!
- Customer:
- Alan from Wallkill, NY
- Parts Used:
- WP74008369
- Difficulty Level:
- Easy
- Total Repair Time:
- Less than 15 mins
- Tools:
- Nutdriver, Pliers
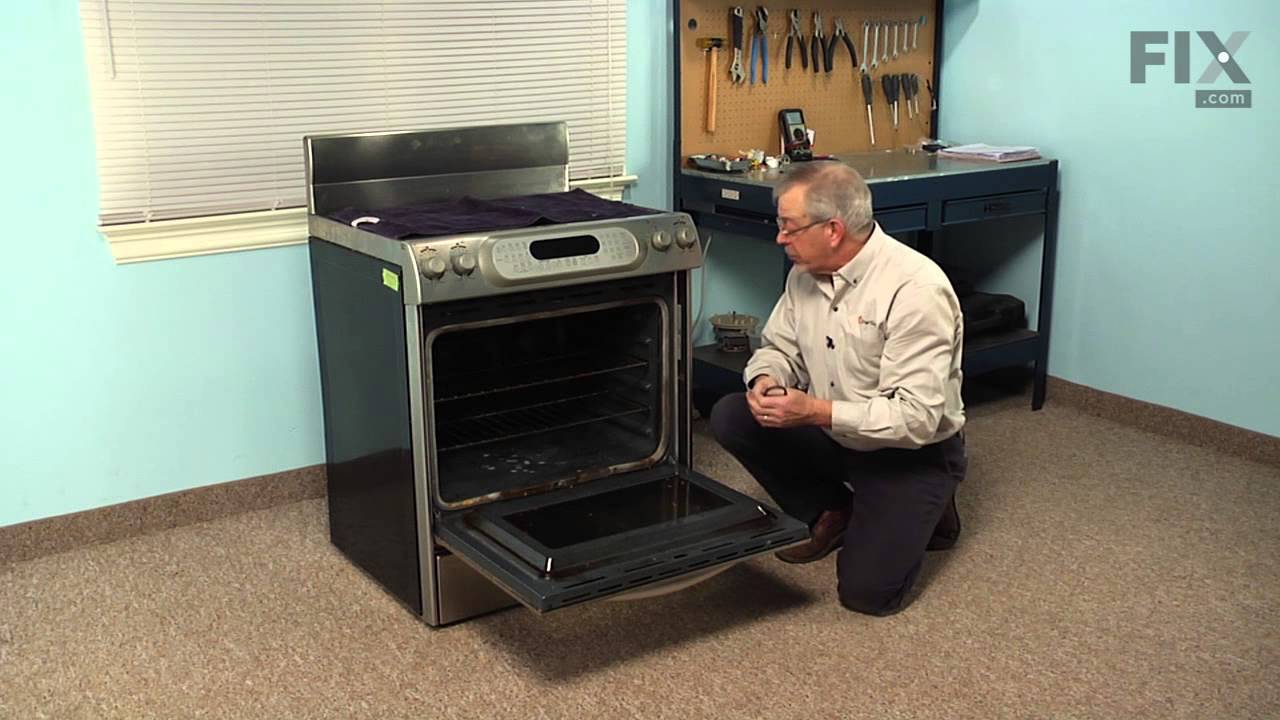
oven temp wrong
Remove the oven door. Remove 3 self tappers on rear wall of oven to take off a round access panel. Pull out a pre-cut rectangle of insulation. Next I removed the 2 screws holding the sensor in place. Pulling the sensor out a bit told me I was "touching" the correct wires in the SMALL rectangular opening. The wires are not visable and 2 h
... Read more
ands do not fit in this small opening.I looked at the NEW sensor to see the release on the sensor plug. Slip the angled needle nose into the opening and grasp the plug/release side. The plug pulled apart easily. The sensor wire pulls out with a little bit of twisting to fit it out the hole. The new plug pushes in and has to be worked down to where you can reach it. The same angled plier works to re-attach it. It takes longer to read this than to do the job. Best of luck, Al
Read less
Was this instruction helpful to you?
Thank you for voting!