



Models
>
KEBI276DBL4
KEBI276DBL4 KitchenAid Wall Oven
Jump to:
Find Part by Name
Keep searches simple, eg. "belt" or "pump".
Diagrams for KEBI276DBL4
Viewing 5 of 5


Keep searches simple, eg. "belt" or "pump".

This interior oven door glass panel is the innermost layer of glass that faces the oven cavity when the door is closed. Engineered to withstand high temperatures, it plays a vital role in maintaining ...
In Stock
Order now and your part arrives by Oct 13
This 18 ml bottle of white appliance touch-up paint is used to cover scratches or marks on your appliance. The white touch-up paint can be used on refrigerators, microwaves, ranges, clothes dryers, an...
No Longer Available
$7.60
This is a multi-use screw mostly used in dryers. It has a diameter of #10, length of one inch, and thread size of 16. Remember to follow safety practices and instructions provided in the manufacturer ...
In Stock
Order now and your part arrives by Oct 13
$50.36
This broiler pan and roasting rack set features a two-piece design that allows fat to drain away for cleaner cooking and reduced splatter. Made with a durable, high-heat resistant porcelain finish, it...
In Stock
Order now and your part arrives by Oct 13
In Stock
Order now and your part arrives by Oct 13
In Stock
Order now and your part arrives by Oct 13
$7.60
Follow appropriate safety practices when installing your range screw. Sold individually.
In Stock
Order now and your part arrives by Oct 13
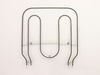
$207.50
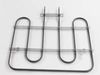
If your oven isn’t broiling like it used to, this broil element could be the fix. It’s mounted at the top of the oven and gives off direct heat for broiling and baking. With two outer coils and three ...
In Stock
Order now and your part arrives by Oct 13
In Stock
Order now and your part arrives by Oct 13
Common Problems and Symptoms for KEBI276DBL4
Viewing 7 of 7Element will not heat
Fixed by these parts
How to fix it
Little to no heat when baking
Fixed by these parts
How to fix it
Will Not Start
Fixed by these parts
How to fix it
Door won’t close
Fixed by these parts
How to fix it
Little to no heat when broiling
Fixed by these parts
How to fix it
Door won’t open after self cleaning cycle
Fixed by these parts
How to fix it
Oven not heating evenly
Fixed by these parts
How to fix it


Keep searches simple. Use keywords, e.g. "leaking", "pump", "broken" or "fit".
- Customer:
- Evan from Albuquerque, NM
- Parts Used:
- WP4449253
- Difficulty Level:
- Really Easy
- Total Repair Time:
- Less than 15 mins
- Tools:
- Screw drivers
Inner window glass cracked
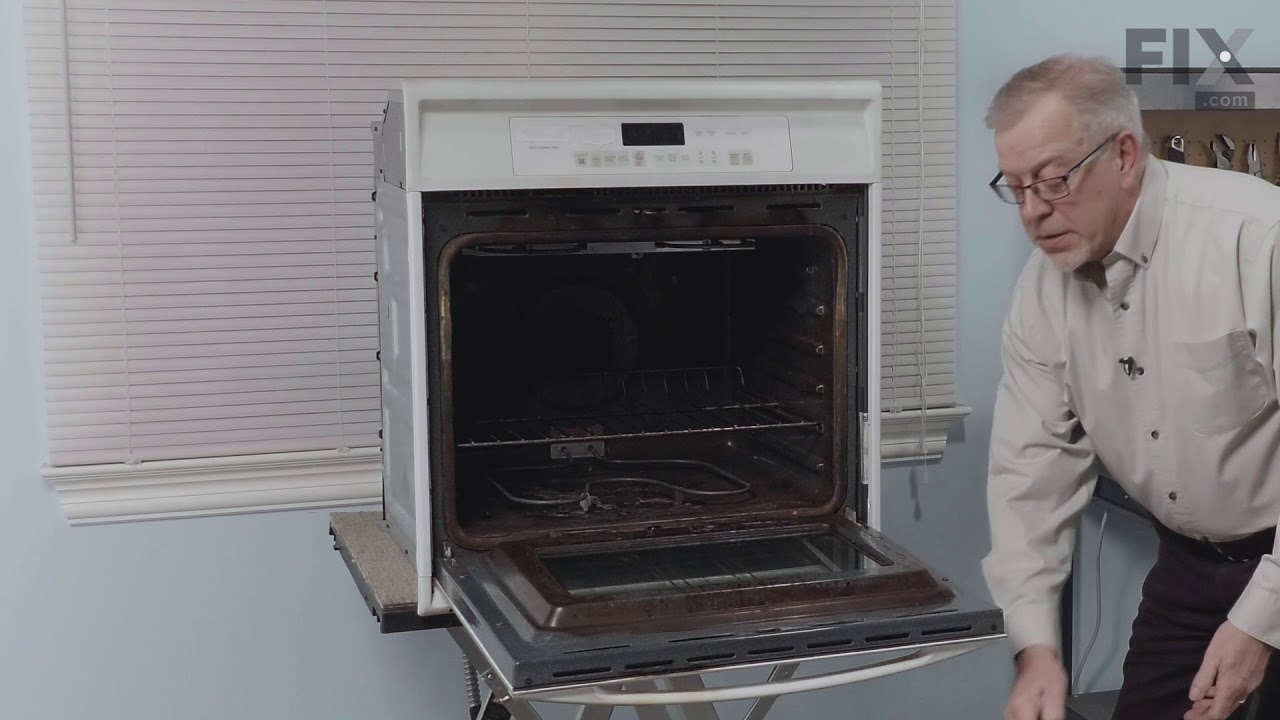
The first thing I did was to remove the oven door by releasing the two latches on the hinges (by hand). I then raised the door toward the vertical position and lifted up. The hinges slide out of the oven housing. I laid the door, inside face up on my island counter top. This ensures that none of the parts will fall when disassembling
... Read more
the door. Next I unscrewed the screws 4 top and bottom and four on the inside face. This releases the frame from the front housing. Lift the frame off the door, exposing the glass pieces. Lift off the broken inside glass and place the new piece in the glass retaining housing. Replace the outside frame and replace all screws. Take door back over to oven and slide hinge bottoms back into slots on oven. Rotate to horizontal position and flip latches back to locked position. Total time was about 10 minutes mainly because I was curious how the door was constructed and I poked around while it was disassembled.
Read less
Was this instruction helpful to you?
Thank you for voting!
- Customer:
- Janet from Scottsdale, AZ
- Parts Used:
- WP4449253
- Difficulty Level:
- A Bit Difficult
- Total Repair Time:
- 15 - 30 mins
- Tools:
- Screw drivers
Broken inside glass on oven door
Very easy once we figured out how to remove the oven door - which was insert the Allen keys in the holes in the hinges and pull the door out. We thought there was some way of using the Allen key to undo a pin or bolt but it was as simple as putting it through the hole in the hinge !!!!!
Was this instruction helpful to you?
Thank you for voting!
- Customer:
- Robert from Dunwoody, GA
- Parts Used:
- WP4449257
- Difficulty Level:
- Easy
- Total Repair Time:
- 30 - 60 mins
- Tools:
- Screw drivers
replace inner glass on oven door
Once I figured out to get the door off, the actual replacement went well.
remove door, using allen wrenches in the holes of the door
remove outer glass - two screws on top, four screws along sides of inside door, two brackets on the bottom
that revealed anothe sheet of glass- held into place by a metal flange at the top (3 ... Read more screws) and two brackets at the bottom. Pay close attention to how they are mounted for reassembly. They are the same physical configuration, but mount differently to hold glass up from the surface below
That reveals another sheet of glass held into place by two "ears" at the top and a bracket at the bottom.
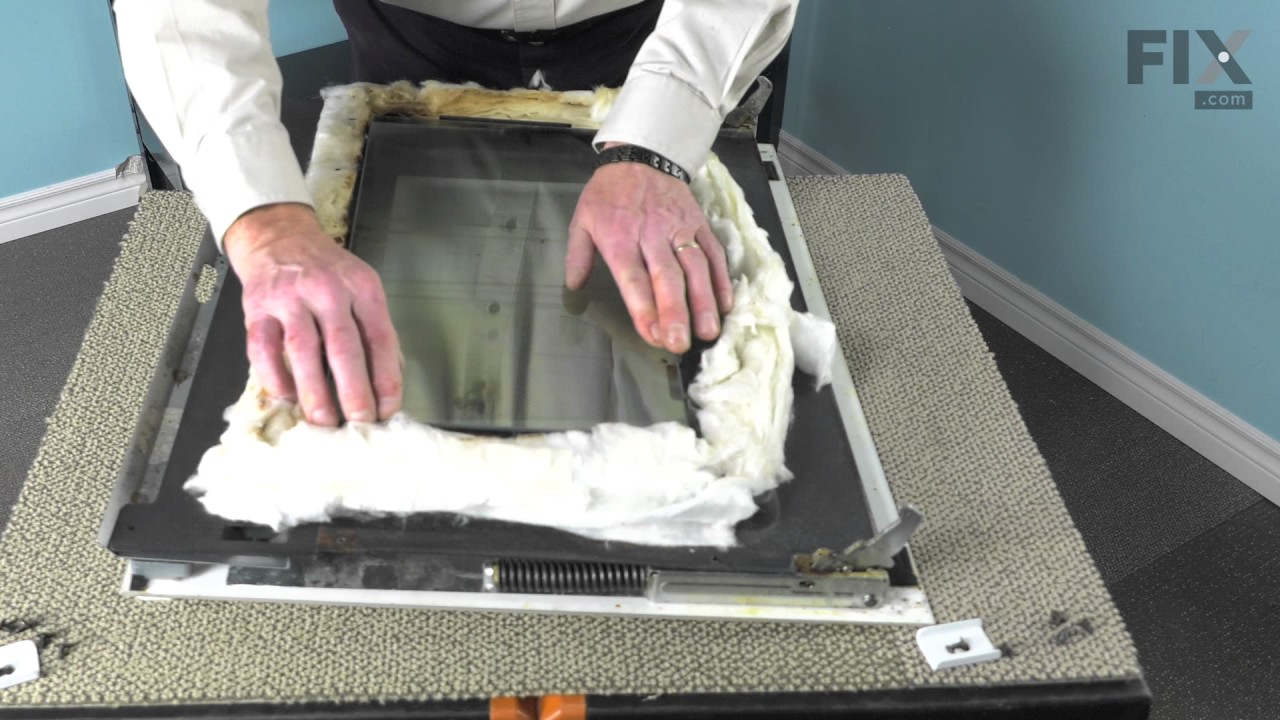
When that is removed, the next thing to come off is a metal housing on which the glass just removed was mounted. I elected to leave the door hinge springs in place, and slide the metal housing in and out of position. That reveals the glass which needed replacement.
There is some insulation around the glass, but under the metal housing. It came out when I slid the metal out, which moved it from its location, but I think I got it back ok...be sure that it does not sitck out around the glass when you reassemble everything. Put everything back in place, replace the door and remove the allen wrenches. Done. Parts select had the product, and sent it very quickly.
remove door, using allen wrenches in the holes of the door
remove outer glass - two screws on top, four screws along sides of inside door, two brackets on the bottom
that revealed anothe sheet of glass- held into place by a metal flange at the top (3 ... Read more screws) and two brackets at the bottom. Pay close attention to how they are mounted for reassembly. They are the same physical configuration, but mount differently to hold glass up from the surface below
That reveals another sheet of glass held into place by two "ears" at the top and a bracket at the bottom.
When that is removed, the next thing to come off is a metal housing on which the glass just removed was mounted. I elected to leave the door hinge springs in place, and slide the metal housing in and out of position. That reveals the glass which needed replacement.
There is some insulation around the glass, but under the metal housing. It came out when I slid the metal out, which moved it from its location, but I think I got it back ok...be sure that it does not sitck out around the glass when you reassemble everything. Put everything back in place, replace the door and remove the allen wrenches. Done. Parts select had the product, and sent it very quickly.
Read less
Was this instruction helpful to you?
Thank you for voting!