



Models
>
KEBI141DBL10
KEBI141DBL10 KitchenAid Wall Oven
Jump to:
Find Part by Name
Keep searches simple, eg. "belt" or "pump".
Diagrams for KEBI141DBL10
Viewing 5 of 5


Manuals & Guides for KEBI141DBL10
Click to downloadKeep searches simple, eg. "belt" or "pump".
This 18 ml bottle of white appliance touch-up paint is used to cover scratches or marks on your appliance. The white touch-up paint can be used on refrigerators, microwaves, ranges, clothes dryers, an...
No Longer Available
$73.24
This temperature sensor detects the temperature within the oven cavity.
In Stock
Order now and your part arrives by Oct 26
$60.49
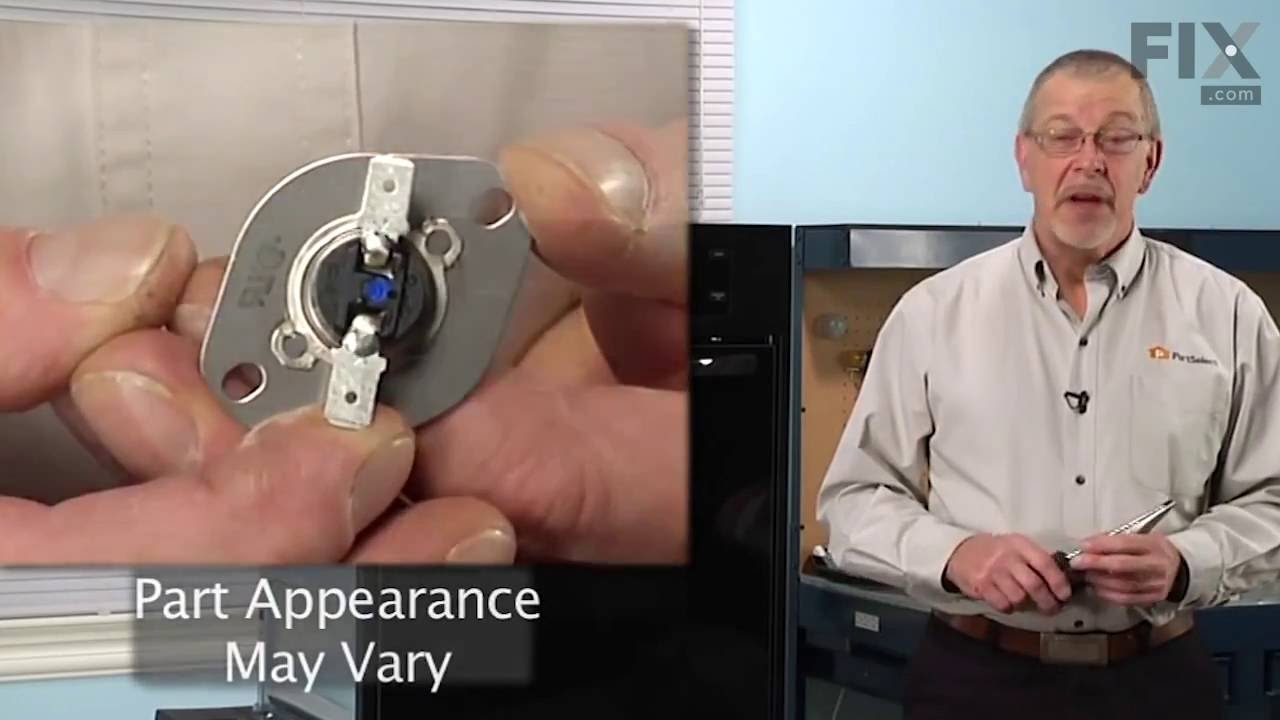
Also known as Thermal cut-off (fuse). This part establishes and maintains the internal temperature of the oven cavity.
In Stock
Order now and your part arrives by Oct 26
$50.36
This broiler pan and roasting rack set features a two-piece design that allows fat to drain away for cleaner cooking and reduced splatter. Made with a durable, high-heat resistant porcelain finish, it...
In Stock
Order now and your part arrives by Oct 26

In Stock
Order now and your part arrives by Oct 26
In Stock
Order now and your part arrives by Oct 26
In Stock
Order now and your part arrives by Oct 26
$54.12
Includes the coiled spring and can be used for either left or right side of appliance. Sold individually.
In Stock
Order now and your part arrives by Oct 26
$7.60
Follow appropriate safety practices when installing your range screw. Sold individually.
In Stock
Order now and your part arrives by Oct 26
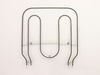
$207.50
If your oven isn’t broiling like it used to, this broil element could be the fix. It’s mounted at the top of the oven and gives off direct heat for broiling and baking. With two outer coils and three ...
In Stock
Order now and your part arrives by Oct 26
Common Problems and Symptoms for KEBI141DBL10
Viewing 8 of 8Little to no heat when baking
Fixed by these parts
How to fix it
Oven is too hot
Fixed by these parts
How to fix it
Will Not Start
Fixed by these parts
How to fix it
Element will not heat
Fixed by these parts
How to fix it
Door won’t open after self cleaning cycle
Fixed by these parts
How to fix it
Oven not heating evenly
Fixed by these parts
How to fix it
Little to no heat when broiling
Fixed by these parts
How to fix it
Door won’t close
Fixed by these parts
How to fix it


Keep searches simple. Use keywords, e.g. "leaking", "pump", "broken" or "fit".
- Customer:
- Joseph from Worthington, PA
- Parts Used:
- WP9759242
- Difficulty Level:
- Really Easy
- Total Repair Time:
- 15 - 30 mins
- Tools:
- Screw drivers
Self Cleaning blows the thermostat fuse
Something Kitchen Aid wont tell you but running a self clean on this model stove blows the fuse located on the back of the stove.
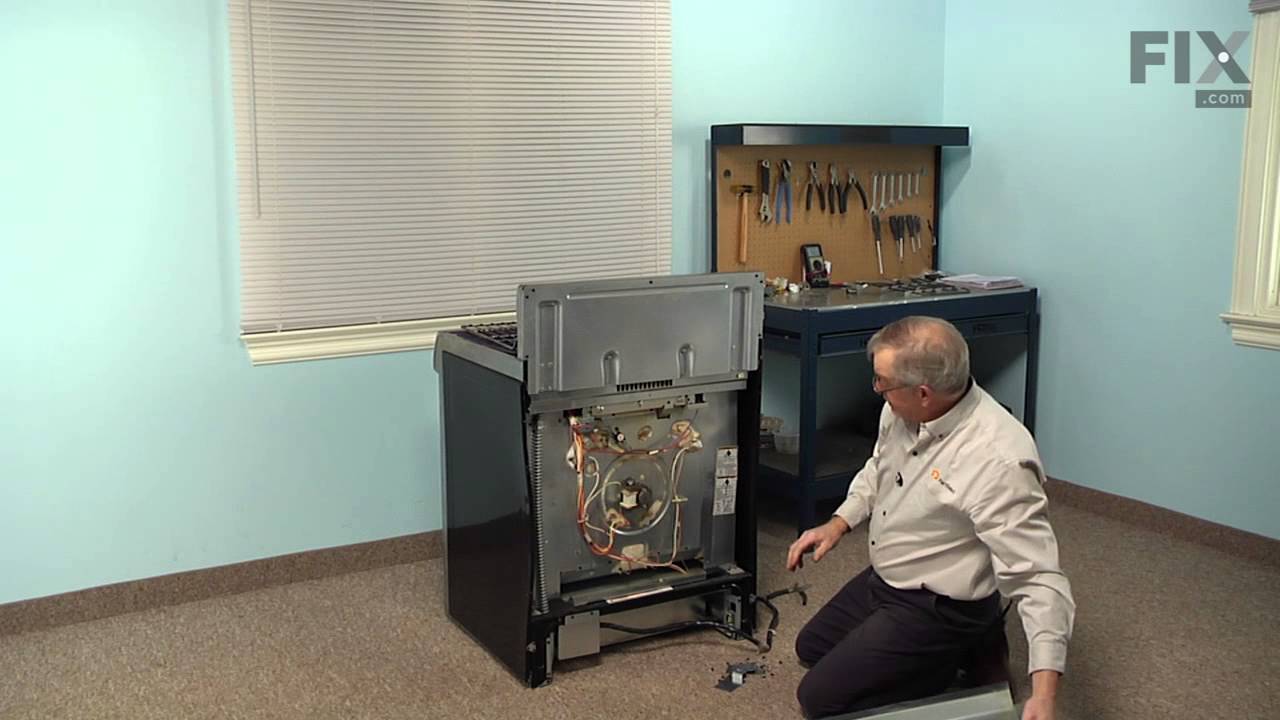
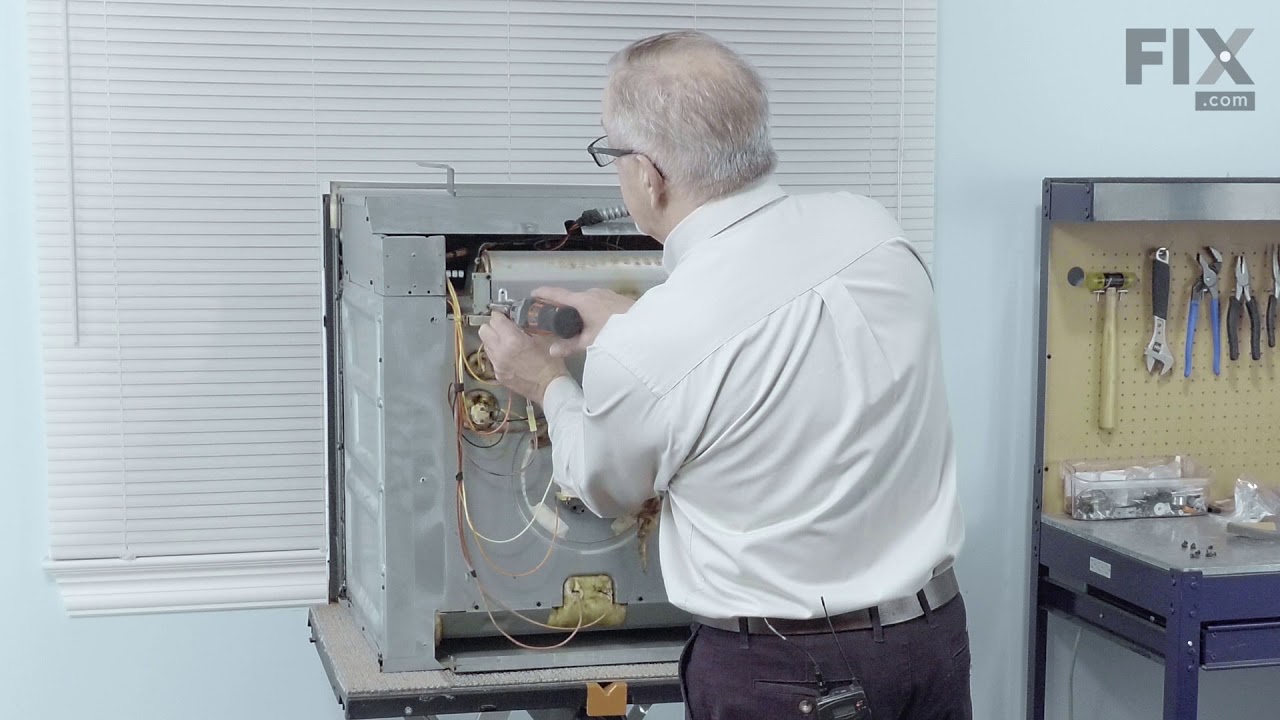
First I slid the stove out and removed the back of the stove held in place by 8 Phillips screws. The thermostat fuse is located near the top middle on the back of the stove. Remove the 2 screws hold ... Read more ing it in place. Disconnect the wires, plug in the new part. Put it all back together. Job done in less than 30 minutes.
This repair would have cost $164 through A&E factory service.
First I slid the stove out and removed the back of the stove held in place by 8 Phillips screws. The thermostat fuse is located near the top middle on the back of the stove. Remove the 2 screws hold ... Read more ing it in place. Disconnect the wires, plug in the new part. Put it all back together. Job done in less than 30 minutes.
This repair would have cost $164 through A&E factory service.
Read less
Was this instruction helpful to you?
Thank you for voting!
- Customer:
- john from new market, MD
- Parts Used:
- WP9759242
- Difficulty Level:
- Really Easy
- Total Repair Time:
- 15 - 30 mins
- Tools:
- Screw drivers
Power shut down and door lock-up after self-cleaning
My wife used the self cleaning function for the first time after 1.5 years of owning, of course out of warranty. A quick google search identified the problem. Called Kitchenaid, they said of course it can't be that simple, they had never heard of this problem, need to schedule a service call. Googled and found this site, Ordered the part
... Read more
, came in, only took a screwdriver and about 20 minutes, just like all the other posts.
shame on Kitchenaid for not owning up to the problem. I even e-mailed them all the links, they did not acknowledge them.
shame on Kitchenaid for not owning up to the problem. I even e-mailed them all the links, they did not acknowledge them.
Read less
Was this instruction helpful to you?
Thank you for voting!
- Customer:
- Elizabeth from Seattle, WA
- Parts Used:
- WP4449247
- Difficulty Level:
- Easy
- Total Repair Time:
- 30 - 60 mins
- Tools:
- Screw drivers
Broken inner door glass
I removed all the screws attaching the inner liner to the door, then removed the broken glass. I did this before ordering the replacement glass so I could be sure that only one piece was broken -- the door contains four pieces of glass in all. After the replacement glass arrived (really fast delivery!), I cleaned all the parts and reass
... Read more
embled the door. I had some difficulty in aligning the screw holes properly, and I'm still not sure if I have the exterior sheet of glass positioned correctly -- the schematic shows the order in which the parts go together but not how they fit exactly. I should have inspected the door more closely before I took it apart. Anyway, it feels solid and everything seems to work.
Read less
Was this instruction helpful to you?
Thank you for voting!