



Models
>
CKD7221819AC
CKD7221819AC Hardwick Wall Oven
Jump to:
Find Part by Name
Keep searches simple, eg. "belt" or "pump".
Diagrams for CKD7221819AC
Viewing 7 of 7


Keep searches simple, eg. "belt" or "pump".
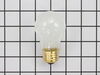
$19.75
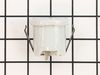
This is a genuine OEM 40-Watt replacement light bulb that is compatible with various types of appliances. It has a frosted glass bulb with a standard metal socket base, making it easy to screw and uns...
In Stock
Order now and your part arrives by Aug 7
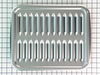
$50.36
This broiler pan and roasting rack set features a two-piece design that allows fat to drain away for cleaner cooking and reduced splatter. Made with a durable, high-heat resistant porcelain finish, it...
In Stock
Order now and your part arrives by Aug 7
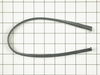
$63.68
This oven door seal is seventeen and a half inches long. It is made of rubber and has a metal hook on either end to hold it in place. This seal sits on top of the glass window pane.
In Stock
Order now and your part arrives by Aug 7
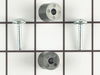
This door handle spacer assembly contains two screws and two spacers.
No Longer Available



Keep searches simple. Use keywords, e.g. "leaking", "pump", "broken" or "fit".
- Customer:
- Raymond from BLOOMINGTON, MN
- Parts Used:
- 4396923
- Difficulty Level:
- Very Easy
- Total Repair Time:
- Less than 15 mins
Purchased home but stove had no broiler pan.
Purchased 2 piece broiler pan from this site
Was this instruction helpful to you?
Thank you for voting!
- Customer:
- Carl from RIVERSIDE, CA
- Parts Used:
- 8009
- Difficulty Level:
- Very Difficult
- Total Repair Time:
- More than 2 hours
- Tools:
- Screw drivers
light bulb in water ice freezer door went bad
I didn't. Don't know how to get to light bulb to change it for this specific model
Was this instruction helpful to you?
Thank you for voting!
- Customer:
- Byron from LE SUEUR, MN
- Parts Used:
- WP74003387, 8009
- Difficulty Level:
- Very Easy
- Total Repair Time:
- Less than 15 mins
- Tools:
- Screw drivers
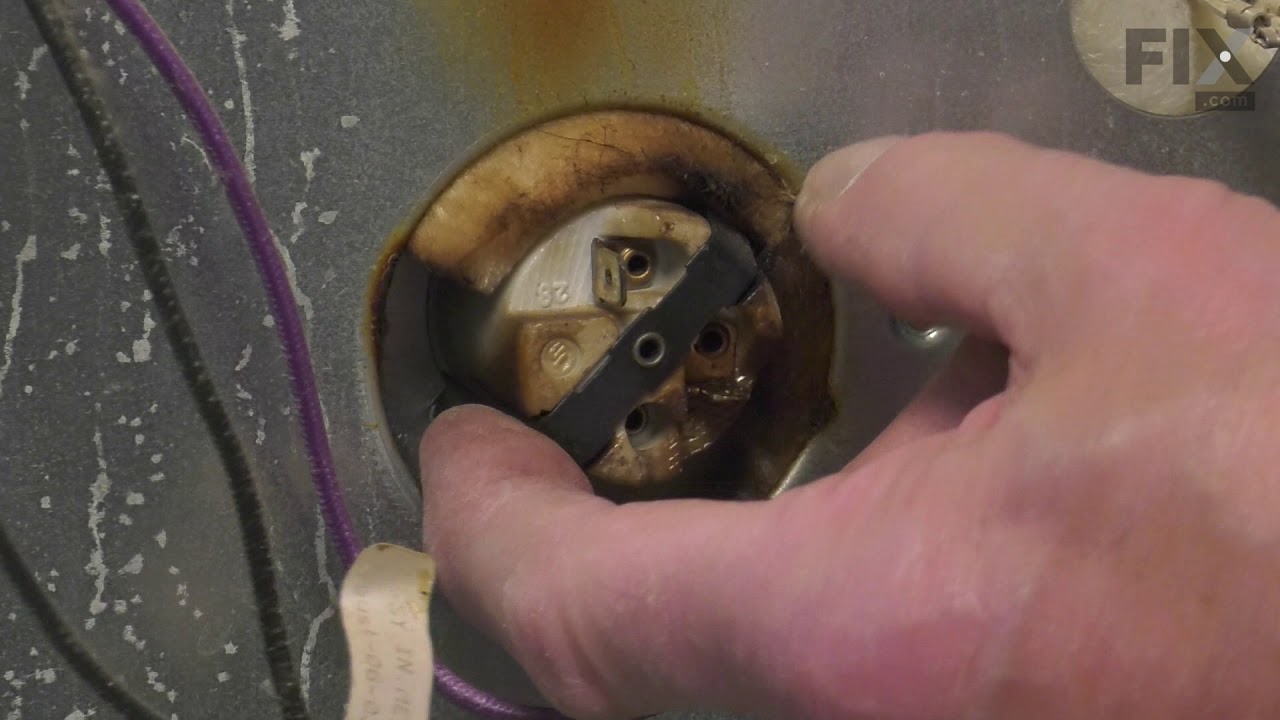
Light bulb and socket became one when trying to remove a burned out bulb. Ruined the socket.
Move stove out from wall. Unplug from power. Removed four screws from the left side of the back (the side the light socket is on. Reach in and unplug the two wires on the back of the bulb socket assembly. Inside the oven, remove the bulb cover and the two screws holding the socket assembly. Remove assembly. Install bulb in new assembly, r
... Read more
eattach the assembly to the oven back, reinstall the bulb cover. On the back of the stove, replug the two wires and replace the screws on the stove's back cover. Replug the unit to power and move back into position.
Sounds harder than it is. The worst part is reaching inside the oven to get at those bits.
Sounds harder than it is. The worst part is reaching inside the oven to get at those bits.
Read less
Was this instruction helpful to you?
Thank you for voting!