


Models
>
JK3500SF2SS
JK3500SF2SS General Electric Wall Oven
Jump to:
Find Part by Name
Keep searches simple, eg. "belt" or "pump".
Diagrams for JK3500SF2SS
Viewing 7 of 7


Keep searches simple, eg. "belt" or "pump".

In Stock
Order now and your part arrives by Apr 2

$25.10
This OEM halogen bulb provides warm white light for top-mounted oven lighting. It operates at 120V and 40W, with a G9 base designed for high-heat environments. Ideal for replacing a dim or burnt-out b...
In Stock
Order now and your part arrives by Apr 2

$15.26
This part is a replacement screw for your oven. It is made of black metal and is sold individually. This screw is approximately 1/4 inch in diameter and about 1/2 inch in length. It is designed to con...
In Stock
Order now and your part arrives by Apr 2

$35.84
This temperature sensor helps regulate heat inside the oven by sending temperature readings to the control board. It ensures consistent cooking and helps maintain the set temperature. A faulty sensor ...
In Stock
Order now and your part arrives by Apr 2

In Stock
Order now and your part arrives by Apr 2

$63.68
Maintain safe and consistent oven performance with this genuine cooling fan sensor board. This electronic component monitors the cooling fan’s speed and communicates with the main control board to pre...
In Stock
Order now and your part arrives by Apr 2

In Stock
Order now and your part arrives by Apr 2

$67.93
This sturdy oven rack provides a reliable, elevated surface for baking and cooking, helping you maximize space inside your oven. Designed for a precise fit, it ensures stability and efficiency when pr...
In Stock
Order now and your part arrives by Apr 2

$100.96
This range and oven cooling fan is designed to circulate air within the control compartment, preventing heat buildup and protecting sensitive electronics during and after cooking. By maintaining prope...
In Stock
Order now and your part arrives by Apr 2

$106.95
The door lock assembly locks the oven door during the self-cleaning cycle.
In Stock
Order now and your part arrives by Apr 2

In Stock
Order now and your part arrives by Apr 2

In Stock
Order now and your part arrives by Apr 2
Questions and Answers
We're sorry, but our Q&A experts are temporarily unavailable.
Please check back later if you still haven't found the answer you need.
- < Prev
- 1
- Next >
Sort by:
Search filter:
Clear Filter
Your search term must have 3 or more characters.
Keep searches simple. Use keywords, e.g. "leaking", "pump", "broken" or "fit".
Sorry, we couldn't find any existing answers that matched.
Try using some different or simpler keywords, or submit your new question by using the "Ask a Question" button above!
Try using some different or simpler keywords, or submit your new question by using the "Ask a Question" button above!
Mickey
July 23, 2022
Just replaced the bad heating element in lower oven, but oven still will not heat. Upper oven works fine. Any ideas??
For model number JK3500SF2SS
Hi Mickey,
Thank you for your question. If the oven is not heating correctly, the issue may be with the oven sensor. The oven temperature sensor is the part that monitors the oven temperature and signals the electronic control board to turn the elements on and off. Before removing this part from the oven and testing it with a multimeter for continuity, unplug the oven from the electrical outlet. A normal reading should be 1100 ohms, but as readings vary from model to model, you will need to reference your owner’s manual to determine what the correct reading should be. To test it for continuity, use a multimeter on the Rx1 setting and touch the terminals with the probes. This test needs to be done with the sensor at room temperature to produce accurate results. If your test results do not meet the manufacturer’s guidelines, you need a replacement temperature sensor. If the sensor is fine, you will need to check the elements, the electronic control board and the wiring between the parts to see which one is causing the issue. If you have any questions, please let us know. We are open 7 days a week. We look forward to hearing from you!
1 person found this helpful.
Was this helpful?
Thank you for voting!
Related Parts:
Mickey
July 20, 2022
How do i get to lower oven hidden bake element
For model number JK3500SF2SS
Hi Mickey,
Thank you for your question. We have included a link to one of our YouTube videos that you may reference on how to install the hidden bake element. The range in the video may appear different from yours, but it will give you a general idea on how to install the part. If you have any questions, please let us know. We are open 7 days a week. We look forward to hearing from you!
Was this helpful?
Thank you for voting!
Mickey
July 22, 2022
Still trying to find how to get to hidden bake element in GE double wall oven model jk3500sf2ss and serial #vd611123q
Also still looking for the u tube video link.
For model number JK3500SF2SS
Hi Mickey,
Thank you for your question. We have included a link to one of our YouTube videos that you may reference on how to install the hidden bake element. The range and bake element in the video may appear different from yours, but it will give you a general idea on how to install the part. If you have any questions, please let us know. We are open 7 days a week. We look forward to hearing from you!
Was this helpful?
Thank you for voting!
Common Problems and Symptoms for JK3500SF2SS
Viewing 3 of 3Will Not Start
Fixed by these parts


How to fix it
Oven is too hot
Fixed by these parts

How to fix it
Oven not heating evenly
Fixed by these parts
How to fix it
Keep searches simple. Use keywords, e.g. "leaking", "pump", "broken" or "fit".
- Customer:
- Michael from Albuquerque, NM
- Parts Used:
- WB24T10147
- Difficulty Level:
- Really Easy
- Total Repair Time:
- 30 - 60 mins
- Tools:
- Nutdriver
Convection oven fan and door light not working
The first step was to determine whether the problem was with the fan itself or the switch. I did this by opening the back cover and using a Volt meter to verify that the fan was not getting power. (I could have skipped this step.)
Next, I unplugged the range, closed up the back cover and lifted the range hood by removing two he ... Read more x head screws that are just inside and on either side of the top of the opening in the range door. Propping the hood open, I removed the connector leading to the switch, then pushed the switch out the front. Inspection showed that the switch was damaged so I closed up the range and ordered the part from Part Select. Once the part arrived, it was a 15 minute job to unplug the range, lift the top, install the new switch, and close up the unit.
Caution. On starting to install the switch, I failed to unplug the range and my finger brushed one of the hot contacts leading to the switch. Thankfully, I was not injured. Do not repeat my mistake on this issue. Unplug the range even if you're only installing this simple switch.
Read less
Was this instruction helpful to you?
Thank you for voting!
- Customer:
- George from PALM COAST, FL
- Parts Used:
- WB25T10102
- Difficulty Level:
- Really Easy
- Total Repair Time:
- Less than 15 mins
- Tools:
- Screw drivers
A burnt out bulb
After opening the Oven door, I removed the glass cover to view and locate the bulb, at the inside, top front of the Oven. Removed the burnt out bulb by pulling it in a forward motion towards the front of the Oven, slid the new bulb into place and the Oven is again functional.
Was this instruction helpful to you?
Thank you for voting!
- Customer:
- Jack from Bremerton, WA
- Parts Used:
- WB21X10165
- Difficulty Level:
- Really Easy
- Total Repair Time:
- Less than 15 mins
- Tools:
- Screw drivers
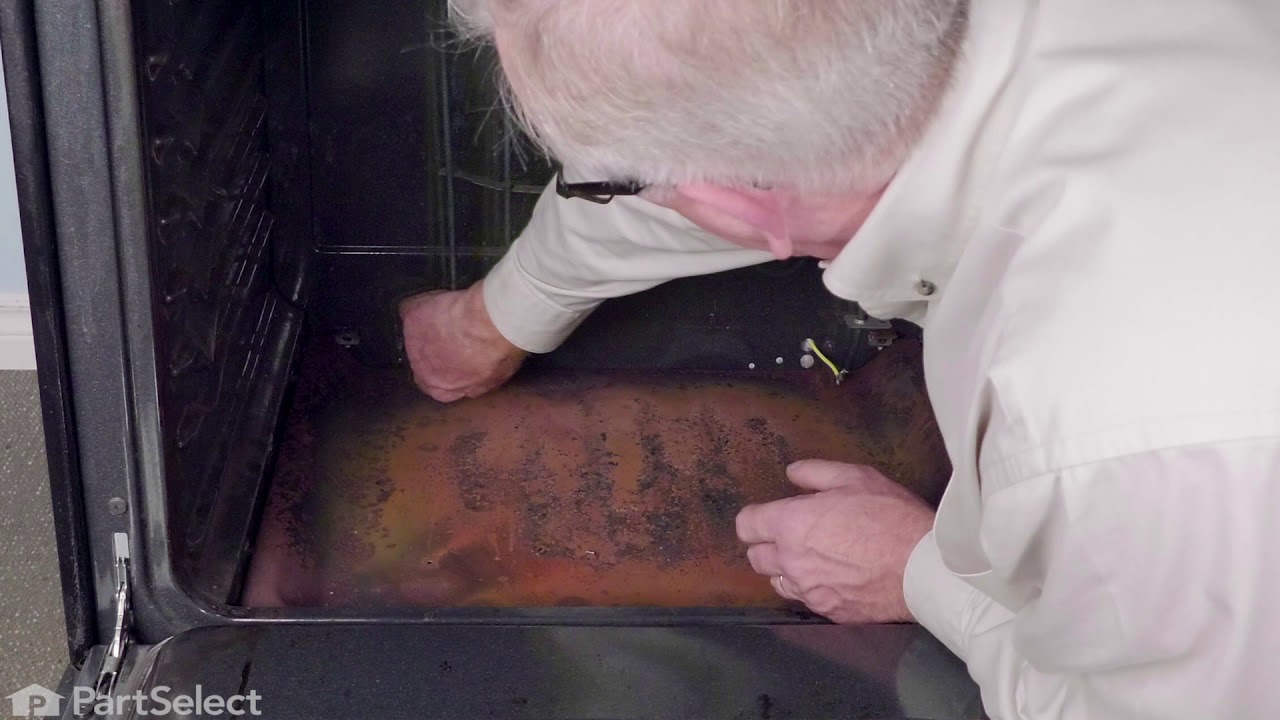
The oven would not hold an even temperature.
I used a Trox bit to remove one screw, replaced the oven sensor and reinstalled the screw. The whole project took less than 5 minutes.
Was this instruction helpful to you?
Thank you for voting!