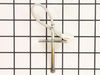
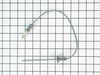
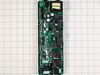
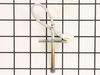
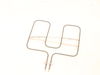
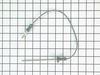
If your oven is running hot, not heating evenly, not coming up to temperature, or just not heating up at all, there may be an issue with the temperature sensor. This sensor is usually found in the bac...
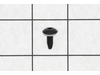
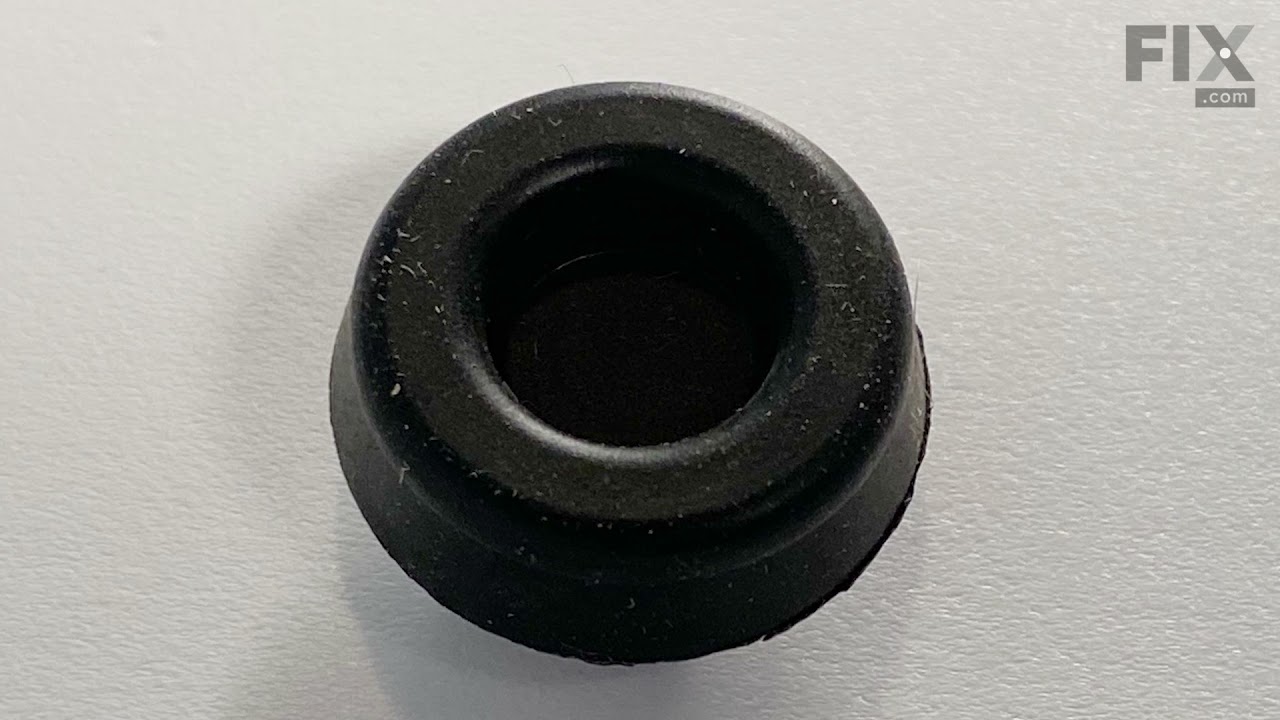
This part is a replacement screw for your oven. It is made of black metal and is sold individually. This screw is approximately 1/4 inch in diameter and about 1/2 inch in length. It is designed to con...
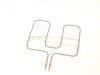
This broil element assembly provides intense top-down heat for broiling in electric ovens and ranges. It ensures even cooking and browning by distributing heat uniformly across the upper oven compartm...
Ask our experts a question about this part and we'll get back to you as soon as possible!
1 question answered by our experts.
< Prev
1
Next >
Sort by:
Search filter:
Clear Filter
Your search term must have 3 or more characters.
Keep searches simple. Use keywords, e.g. "leaking", "pump", "broken" or "fit".
Sorry, we couldn't find any existing answers that matched. Try using some different or simpler keywords, or submit your new question by using the "Ask a Question" button above!
Ken
September 18, 2022
Convection on the upper oven works, but broil and regular oven doesn’t heat up
For model number PK956SM2SS
Hi Ken,
Thank you for your question. If the oven is not heating correctly, the issue may be with the oven sensor. The oven temperature sensor is the part that monitors the oven temperature and signals the electronic control board to turn the elements on and off. Before removing this part from the oven and testing it with a multimeter for continuity, unplug the oven from the electrical outlet. A normal reading should be 1100 ohms, but as readings vary from model to model, you will need to reference your owner’s manual to determine what the correct reading should be. To test it for continuity, use a multimeter on the Rx1 setting and touch the terminals with the probes. This test needs to be done with the sensor at room temperature to produce accurate results. If your test results do not meet the manufacturer’s guidelines, you need a replacement temperature sensor. If the sensor is fine, you will need to check the broil element, the electronic control board and the wiring between the parts to see which one is causing the issue. If you have any questions, please let us know. We are open 7 days a week. We look forward to hearing from you!
Removed six 1/4" hex nuts on rear of oven. Then through front/inside removed a single 1/4" hex nut to actually remove sensor. Unplug sensor connector, remove. Reversed steps, push oven back in place and plugged in. Tested oven function.
Unplugged appliance and removed 5 screws on back of stove/oven and removed plate. Disconnected the sensor and unscrewed it on the inside of the oven. Pulled the cord through and replaced with new sensor. Replaced all parts and plugged in the appliance and tested. Worked great.
1) pull out the stove 2) remove the 7 sheet metal screws holding the back panel on. (the panel that also covers where the cord splits and connects to the oven. 3) Find the small plastic connector located in the middle of the back of the range and unplug it. 4) open the front of the oven and remove the one screw holding in
... Read morethe oven temp sensor. 5) replace the sensor and make sure to "feed" the new cord through as best you can. 6) I had to dig through the insulation a little bit to find the new wiring harness 7) connect the wiring harness and put the back of the range back on
note: this was very simple to do if you think this might be the problem don't hesitate to handle this one yourself.