Models > WRS586FLDM01

WRS586FLDM01 Whirlpool Refrigerator

Jump to:

Find Part by Name

Keep searches simple, eg. "belt" or "pump".

Diagrams for WRS586FLDM01

Viewing 13 of 13
Keep searches simple, eg. "belt" or "pump".
Transform your daily hydration routine with the EDR1RXD1 water filter. It delivers pure, refreshing water for your family, enhancing the taste of your drinks and meals. Quick to install and long-lasti...
In Stock
Order now and your part arrives by May 29
The gallon door bin attaches to the inside of the refrigerator door and is typically used to hold jars and bottles within easy reach. These bins are clear, as the white version has been discontinued b...
In Stock
Order now and your part arrives by May 29
Door switch turns the light off when you close the door.
In Stock
Order now and your part arrives by May 29
This part includes one authentically sourced 3-pin rocker switch for a refrigerator. It is responsible for turning the light on inside the fridge when the door is open. It is commonly replaced because...
In Stock
Order now and your part arrives by May 29
This 18 ml bottle of white appliance touch-up paint is used to cover scratches or marks on your appliance. The white touch-up paint can be used on refrigerators, microwaves, ranges, clothes dryers, an...
In Stock
Order now and your part arrives by May 29
This authentic OEM part is a mounting screw for the door handle on your refrigerator. If the door handle is loose or you are having issues opening or closing the door, a new mounting screw may solve t...
In Stock
Order now and your part arrives by May 29
This is a genuine replacement light bulb for a refrigerator. The inside of your refrigerator should illuminate when you open the door. If your fridge does not illuminate, you may need to replace this ...
In Stock
Order now and your part arrives by May 29
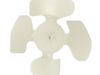
If your refrigerator or freezer is too warm, or making noises, you may need to replace the fan blade. The fan blade attaches to the evaporator motor, which is in the freezer section, to help circulate...
In Stock
Order now and your part arrives by May 29
$11.98
This screw is sold individually.
In Stock
Order now and your part arrives by May 29
This part is a replacement refrigerator drive shaft seal for your refrigerator. The drive shaft seal protects the auger motor from water and condensation that may leak down the drive shaft from the ic...
In Stock
Order now and your part arrives by May 29
For white, biscuit, black and stainless models.
In Stock
Order now and your part arrives by May 29
When energized, this part releases water from the supply line into the ice mold.
In Stock
Order now and your part arrives by May 29

Questions and Answers

Be the first to ask our experts a question about this part!

Common Problems and Symptoms for WRS586FLDM01

Viewing 12 of 12
Light not working
Fixed by these parts
Fixing Fixing Fixing
How to fix it
Ice maker not making ice
Fixed by these parts
Fixing Fixing Fixing
How to fix it
Leaking
Fixed by these parts
Fixing Fixing Fixing
How to fix it
Ice maker won’t dispense ice
Fixed by these parts
Fixing Fixing Fixing
How to fix it
Door won’t open or close
Fixed by these parts
Fixing Fixing Fixing
How to fix it
Noisy
Fixed by these parts
Fixing Fixing Fixing
How to fix it
Not dispensing water
Fixed by these parts
Fixing Fixing Fixing
How to fix it
Fridge too warm
Fixed by these parts
Fixing Fixing
How to fix it
Freezer section too warm
Fixed by these parts
Fixing Fixing
How to fix it
Ice maker dispenses too little ice
Fixed by these parts
Fixing
How to fix it
Too warm
Fixed by these parts
Fixing
How to fix it
Clicking sound
Fixed by these parts
Fixing
How to fix it
Keep searches simple. Use keywords, e.g. "leaking", "pump", "broken" or "fit".
Customer:
Clint from Rayville, MO
Parts Used:
W11384469
Difficulty Level:
Really Easy
Total Repair Time:
Less than 15 mins
Tools:
Screw drivers
Lights inside refrigerator not working
I used a flat-head screwdriver to pop out the old light rocker switch. Then, I unplugged the wires, plugged them into the new light rocker switch, and then popped the new switch into the hole. That's it! Lights began working again.
136 of 250 people found this instruction helpful.
Was this instruction helpful to you?
Thank you for voting!
Customer:
DANIEL from MINNEAPOLIS, MN
Parts Used:
4387478
Difficulty Level:
Easy
Total Repair Time:
Less than 15 mins
Tools:
Screw drivers
Light Would Not Go On In The Refrigerator
First I removed the old lightbulb from the socket and replaced it with a new one to confirm that the bulb was not the problem. I then pryed the socket out with a flat-head screwdriver. I could tell that the socket was anchored in its hole with clips so it was relatively easy to pry it out. Once the socket was out, I disconnected the le ad wires and ordered a replacement socket kit from Partselect. When the new one arrived, I reconnected the lead wires to it, snapped it back into its hole, screwed in a new lightbulb, and presto!! The light was back on with no further problem. Thank you, Partselect!! A $15.00 part saved me what probably would have been at least a $100. service call and heaven knows what the technician would have told me I needed!!!
62 of 82 people found this instruction helpful.
Was this instruction helpful to you?
Thank you for voting!
Customer:
ANDREW from DURANGO, CO
Parts Used:
8201515
Difficulty Level:
A Bit Difficult
Total Repair Time:
30 - 60 mins
Tools:
Nutdriver, Screw drivers
KITCHEN AID SIDE-BY-SIDE REFRIGERATOR ICE-MAKER stopped working due to a broken motor assembly.
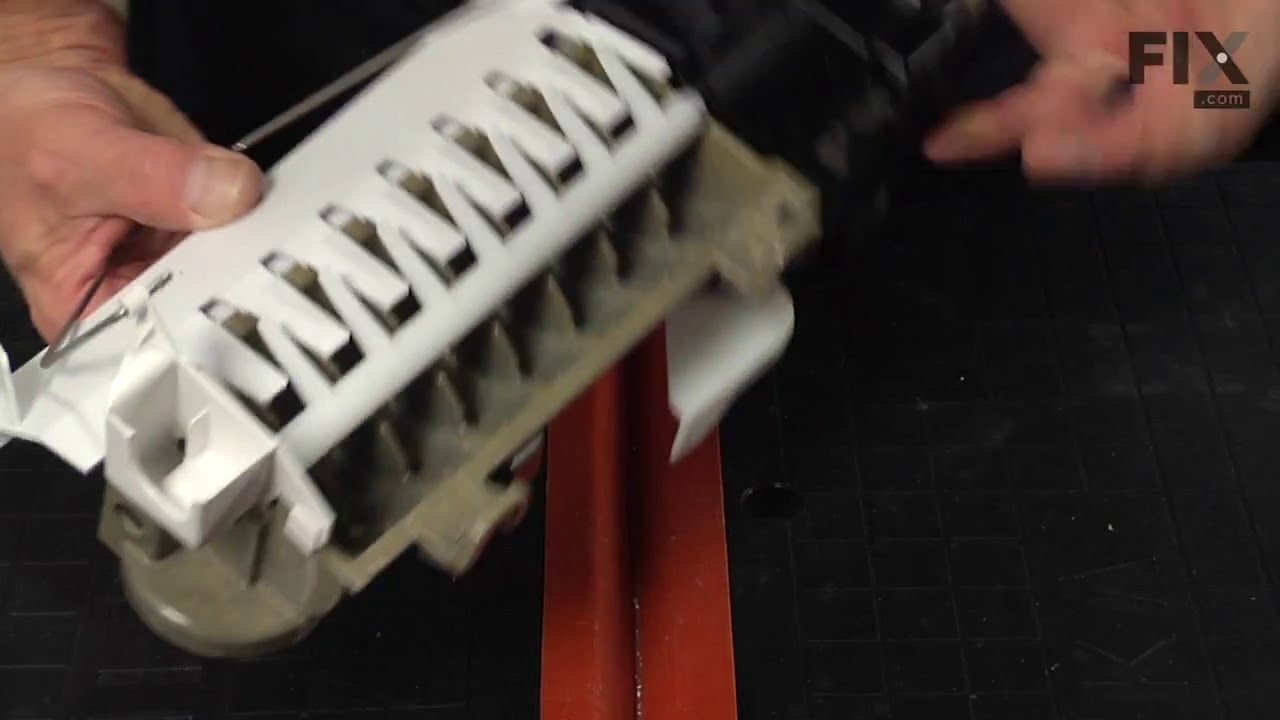
Changing the KITCHENAID MOTOR ASSEMBLY TO THE ICE-MAKER was fairly straightforward. The hardest part was figuring out WHAT was broken and how to fix it. I was determined to save myself hundreds of dollars by doing it myself and avoiding a visit by the 'repairman'.

1.) Went to KitchenAid website to look at Parts List for my side-by-side refrigerator and ice maker assembly (a PDF file, easily downloadable) . The illustrations helped me visualize the assembly and various parts involved.
2.) Removed cover on front of ice maker.
3.) Removed hex-head screw on undersurface of icemaker on the right, which stablilizes a plastic cover for the electrical connector to the ice maker. Once this is off, it's then possible to slide the ice maker out.
4.) Slide the ice maker out from it's 'shelf' in the freezer. You won't be able to completely remove it until you disconnect the power supply.
5.) Disconnect the multi-pin power connector. (It's probably safest to unplug the refrigerator altogether before doing this, but I did not. No exposed metal wiring or connectors. No problems when I did it this way.)
6.) Once the ice-maker was out, remove the white cover from the motor assembly (on the left side of the unit).
7.) Remove the three screws from the black housing of the motor assembly. (This is where I discovered that the connector between the motor and drive-train was broken and needed to be replaced.)
8.) Remove and replace the drive system for the ice cube ejector.
9.) Then reverse the steps to reassemble.

This may seem a bit vague, but it's really quite straightforward once the ice maker is out of the freezer. The replacement motor assembly includes the motor, the motor housing, the drive-train, and the ice-cube ejector. Very easy to re-asemble.

Shopping for and ordering the part took some time since there are so many different after-market parts dealers. In all honesty, I'm glad I decided on PartSelect.com. They had a decent price, safe checkout, and timely delivery. All the essentials of a good online store.

Thanks, and good luck to the next guy who has to deal with a KitchenAid snafu.
56 of 76 people found this instruction helpful.
Was this instruction helpful to you?
Thank you for voting!