
Models > 6ED22PKXFW00

6ED22PKXFW00 Whirlpool Refrigerator

Jump to:

Find Part by Name

Keep searches simple, eg. "belt" or "pump".

Diagrams for 6ED22PKXFW00

Viewing 9 of 9
Keep searches simple, eg. "belt" or "pump".
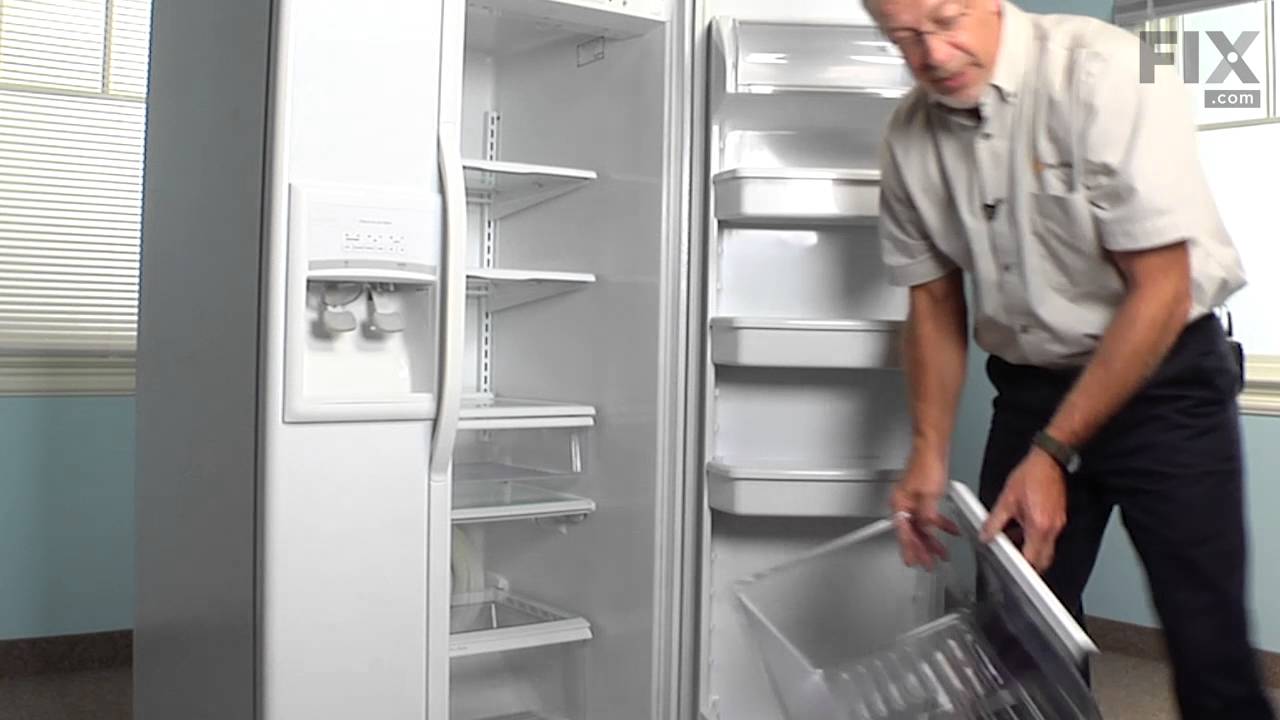
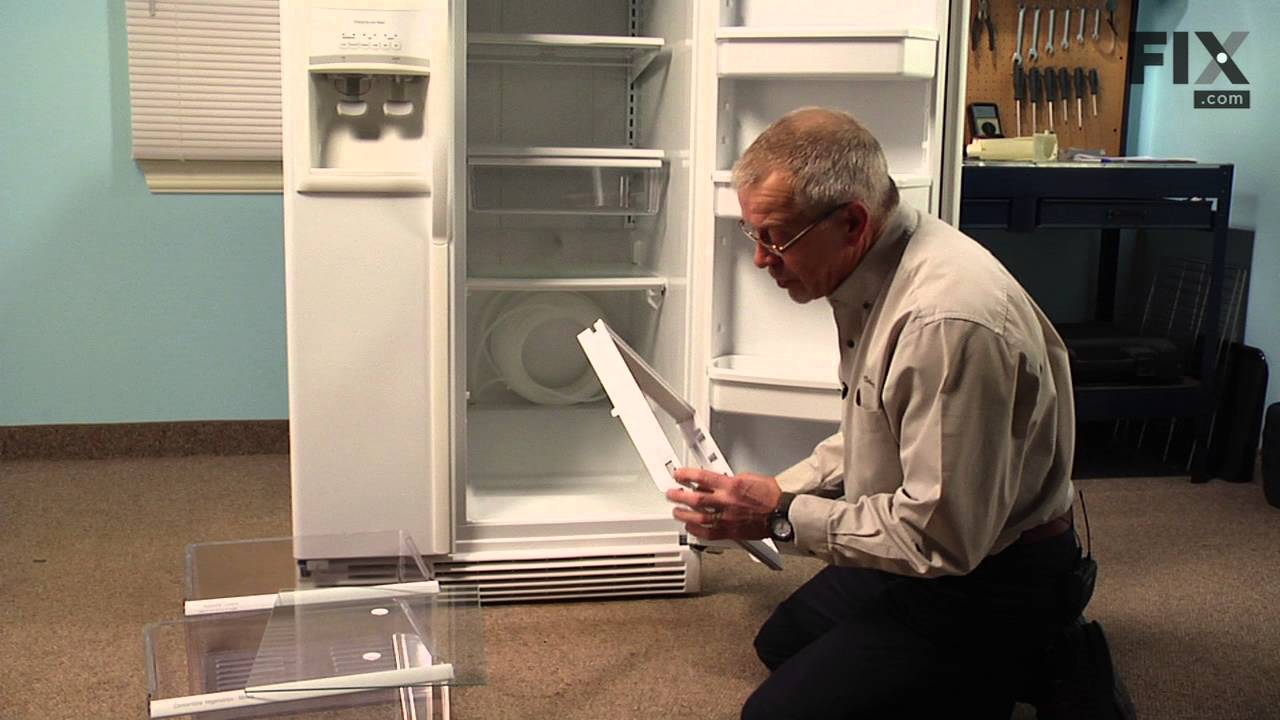
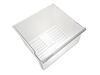
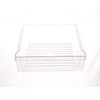
This is a genuine OEM replacement crisper drawer for refrigerators. It is sold as an individual part. The crisper drawer with humidity control allows you to adjust the humidity within the crisper, whi...
In Stock
Order now and your part arrives by Jun 4
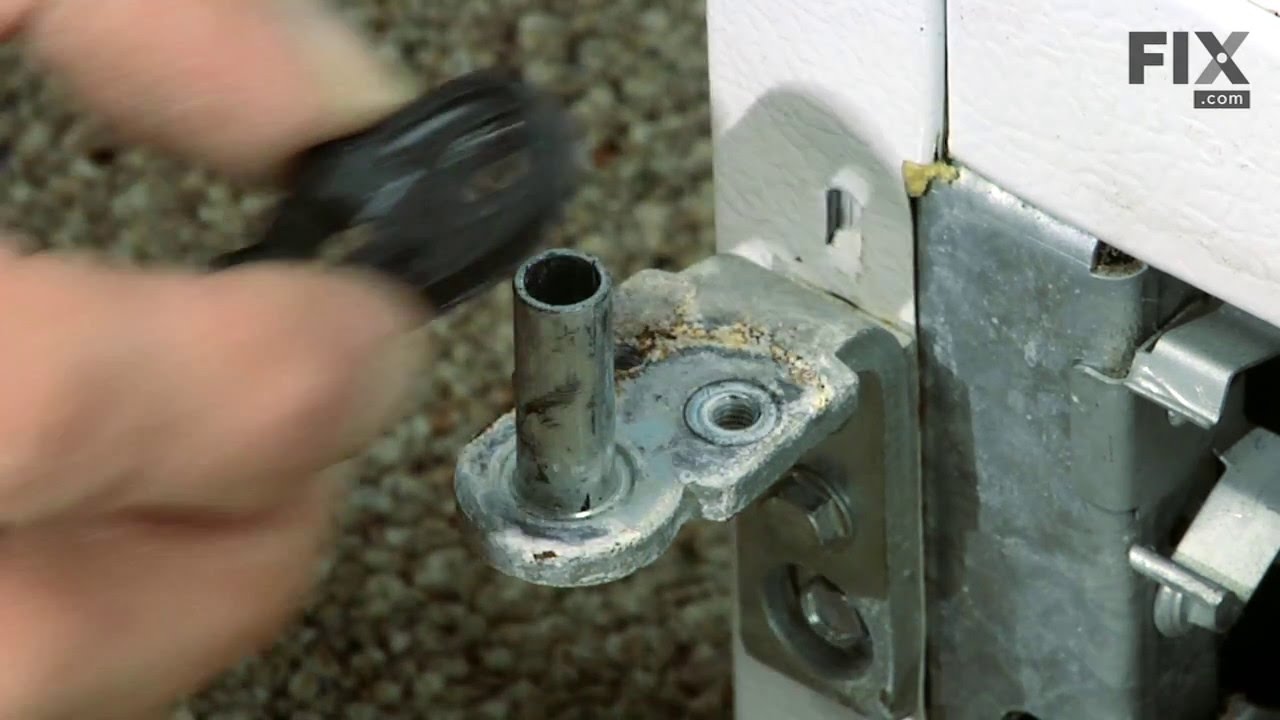
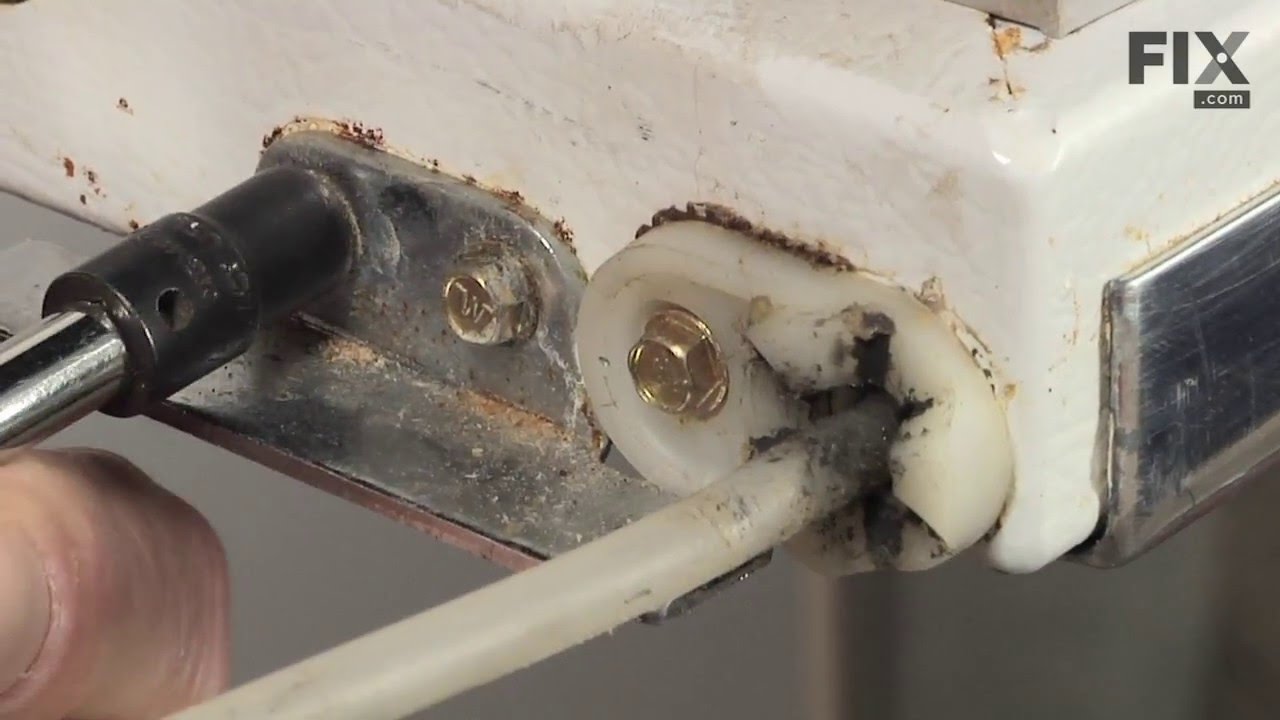
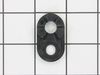
This is a refrigerator or freezer lower door closing cam. This part includes the door cam only, but you will need a new mounting screw to complete this repair, and it is sold separately. Door cams are...
In Stock
Order now and your part arrives by Jun 4
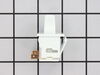
Door switch turns the light off when you close the door.
In Stock
Order now and your part arrives by Jun 4
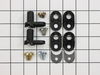
This door closing cam kit is intended for use with the bottom of refrigerator and freezer door hinges. The cam helps with the closing of the doors and to keep them slightly in position when opened.
In Stock
Order now and your part arrives by Jun 4
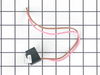
The bi-metal defrost thermostat is attached to the evaporator, and its purpose is to protect the evaporator from overheating when the defrost cycle is running. If there is frost building up in your fr...
In Stock
Order now and your part arrives by Jun 4
This kit contains two options - One that is a push and turn and the other that is a screw in.
In Stock
Order now and your part arrives by Jun 4
$21.82
This is a screw and it is made for multiple appliances in your home. This model is called a sheet metal screw because it has sharp points, and the threads are closer together. This screw is designed t...
In Stock
Order now and your part arrives by Jun 4
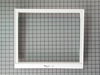
This part is also known as a shelf frame. This drawer cover is for refrigerators. Drawer cover has rail brackets under the cover that hold the drawer and allow the drawer to slide in and out on th...
In Stock
Order now and your part arrives by Jun 4
If you need to replace the glass shelf in your refrigerator, this is a genuine OEM replacement part. Please note that this is strictly the glass shelf insert. The plastic shelf frame is not included b...
In Stock
Order now and your part arrives by Jun 4
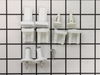
This is a 6 piece kit.
No Longer Available
This drawer does not include the white handle trim any longer.
In Stock
Order now and your part arrives by Jun 4
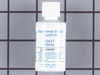
This 18 ml bottle of white appliance touch-up paint is used to cover scratches or marks on your appliance. The white touch-up paint can be used on refrigerators, microwaves, ranges, clothes dryers, an...
In Stock
Order now and your part arrives by Jun 4

Questions and Answers

Be the first to ask our experts a question about this part!

Common Problems and Symptoms for 6ED22PKXFW00

Viewing 19 of 19
Door won’t open or close
Fixed by these parts
Fixing Fixing Fixing
How to fix it
Light not working
Fixed by these parts
Fixing Fixing Fixing
How to fix it
Fridge too warm
Fixed by these parts
Fixing Fixing Fixing
How to fix it
Freezer not defrosting
Fixed by these parts
Fixing
How to fix it
Noisy
Fixed by these parts
Fixing Fixing Fixing
How to fix it
Clicking sound
Fixed by these parts
Fixing Fixing Fixing
How to fix it
Freezer section too warm
Fixed by these parts
Fixing Fixing
How to fix it
Door Sweating
Fixed by these parts
Fixing Fixing Fixing
How to fix it
Fridge and Freezer are too warm
Fixed by these parts
Fixing
How to fix it
Fridge too cold
Fixed by these parts
Fixing
How to fix it
Frost buildup
Fixed by these parts
Fixing
How to fix it
Freezer too cold
Fixed by these parts
Fixing
How to fix it
Leaking
Fixed by these parts
Fixing Fixing Fixing
How to fix it
Too warm
Fixed by these parts
Fixing Fixing
How to fix it
Fridge runs too long
Fixed by these parts
Fixing Fixing
How to fix it
Ice maker not making ice
Fixed by these parts
Fixing Fixing
How to fix it
Ice maker won’t dispense ice
Fixed by these parts
Fixing
How to fix it
Touchpad does not respond
Fixed by these parts
Fixing
How to fix it
Will Not Start
Fixed by these parts
Fixing
How to fix it
Keep searches simple. Use keywords, e.g. "leaking", "pump", "broken" or "fit".
Customer:
Darrell from Cedar Bluff, VA
Parts Used:
WP2188656
Difficulty Level:
Really Easy
Total Repair Time:
Less than 15 mins
track of the pan become broken
Buy a new crisper pan,slide out old one ,slide in new one
426 of 450 people found this instruction helpful.
Was this instruction helpful to you?
Thank you for voting!
Customer:
Paula from Chesterfield, NJ
Parts Used:
WP2188656
Difficulty Level:
Really Easy
Total Repair Time:
Less than 15 mins
Drawer guides broken
Simply pulled out old drawer and replaced with new one. This broken drawer really bothered my wife so this simple repair earned me alot of points at home. Lord knows i can use all the extra points i can get. Thanks for the quick shipment of the part. 2 days from time of call to part on my door step. Thanks again
318 of 414 people found this instruction helpful.
Was this instruction helpful to you?
Thank you for voting!
Customer:
Cathy from Winter Park, FL
Parts Used:
WPW10225581
Difficulty Level:
A Bit Difficult
Total Repair Time:
15 - 30 mins
Tools:
Nutdriver
Fridge was getting too warm, ice buildup on coils.
WARNING: REPLACING THIS PART REQUIRES CUTTING AND SPLICING ELECTRICAL WIRES. RISK OF ELECTRICAL SHOCK OR FIRE. DO NOT ATTEMPT THIS REPAIR IF YOU ARE NOT EXPERIENCED WITH ELECTRICAL WIRING.

Part Info:
The bi-metal strip is clipped onto the evaporator coils and is designed to regulate the defrost coil temperature. If it is n ot functioning properly you may notice ice buildup preventing air flow (and preventing proper refrigeration), or more rarely the freezer side may get too warm during the defrost cycle.

Materials:
* Replacement bi-metal strip
* Wire cutters
* Wire strippers
* Wire nuts
* Electrical tape
* 10MM socket

Steps:

1: UNPLUG THE FRIDGE! If there is ice buildup, wait until the ice has melted. A box fan blowing at the ice will help melt it more quickly.

2: Remove the panel covering the evaporator coils. It's located inside the fridge, on the freezer side.

3: Un-clip the bi-metal strip from the evaporator coils.

4: Unplug the wires from the evaporator fan, defrost coil and bi-metal strip, then disconnect the main connector that is plugged into the rear wall.

5: Clip both wires to the old ( bad ) bi-metal strip. Cut close to the casing of the bi-metal strip so there are long wires to splice onto.

6: Strip 1/4 to 1/2 inches of insulation off of the ends of the wires ( depending on the size of the wire-nuts you use). Twist the bare wires slightly to prevent fraying.

7: Do the same for the ends of the wires on the (new) bi-metal strip.

8: Take the ends of the wires belonging to the (new) bi-metal strip and the wires coming from the main plug. Take the like-colored wires, and twist the bare metal ends together.

9: Twist on wire nuts, for both sets of wires. Make sure they are snug, with no bare wire showing.

10: Tape over the wire nuts with electrical tape. Tape over the wires nuts in a spiral fashion, completely covering the nut and both wires that are now spliced together. This will prevent accidental shorting.

11: Plug the main plug back into the rear wall of the fridge. Also re-connect the connectors to the evaporator fan and defrost coil. Make sure the clips on the connectors are snug to ensure a good connection.

12: Clip the new bi-metal strip onto the coils, in the same spot as before. ( Usually just after the small incoming copper tubing that connects to the coils, known as the expansion valve. That is usually the coldest spot on the coils during operation).

13: Replace the panel that covers the coils.

14: Plug the fridge back in... Now you fridge should defrost correctly. If it does not, your defrost coil could be burned out, or the control board could be faulty.
159 of 186 people found this instruction helpful.
Was this instruction helpful to you?
Thank you for voting!