



Models
>
RISBS620PN
RISBS620PN Whirlpool Refrigerator
Jump to:
Find Part by Name
Keep searches simple, eg. "belt" or "pump".
Keep searches simple, eg. "belt" or "pump".
In Stock
Order now and your part arrives by Oct 10
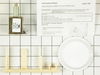
In addition to the solenoid (115V), this kit also comes with a door strike and an ice door assembly. Please be advised the spring and roll pin are not included with this kit.
In Stock
Order now and your part arrives by Oct 10
$31.05
This part includes one authentically sourced 3-pin rocker switch for a refrigerator. It is responsible for turning the light on inside the fridge when the door is open. It is commonly replaced because...
In Stock
Order now and your part arrives by Oct 10
$21.82
This is a screw and it is made for multiple appliances in your home. This model is called a sheet metal screw because it has sharp points, and the threads are closer together. This screw is designed t...
In Stock
Order now and your part arrives by Oct 10
$34.27
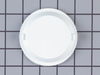
This ice door assembly is a little over three inches in diameter. It is all white in color and it is made entirely of plastic.
In Stock
Order now and your part arrives by Oct 10
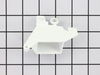
This icemaker water inlet cup is three inches long. It is all white in color and is made of plastic.
In Stock
Order now and your part arrives by Oct 10
In Stock
Order now and your part arrives by Oct 10
$16.35
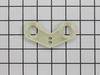
This part is the replacement natural door closer for your refrigerator. It is black in color and is approximately 3 inches by 2 inches in size. The natural door closer allows your refrigerator door to...
Special Order
Once a glass is pressed against the actuator pad it will cause the dispenser to deliver ice or water.
No Longer Available
In Stock
Order now and your part arrives by Oct 10
$61.55
This part is also known as the cycling thermostat and this bi-metal device controls the activation of the icemaker ejection cycle.
In Stock
Order now and your part arrives by Oct 10
Common Problems and Symptoms for RISBS620PN
Viewing 12 of 12Light not working
Fixed by these parts
How to fix it
Leaking
Fixed by these parts

How to fix it
Ice maker won’t dispense ice
Fixed by these parts
How to fix it
Ice maker not making ice
Fixed by these parts
How to fix it
Not dispensing water
Fixed by these parts
How to fix it
Door won’t open or close
Fixed by these parts
How to fix it
Ice maker dispenses too much ice
Fixed by these parts
How to fix it
Door Sweating
Fixed by these parts
How to fix it
Fridge too warm
Fixed by these parts
How to fix it
Fridge too cold
Fixed by these parts
How to fix it
Door latch failure
Fixed by these parts
How to fix it
Noisy
Fixed by these parts
How to fix it



Keep searches simple. Use keywords, e.g. "leaking", "pump", "broken" or "fit".
- Customer:
- Scott from Walker, LA
- Parts Used:
- 12001991
- Difficulty Level:
- Really Easy
- Total Repair Time:
- Less than 15 mins
Ice Dispenser "round chute" broken side tab, ice/water fountain not working
I could see that a tab was broken from the round chute that opens for ice dispensing and closes to seal off freezer ice chute when not in use. With the tab broken, the round door would not shut to seal the freezer chute and dispensing water would spatter everywhere. I looked for just the round door part, but is only sold in the "Ice disp
... Read more
enser solenoid and door kit" I only had to use the round chute/flap from the kit. The instructions were easy to follow and I had the fridge back working in about 10 minutes. It took me longer to find the right star headed screwdriver that I needed to remove the Maytag star screws (5) total. Because I didn't have to replace the solenoid or the spring mechanism, this was especially easy, and now I have those parts on hand if one day I need them!!
Read less
Was this instruction helpful to you?
Thank you for voting!
- Customer:
- David from Chester, CA
- Parts Used:
- WP628356
- Difficulty Level:
- Really Easy
- Total Repair Time:
- Less than 15 mins
- Tools:
- Nutdriver, Screw drivers
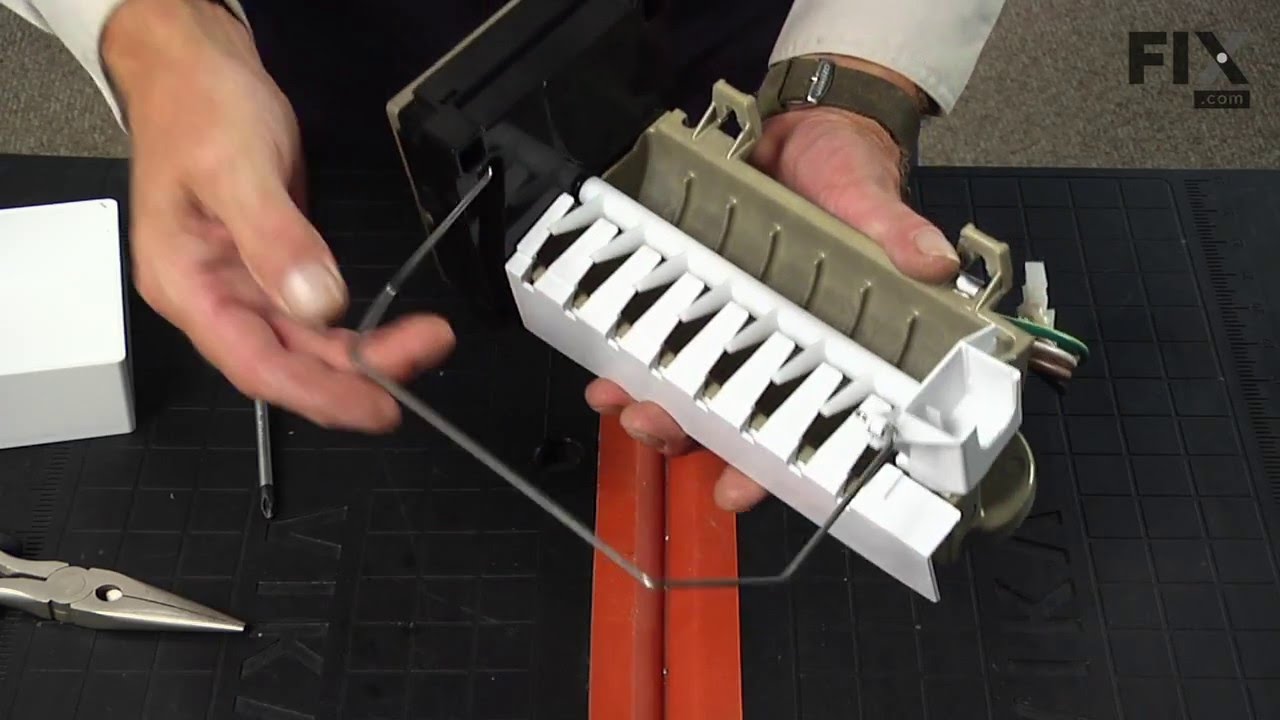
The Bearing Cup Assembly was broken and ice would jamb against it during the ice making cycle.
I removed the ice maker from the refrigerator, by removing one screw on the underside bracket and loosening the two screws at the top side, then lifting the ice maker off the loosened screws. I then unplugged the electrical harness that supplies power from the refrigerator to the ice maker. I then disassembled the ice maker by removing
... Read more
the front cover which is snapped in place, then removing two recessed screws at the front. I removed the broken part, I then reassembled the ice maker with the new part. I replaced the two recessed screws at the front and snapped on the cover. Then I reinstalled the ice maker in the refrigator by plugging in the harness, slipping the ice maker over the loosened screws in the refrigerator and replacing the screw that was removed from the underside bracket. Tightening all the screws completed the project.
Read less
Was this instruction helpful to you?
Thank you for voting!
- Customer:
- Philip from Plantation, FL
- Parts Used:
- WP61005883
- Difficulty Level:
- Really Easy
- Total Repair Time:
- Less than 15 mins
- Tools:
- Screw drivers
Ice dispenser cover flap was broken.
First I unpluged the refrigerator, then I removed the drip shelf (slides out). Then removed the two screws hidden by the drip shelf. Then I removed the control panel by pulling out on the bottom then lifting slightly to to expose the ribbon cable. The circuit boards you see at this point will deliver an electrical shock if the refrigera
... Read more
tor is plugged in. I disconnected the ribbon cable form the control (front) panel. Next I removed three screws that hold the chute assembly in place and worked the chute away from the door. Pay attention to the placement of the water line before you remove the chute. The bad flap fell out at this point but it is easy to fiqure out how to place the new one. When putting the chute back in place make sure the arm holding the flap is aligned in the groove of the solenoid plunger and not just setting on top. (I had to do this twice because the chute would not open the first time I put it back together). About a 30 min job because I took it apart the first time to see what was broken. I only needed the flap, the arm it mounts to an the solenoid were not broken. Easy to do and only cost about $16.00 with shipping for the part.
Read less
Was this instruction helpful to you?
Thank you for voting!