



Models
>
MSBH30V7LS4
MSBH30V7LS4 Uni Refrigerator
Jump to:
Find Part by Name
Keep searches simple, eg. "belt" or "pump".
Diagrams for MSBH30V7LS4
Viewing 8 of 8


Keep searches simple, eg. "belt" or "pump".

$38.56
This is an authentic air filter for refrigerators, sold individually. It helps to reduce strong odors and impurities found in the air. This filter needs to be replaced every 6 months to ensure it is w...
In Stock
Order now and your part arrives by Oct 9

$17.47
This screw is used to secure the handle to your refrigerator and comes in a pack of four. This genuinely sourced part can be loosened and tightened with a Phillips-head or square-head screwdriver. Wit...
In Stock
Order now and your part arrives by Oct 9

In Stock
Order now and your part arrives by Oct 9

$25.25
Sold individually.
This is a genuine part. The handle mounting shoulder screw (no.10 ab) is made for use with many refrigerators. The metal screw helps to fasten the handle assembly to the outer do...
In Stock
Order now and your part arrives by Oct 9

Designed for 36-inch French-door refrigerators, this GREY magnetic door gasket ensures a secure seal to prevent air leaks and maintain optimal cooling conditions. It plays a critical role in regulatin...
In Stock
Order now and your part arrives by Oct 9
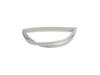
$71.45
If your freezer drawer isn’t sealing like it used to, this gray gasket might be the fix. It helps keep cold air inside and warm air out, so your food stays fresh and your appliance doesn’t have to wor...
In Stock
Order now and your part arrives by Oct 9

In Stock
Order now and your part arrives by Oct 9
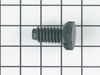
This is an adjustable foot for your freezer, refrigerator, and dryer. This part supports your unit by screwing into one of the bottom four corners, and adjusting the height of your machine. If your ap...
In Stock
Order now and your part arrives by Oct 9

Special Order
In Stock
Order now and your part arrives by Oct 9

This genuine OEM hinge mounting screw is designed for use in Frigidaire and Electrolux refrigerators, providing a secure and reliable way to fasten door hinges to the cabinet. Built with a durable hex...
In Stock
Order now and your part arrives by Oct 9
In Stock
Order now and your part arrives by Oct 9
Common Problems and Symptoms for MSBH30V7LS4
Viewing 14 of 14Door won’t open or close
Fixed by these parts


How to fix it
Fridge too warm
Fixed by these parts

How to fix it
Noisy
Fixed by these parts

How to fix it
Door Sweating
Fixed by these parts
How to fix it
Light not working
Fixed by these parts

How to fix it
Frost buildup
Fixed by these parts
How to fix it
Leaking
Fixed by these parts
How to fix it
Fridge and Freezer are too warm
Fixed by these parts
How to fix it
Fridge too cold
Fixed by these parts
How to fix it
Freezer section too warm
Fixed by these parts
How to fix it
Freezer not defrosting
Fixed by these parts
How to fix it
Ice maker not making ice
Fixed by these parts
How to fix it
Too warm
Fixed by these parts
How to fix it
Ice maker dispenses too little ice
Fixed by these parts
How to fix it

Keep searches simple. Use keywords, e.g. "leaking", "pump", "broken" or "fit".
- Customer:
- Cindy from AMARILLO, TX
- Parts Used:
- 240597220
- Difficulty Level:
- Really Easy
- Total Repair Time:
- Less than 15 mins
- Tools:
- Screw drivers
My fridge temp was warm. Freezer temp was ok, but fluctuated some.
I checked the dampener, it worked. The compressor and fan worked. I knew because my freezer was still hovering around 10 degrees. Coils were clean. Thermistor was the only thing it could be. Took all my shelves out. Removed four screws. Took the back panel off. The thermistor sits tucked in on the side. I piped it out, in clipped it. Used
... Read more
my multimeter to test the numbers. Numbers were off just a bit. Ordered the part. Crossed my fingers.,took less then 5 minutes to put the part in. Plugged in the fridge. It was sitting at 33 degrees in about an hour and a half. I can’t believe I fixed it. I knew NOTHING about refrigerators. For how big my fridge is, it would have cost 3,000 and up to get a new one with the same cu ft size. Instead, it cost me $44. That includes shipping. Thank you Parts Select!! Made it so easy to pick the correct part for my model fridge!
Read less
Was this instruction helpful to you?
Thank you for voting!
- Customer:
- andy from Peshastin, WA
- Parts Used:
- 240505801
- Difficulty Level:
- Really Easy
- Total Repair Time:
- Less than 15 mins
- Tools:
- Pliers, Screw drivers
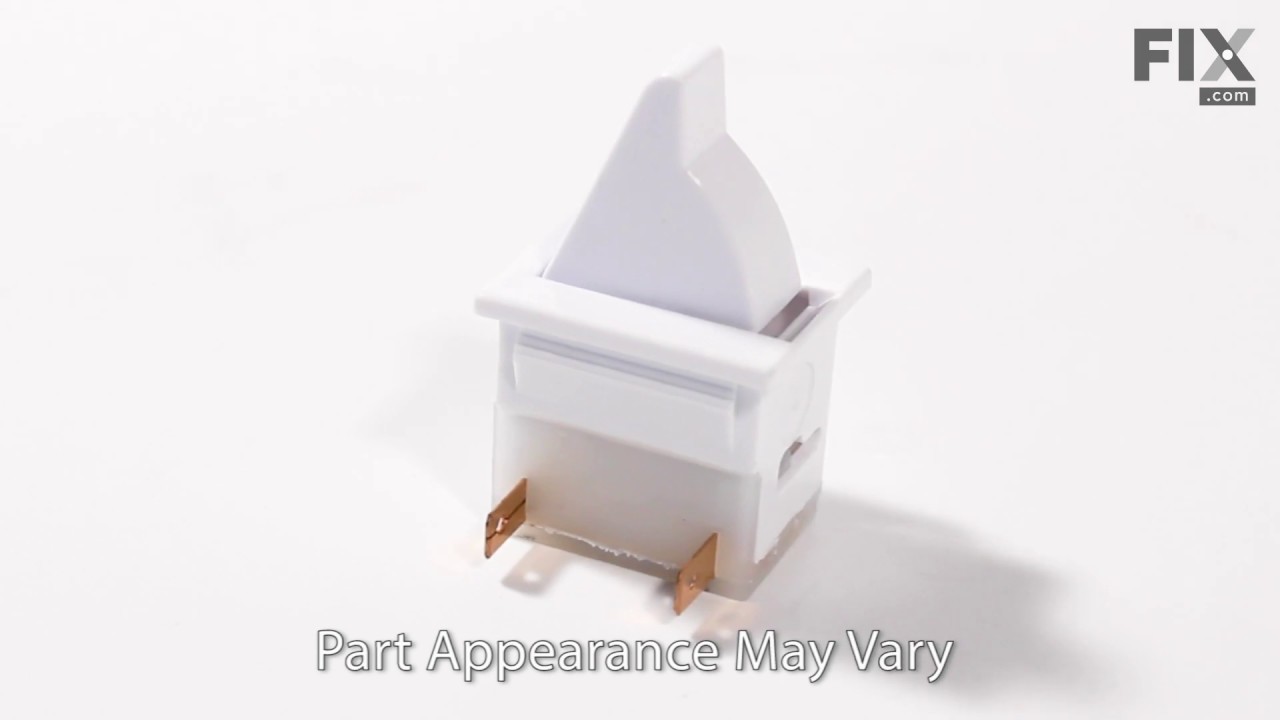
Refrigerator light was out
Test the light socket first with a bulb that you know is good. If the light still does not come on, unplug the refrigerator, remove the switch by inserting a very small, thin, flathead screwdriver alongside it and pull the switch out slowly with your other hand. There are two wires there. Remove them gently with some needle nose pliers. I
... Read more
f you want to test to see if the switch is defective, take a insulated jumper wire, and attach it between the two wires. Plug the refrigerator back in and see if the light comes on. If the light does come on, replace with a new switch by re-attaching the wires and placing it back in the hole firmly.
Read less
Was this instruction helpful to you?
Thank you for voting!
- Customer:
- Brant from WALLINGFORD, CT
- Parts Used:
- 5304537408
- Difficulty Level:
- Really Easy
- Total Repair Time:
- Less than 15 mins
Freezer was accumulating a sheet of ice in the bottom
determined it was an air leak. Freezer portion has no drain. A fan in back blows air in through vents to keep unit defrosted. There was a gap across the entire top of gasket where it seals up against the frame. Simply pull the old gasket out of its track around the entire door. No tools needed and the door does not need to be removed
... Read more
. Fit the new gasket into the track until it is securely seated around all 4 sides of the door. That's it. I still had a small gap between the top of the door gasket and the freezer frame. The freezer frame may have warped a little over the years. I applied a thin strip of weather stripping to the freezer body where it meets up against the new gasket. That did it.
Read less
Was this instruction helpful to you?
Thank you for voting!