



Models
>
RH22H9010SR
RH22H9010SR (AA-04) Samsung Refrigerator
Jump to:
Find Part by Name
Keep searches simple, eg. "belt" or "pump".
Diagrams for RH22H9010SR
Viewing 5 of 5


Keep searches simple, eg. "belt" or "pump".
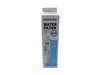
A good way to judge whether the filter needs to be replaced is when the water flow to the dispenser starts slowing down and there has been no change to the water pressure to the product. There is no b...
No Longer Available
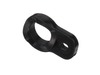
This door closer (part number DA66-00558B) is for refrigerators. Door closer DA66-00558B helps the door open and close smoothly. Wear work gloves to protect your hands when installing this part.
In Stock
Order now and your part arrives by Oct 26
In Stock
Order now and your part arrives by Oct 26
In Stock
Order now and your part arrives by Oct 26
On Order
In Stock
Order now and your part arrives by Oct 26
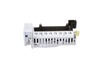
$253.09
This ice maker assembly produces ice cubes when needed. It does this by receiving water from the water inlet valve, keeping it in the ice mold until it freezes, and then releasing the ice to repeat th...
In Stock
Order now and your part arrives by Oct 26
In Stock
Order now and your part arrives by Oct 26
In Stock
Order now and your part arrives by Oct 26
In Stock
Order now and your part arrives by Oct 26
Common Problems and Symptoms for RH22H9010SR
Viewing 2 of 2Door won’t open or close
Fixed by these parts
How to fix it
Ice maker not making ice
Fixed by these parts
How to fix it

Keep searches simple. Use keywords, e.g. "leaking", "pump", "broken" or "fit".
- Customer:
- Arlena from CHICAGO, IL
- Parts Used:
- DA29-00020B
- Difficulty Level:
- Very Easy
- Total Repair Time:
- Less than 15 mins
- Tools:
- Pliers
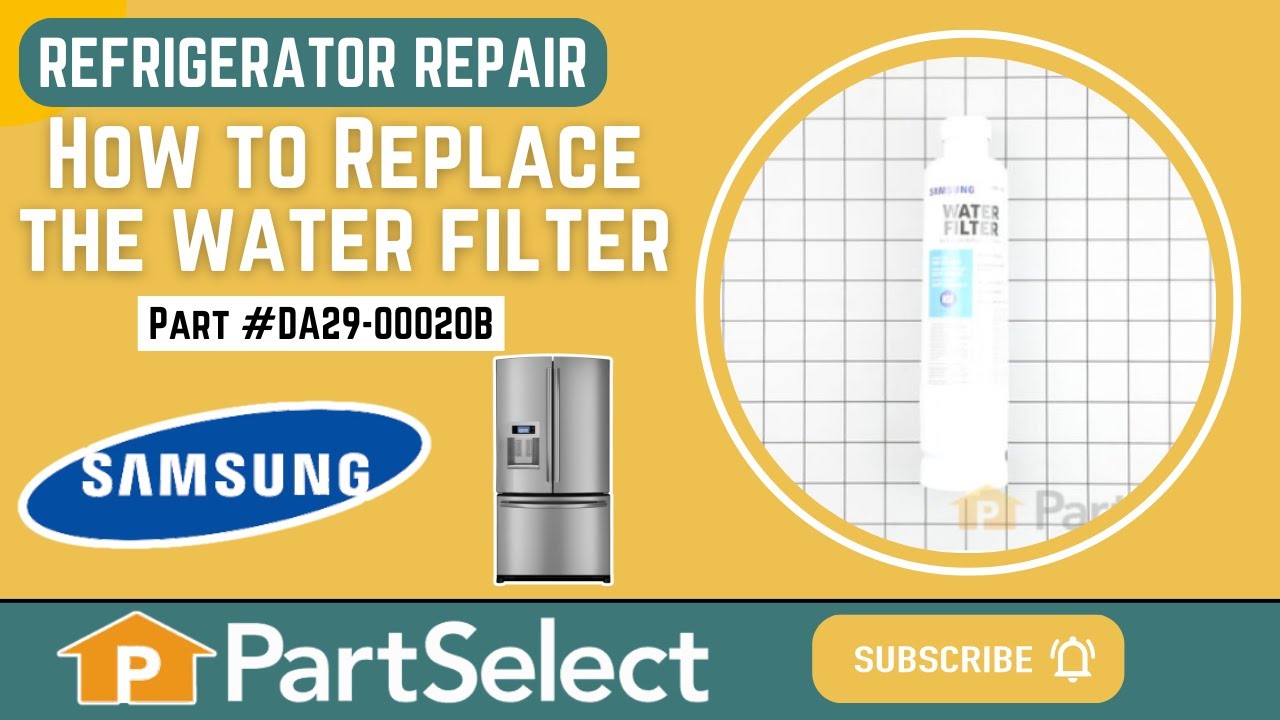
Water filter needed to be changed.
unlock filter with pliers with a turn to the right, pull out and replace filter, Turner new filter to the left until it click in.
Was this instruction helpful to you?
Thank you for voting!
- Customer:
- Ira from MANHATTAN BCH, CA
- Parts Used:
- DA97-13415B
- Difficulty Level:
- Really Easy
- Total Repair Time:
- Less than 15 mins
ice dispenser screw cracked
replaced ice "bucket"..snapped out old one, snapped in new
Was this instruction helpful to you?
Thank you for voting!
- Customer:
- Merlin from GREEN BAY, WI
- Parts Used:
- DA97-14655C
- Difficulty Level:
- Easy
- Total Repair Time:
- 30 - 60 mins
- Tools:
- Screw drivers
Water inlet valve on ice maker failed to close allowing water to continue to flow
It took me a while to figure out that the water and ice maker inlet valves are part of the water filter case assembly. That allowed me to determine which part to order. The part came as promised.
I was able to reuse the water inlet line from the old assembly by disconnecting the one from the new assembly. I wasn't able to re ... Read more move the water and ice maker outlet valves from the new unit. That meant that I needed to tape a piece of string to the old lines that penetrate the bottom of the refrigerator cabinet. Then I disconnected the electrical connections and pulled the unit out. Taped the string to the new water supply lines and pulled them through the cabinet opening to the front of the cabinet. Reconnected lines to the lines at the door. The screw hole that connects the assembly to the side of the cabinet didn't quite match up with the original unit this meant I had to do some minor adjustment.
After installing, I left the ice maker off at the door panel and bled the water line to remove any air in the line. The next step should have been obvious but, it wasn't to me. You need to turn the ice maker on at the door panel, reset the ice maker (blue button) and, allow it to run through several cycles to refill (prime), the water line to the ice maker. This can take a couple of hours as it acts as though it receives a full 95CC of water each time it cycles. By that I mean it releases 95CC of water, waits for it to freeze and then goes through the motion of dumping cubes into the bin. It can take several cycles just to fill the water line in the door.
Read less
Was this instruction helpful to you?
Thank you for voting!