



Models
>
GB6525PEAS10
GB6525PEAS10 Maytag Refrigerator
Jump to:
Find Part by Name
Keep searches simple, eg. "belt" or "pump".
Diagrams for GB6525PEAS10
Viewing 7 of 7


Keep searches simple, eg. "belt" or "pump".

This part is the center crisper drawer slide rail which helps to support the crisper drawers in your refrigerator. If you have difficulty opening or closing your crispers, the center slide rail may be...
In Stock
Order now and your part arrives by Nov 2

In Stock
Order now and your part arrives by Nov 2

$31.05
This part includes one authentically sourced 3-pin rocker switch for a refrigerator. It is responsible for turning the light on inside the fridge when the door is open. It is commonly replaced because...
In Stock
Order now and your part arrives by Nov 2

$95.07
Keep your refrigerator organized and your fresh foods easily accessible with this replacement shelf frame. It’s designed to support the glass shelf above the crisper or pantry drawer, offering a relia...
In Stock
Order now and your part arrives by Nov 2

In Stock
Order now and your part arrives by Nov 2

$114.36
Sold individually. Crisper drawer is an original equipment manufacturer (OEM) part that fits some bottom-freezer Kenmore, Amana, Crosley, Jenn-Air, KitchenAid, Maytag and Whirlpool refrigerators.
T...
In Stock
Order now and your part arrives by Nov 2

In Stock
Order now and your part arrives by Nov 2

This part mounts on the crisper drawer cover and is used to limit the amount of air that gets into the crisper.
In Stock
Order now and your part arrives by Nov 2

$150.38
This tempered glass insert fits into the crisper drawer frame to restore shelf space and organization in select refrigerators. It installs easily without tools and provides a sturdy surface above the ...
In Stock
Order now and your part arrives by Nov 2

In Stock
Order now and your part arrives by Nov 2

$142.67
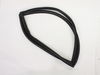
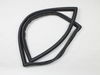
This white rubber gasket seals the freezer door to keep cold air in and warm air out. It helps maintain consistent temperatures, reduces energy use, and prevents frost buildup. Made from durable, flex...
In Stock
Order now and your part arrives by Nov 2
Common Problems and Symptoms for GB6525PEAS10
Viewing 16 of 16Light not working
Fixed by these parts
How to fix it
Door won’t open or close
Fixed by these parts
How to fix it
Noisy
Fixed by these parts
How to fix it
Door Sweating
Fixed by these parts

How to fix it
Frost buildup
Fixed by these parts
How to fix it
Ice maker not making ice
Fixed by these parts
How to fix it
Leaking
Fixed by these parts
How to fix it
Door latch failure
Fixed by these parts
How to fix it
Freezer not defrosting
Fixed by these parts
How to fix it
Not dispensing water
Fixed by these parts
How to fix it
Ice maker won’t dispense ice
Fixed by these parts
How to fix it
Fridge too cold
Fixed by these parts
How to fix it
Freezer section too warm
Fixed by these parts
How to fix it
Fridge and Freezer are too warm
Fixed by these parts
How to fix it
Clicking sound
Fixed by these parts
How to fix it
Fridge too warm
Fixed by these parts

How to fix it

Keep searches simple. Use keywords, e.g. "leaking", "pump", "broken" or "fit".
- Customer:
- Ruth from Roxbury, MA
- Parts Used:
- WPW10671238
- Difficulty Level:
- Really Easy
- Total Repair Time:
- Less than 15 mins
Cracked & Snapped Center Crisper Rail
A very easy fix took all of five minutes
Was this instruction helpful to you?
Thank you for voting!
- Customer:
- Clint from Rayville, MO
- Parts Used:
- W11384469
- Difficulty Level:
- Really Easy
- Total Repair Time:
- Less than 15 mins
- Tools:
- Screw drivers
Lights inside refrigerator not working
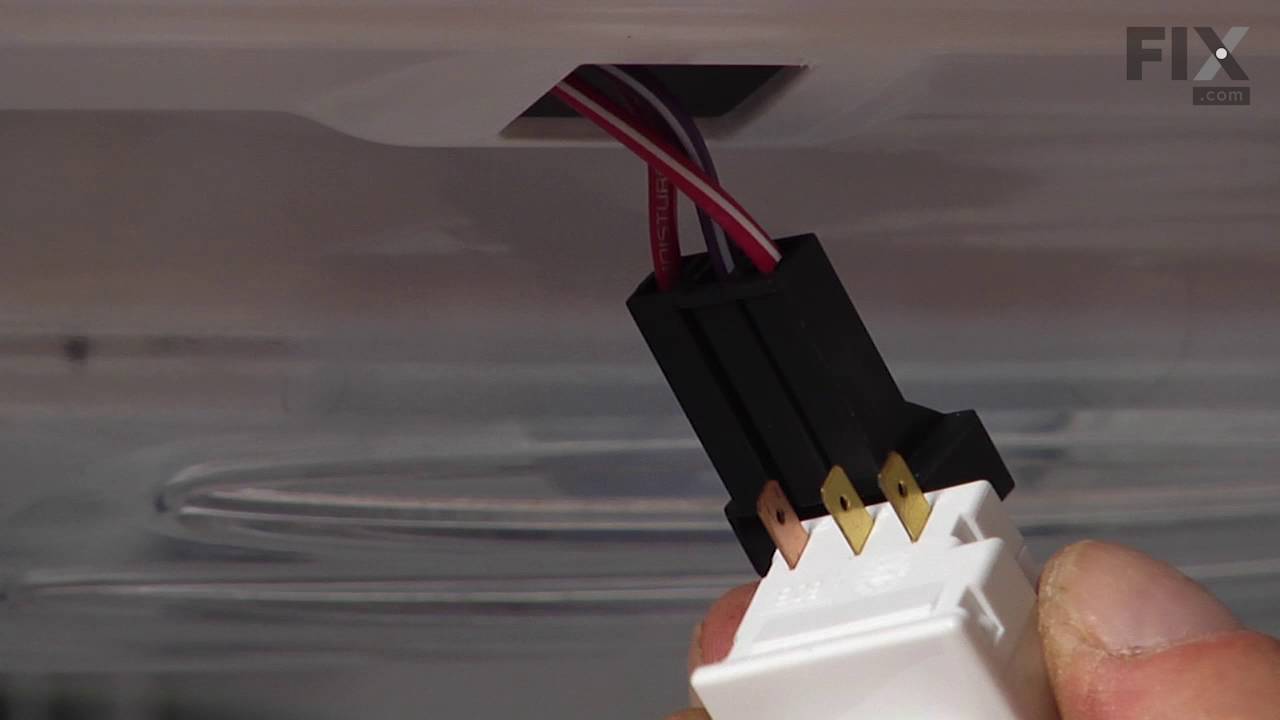
I used a flat-head screwdriver to pop out the old light rocker switch. Then, I unplugged the wires, plugged them into the new light rocker switch, and then popped the new switch into the hole. That's it! Lights began working again.
Was this instruction helpful to you?
Thank you for voting!
- Customer:
- Kevin from Beckley, WV
- Parts Used:
- W11396033
- Difficulty Level:
- Really Easy
- Total Repair Time:
- Less than 15 mins
- Tools:
- Screw drivers
while closing the door, the light switch fouled, resulting in the switch breaking
I used a flat screwdriver and released the lock tab on the bottom of the light switch, and pried the switch out, being careful to not damage the plastic around the mounting place of the switch, unplugged wiring from old switch, plugged in the new one and pushed the new switch into place. Job finished light switch now working.
Was this instruction helpful to you?
Thank you for voting!