



Models
>
MRT118FFFE00
MRT118FFFE00 Maytag Refrigerator
Jump to:
Find Part by Name
Keep searches simple, eg. "belt" or "pump".
Diagrams for MRT118FFFE00
Viewing 7 of 7


Keep searches simple, eg. "belt" or "pump".

$31.05
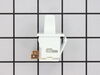
The refrigerator door switch turns the interior light off when the door closes. If the light is not working, the switch may be the cause. This is an OEM replacement. Confirm compatibility using your r...
In Stock
Order now and your part arrives by Nov 23

$46.07
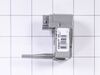
The capacitor, also known as a run capacitor, is a component in your fridge that allows the compressor to cycle on and off to maintain a constant temperature. If your fridge and freezer are too warm i...
In Stock
Order now and your part arrives by Nov 23

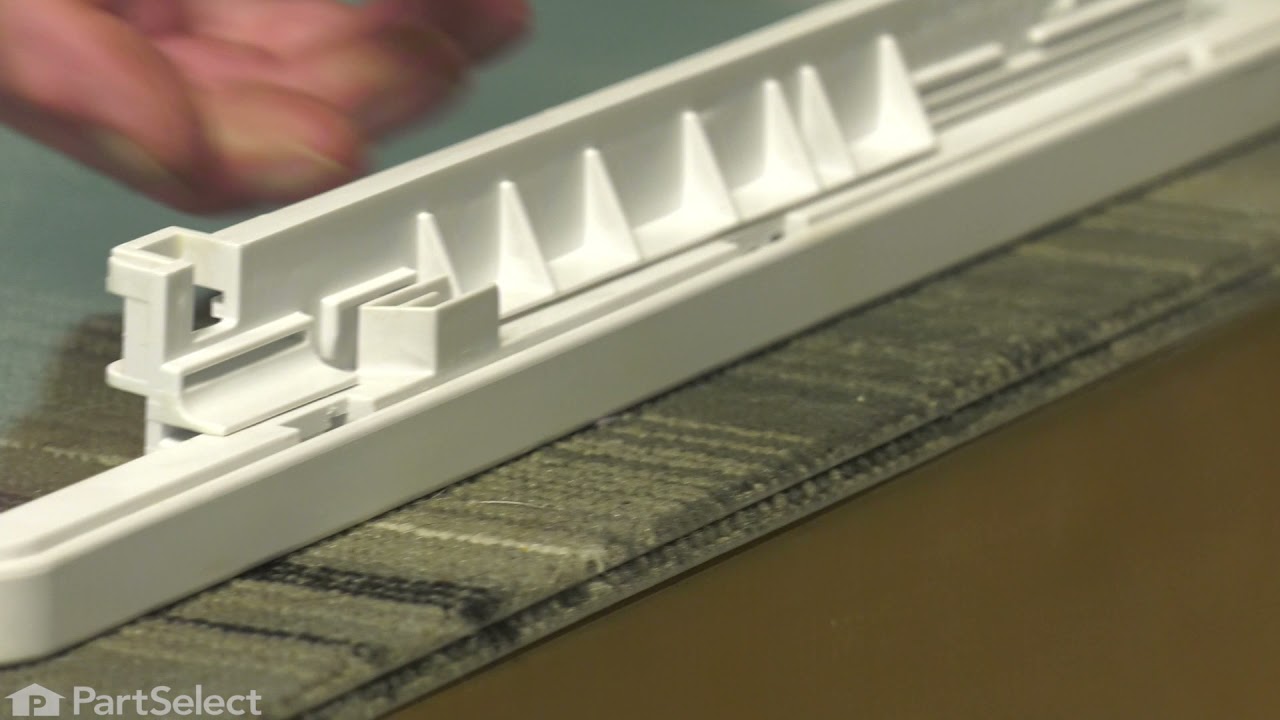
Hold the retainer bar securely against the inner door panel with this refrigerator door shelf rail end cap. It snaps into the door liner and supports the bar that keeps bottles, jars, and condiments f...
In Stock
Order now and your part arrives by Nov 23

$56.24
This is an OEM evaporator fan motor with an integrated wire harness for a refrigerator. It is in the back of the freezer where it pushes the air over the refrigerator coils, where the warm air cools a...
In Stock
Order now and your part arrives by Nov 23

This 18 ml bottle of white appliance touch-up paint is used to cover scratches or marks on your appliance. The white touch-up paint can be used on refrigerators, microwaves, ranges, clothes dryers, an...
No Longer Available

$13.07
This hinge bracket, also known as a door stop, is attached to the bottom of the door and is used to limit how far the door swings out to protect the refrigerator itself, and any surrounding cabinets f...
In Stock
Order now and your part arrives by Nov 23

$11.98
This appliance hex washer head screw is used to secure brackets, hinges, or other mounted components in place. Its six-sided head offers a solid handhold for a socket or nut driver, while the built-in...
In Stock
Order now and your part arrives by Nov 23

$17.44
The left-side track supports and guides your refrigerator or freezer drawer as it slides. This OEM replacement snaps in and out. Check your appliance model to confirm fit.
In Stock
Order now and your part arrives by Nov 23

This refrigerator right drawer slide rail keeps the crisper drawer moving smoothly. The drawer?s right side rests on this support, which guides opening and closing to help keep travel level and steady...
In Stock
Order now and your part arrives by Nov 23

In Stock
Order now and your part arrives by Nov 23

This refrigerator dairy compartment door is used to keep butter, cheese, and spreads enclosed while making them easy to see. The clear plastic panel lifts for access and lowers to cover the storage op...
In Stock
Order now and your part arrives by Nov 23

In Stock
Order now and your part arrives by Nov 23
Common Problems and Symptoms for MRT118FFFE00
Viewing 16 of 16Light not working
Fixed by these parts
How to fix it
Fridge too warm
Fixed by these parts


How to fix it
Will Not Start
Fixed by these parts
How to fix it
Fridge and Freezer are too warm
Fixed by these parts
How to fix it
Door won’t open or close
Fixed by these parts
How to fix it
Freezer section too warm
Fixed by these parts
How to fix it
Noisy
Fixed by these parts
How to fix it
Clicking sound
Fixed by these parts
How to fix it
Too warm
Fixed by these parts
How to fix it
Freezer not defrosting
Fixed by these parts
How to fix it
Frost buildup
Fixed by these parts

How to fix it
Won’t start
Fixed by these parts
How to fix it
Fridge runs too long
Fixed by these parts
How to fix it
Fridge too cold
Fixed by these parts
How to fix it
Door latch failure
Fixed by these parts
How to fix it
Ice maker not making ice
Fixed by these parts
How to fix it
Keep searches simple. Use keywords, e.g. "leaking", "pump", "broken" or "fit".
- Customer:
- garth from forest lake, MN
- Parts Used:
- WPW10662129
- Difficulty Level:
- Really Easy
- Total Repair Time:
- 15 - 30 mins
- Tools:
- Nutdriver, Screw drivers
My refrigerator stopped cooling and the freezer section stopped freezing
I knew the chances of all the freon leaking out was unlikely so I looked at the wiring to the compressor and there was a capacitor and a starter/overload so i figured I would start there. I went on line and found the parts at this site and they were less than the minimum service call charge for a service tech so I figured what the heck le
... Read more
t's give her a shot so I did give it a shot. I ordered the parts and they were there in less time than a service tech could come out and i installed the parts and guess what for 90.00 in parts and 15 minutes in time I repaired my refrigerator. Thanks guys, It took less time to order the parts than it did to make the repair so thanks, your website rocks and is very well designed so my hat is off to you guys!
Read less
Was this instruction helpful to you?
Thank you for voting!
- Customer:
- William from Middletown, NY
- Parts Used:
- WP2315539
- Difficulty Level:
- Easy
- Total Repair Time:
- 15 - 30 mins
- Tools:
- Nutdriver
Evaporator Fan failure
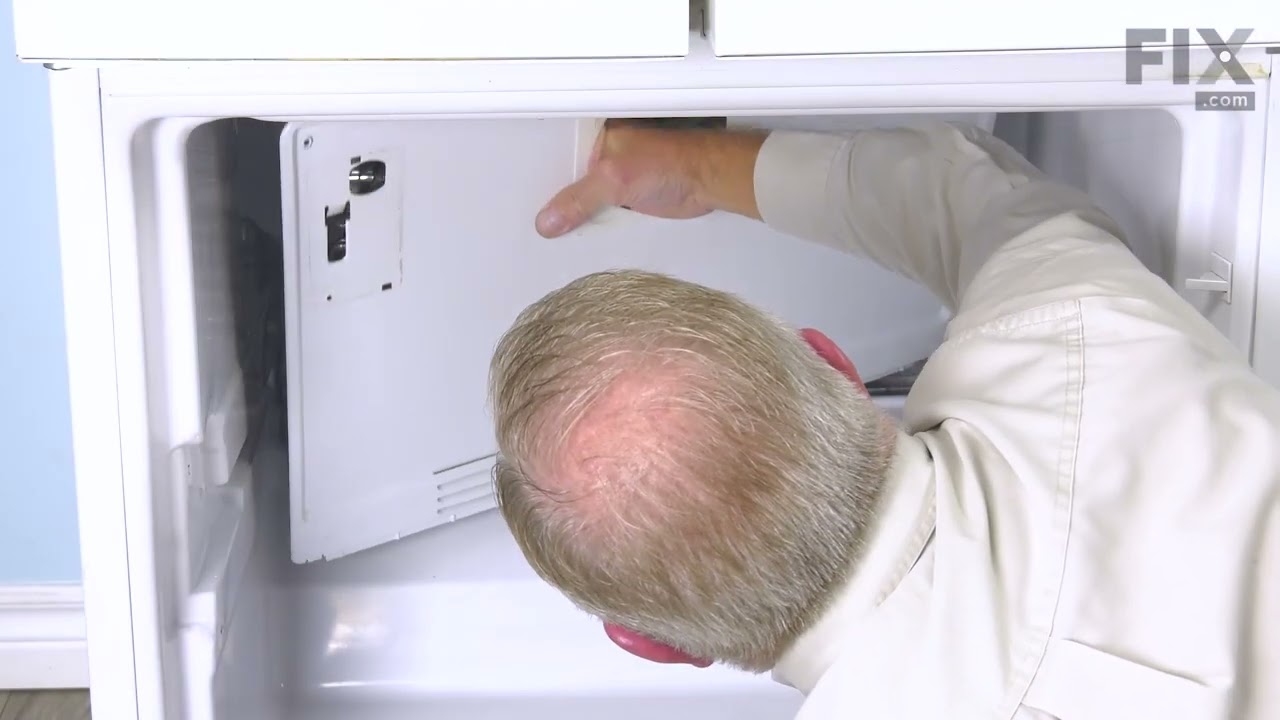
The reason I repaired it myself was because the repairman that diagnosed the problem.didn't come back in two weeks. The evaporator fan sits behind a vented wall in the freezer and directs cold air into freezer and refrigerator.I removed the ice make assembly first and then the freezer wall held in place by two sheet metal nuts. Then remov
... Read more
ed wires from fan motor. Removed the fan blade from fan motor,which was press fitted on,then removed fan motor from bracket assembly(make sure and retain the two vibration rubber washers on back and front of motor. Reinstall new motor with vibration washers and press fan blade on new motor. Install in bracket assemble and reassemnble.
Read less
Was this instruction helpful to you?
Thank you for voting!
- Customer:
- Clint from Rayville, MO
- Parts Used:
- W11384469
- Difficulty Level:
- Really Easy
- Total Repair Time:
- Less than 15 mins
- Tools:
- Screw drivers
Lights inside refrigerator not working
I used a flat-head screwdriver to pop out the old light rocker switch. Then, I unplugged the wires, plugged them into the new light rocker switch, and then popped the new switch into the hole. That's it! Lights began working again.
Was this instruction helpful to you?
Thank you for voting!