



Models
>
GT2482NKCW
GT2482NKCW Maytag Refrigerator
Jump to:
Find Part by Name
Keep searches simple, eg. "belt" or "pump".
Diagrams for GT2482NKCW
Viewing 9 of 9


Keep searches simple, eg. "belt" or "pump".
$18.54
This is an end cap for the shelf retainer bar on your fridge door. This genuine OEM part is white in color and made of plastic. The end cap can be used for either the left or right side of the retaine...
In Stock
Order now and your part arrives by Oct 19
In Stock
Order now and your part arrives by Oct 19

$53.58
This refrigerator door shelf trim is approximately 28 inches long. It is all white in color, and it is made entirely of metal. NOTE: The image may not be of the exact product but will function properly.
In Stock
Order now and your part arrives by Oct 19

$21.82
This is a screw and it is made for multiple appliances in your home. This model is called a sheet metal screw because it has sharp points, and the threads are closer together. This screw is designed t...
In Stock
Order now and your part arrives by Oct 19

This crisper drawer shelf support is used for many refrigerators.
No Longer Available
In Stock
Order now and your part arrives by Oct 19
$27.28
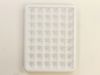
This 48 cube ice cube tray is eleven inches long. It is all white in color and it is made entirely of plastic.
In Stock
Order now and your part arrives by Oct 19
$188.17
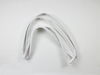
This white gasket is used to seal the door when closed to keep the cool air inside and the room air out.
In Stock
Order now and your part arrives by Oct 19
In Stock
Order now and your part arrives by Oct 19
$37.49
This lower hinge pin is just over an inch long. It is black in color and is made of plastic. It is located on the bottom part of the door hinge.
On Order
$13.07
This hinge washer is an inch in diameter. It is all black in color and is made of plastic. Sold individually.
In Stock
Order now and your part arrives by Oct 19

$7.60
This screw is less than an inch long, and is made entirely of metal. Sold individually.
In Stock
Order now and your part arrives by Oct 19
Common Problems and Symptoms for GT2482NKCW
Viewing 8 of 8Light not working
Fixed by these parts
How to fix it
Door won’t open or close
Fixed by these parts
How to fix it
Fridge too warm
Fixed by these parts
How to fix it
Door Sweating
Fixed by these parts
How to fix it
Leaking
Fixed by these parts
How to fix it
Fridge runs too long
Fixed by these parts
How to fix it
Freezer section too warm
Fixed by these parts
How to fix it
Freezer not defrosting
Fixed by these parts
How to fix it



Keep searches simple. Use keywords, e.g. "leaking", "pump", "broken" or "fit".
- Customer:
- Clint from Rayville, MO
- Parts Used:
- W11384469
- Difficulty Level:
- Really Easy
- Total Repair Time:
- Less than 15 mins
- Tools:
- Screw drivers
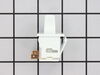
Lights inside refrigerator not working
I used a flat-head screwdriver to pop out the old light rocker switch. Then, I unplugged the wires, plugged them into the new light rocker switch, and then popped the new switch into the hole. That's it! Lights began working again.
Was this instruction helpful to you?
Thank you for voting!
- Customer:
- Craig from Westminster, CA
- Parts Used:
- WP61002140
- Difficulty Level:
- Very Difficult
- Total Repair Time:
- More than 2 hours
- Tools:
- Nutdriver, Pliers, Screw drivers, Socket set, Wrench (Adjustable), Wrench set
cocktails running out of ice
filled both ice cube trays up with water and placed in the freezer.. within hours my ice oproduction was doubled! no more warm cocktails : )
Was this instruction helpful to you?
Thank you for voting!
- Customer:
- ROBERT from BASSETT, VA
- Parts Used:
- WP61004010
- Difficulty Level:
- Really Easy
- Total Repair Time:
- 15 - 30 mins
- Tools:
- Screw drivers
Door seal worn out, needed replacement
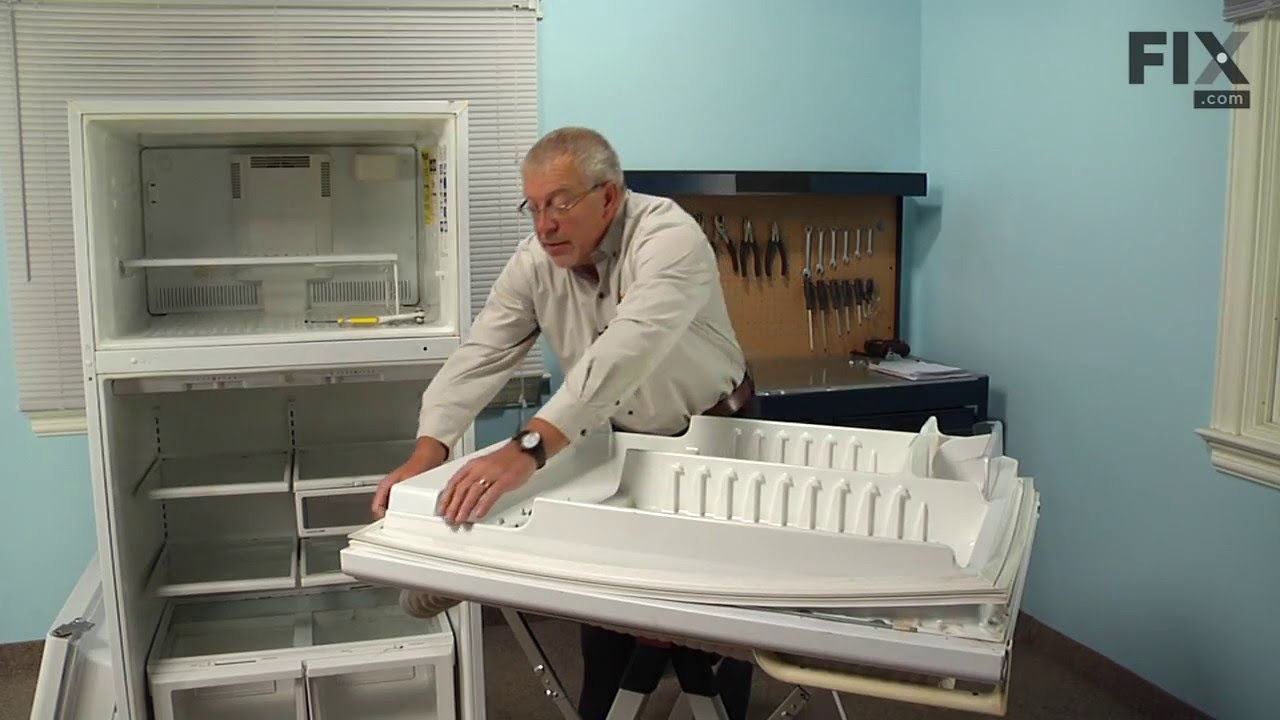
To make instalation much easier, I removed the door and layed it on a table. I then remobved about 45 screws,removed the inner door section, removed the seal and installed new seal in reverse order being careful not to over tighten the screws. Having the door lying on the table made it much easier to place the gasket in place and make any
... Read more
minor adjustments. I then replaced the door and everything workes just fine.
Read less
Was this instruction helpful to you?
Thank you for voting!