



Models
>
LMXS28626S
LMXS28626S (ASTCNA6) LG Refrigerator
Jump to:
Find Part by Name
Keep searches simple, eg. "belt" or "pump".
Diagrams for LMXS28626S
Viewing 7 of 7


Keep searches simple, eg. "belt" or "pump".
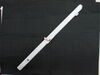
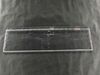
This front plate assembly, often called a mullion or flipper, fits select LG and Kenmore French-door refrigerators. It helps seal the gap between the doors to prevent air leaks and maintain proper tem...
In Stock
Order now and your part arrives by Sep 25
$15.26
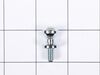
This part includes a single mounting bolt needed to secure the door handle to your refrigerator. This part is commonly replaced because the handle has started to loosen. Try tightening the screw first...
In Stock
Order now and your part arrives by Sep 25

In Stock
Order now and your part arrives by Sep 25
$63.33
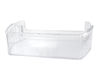
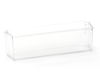
This refrigerator door bin stores bottles, jars, condiments, and other small items. It measures about 14.08 inches long, 8.5 inches wide, and 3.7 inches high. Replace the bin if it is cracked, broken,...
Special Order
$48.21
Refrigerator Air Filters are a key component for neutralizing odors and ensuring a fresh stream of air into your refrigerator. Swapping your old filter out for a fresh one isn’t difficult and should t...
Special Order
$126.83
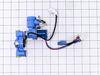
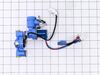
This includes the primary and secondary valves along with the wire harness.
In Stock
Order now and your part arrives by Sep 25
$64.74
The water reservoir holds the water for the water dispenser as the water chills.
In Stock
Order now and your part arrives by Sep 25
In Stock
Order now and your part arrives by Sep 25
$209.63
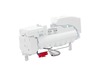
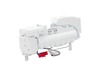
This ice maker assembly is built to fit a range of LG refrigerator models and includes all the essential components for reliable ice production. The unit features an ice mold, water inlet valve, ice b...
In Stock
Order now and your part arrives by Sep 25
In Stock
Order now and your part arrives by Sep 25
On Order
On Order
Common Problems and Symptoms for LMXS28626S
Viewing 7 of 7Door won’t open or close
Fixed by these parts

How to fix it
Leaking
Fixed by these parts
How to fix it
Not dispensing water
Fixed by these parts
How to fix it
Ice maker not making ice
Fixed by these parts
How to fix it
Noisy
Fixed by these parts
How to fix it
Door Sweating
Fixed by these parts
How to fix it
Ice maker won’t dispense ice
Fixed by these parts
How to fix it
Keep searches simple. Use keywords, e.g. "leaking", "pump", "broken" or "fit".
- Customer:
- Richard from JACKSONVILLE, FL
- Parts Used:
- AJU72992601
- Difficulty Level:
- Really Easy
- Total Repair Time:
- 15 - 30 mins
- Tools:
- Screw drivers
replace leaking water inlet valve assembly
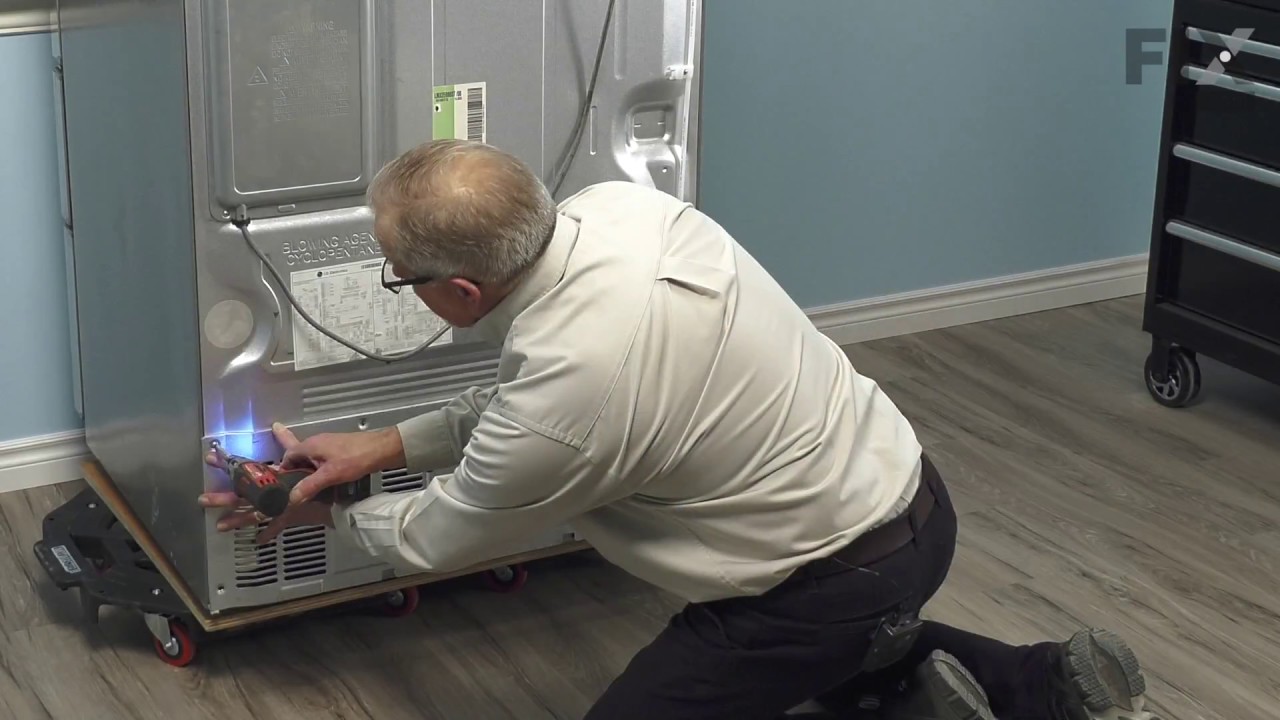
1. Shut off water to refrigerator. 2. Removed bottom sheet metal cover (6 screws). 3. Removed leaking water inlet valve assembly from refrigerator (1 screw). 4. Remove water inlet tube (loosen nut) and tube back to refrigerator (pull from water valve after remove cotter pin washer). 5. Detach two electrical wire harnesses. 6. Install new
... Read more
water inlet valve assembly to refrigerator (1 screw). 7. Replace both water tubes to water inlet assembly. 8. Re-attach both wiring harnesses. 9. Turn water to refrigerator on. 10. Check for leaks. 11. Re-attach bottom sheet cover (6 screws).
Read less
Was this instruction helpful to you?
Thank you for voting!
- Customer:
- Tiziana from WARWICK, NY
- Parts Used:
- AGU75188619
- Difficulty Level:
- Really Easy
- Total Repair Time:
- Less than 15 mins
- Tools:
- Nutdriver
My nephew accidentally forced the door closed last year, which resulted in the door having to be re closed manually folding back the flap. Ugh!
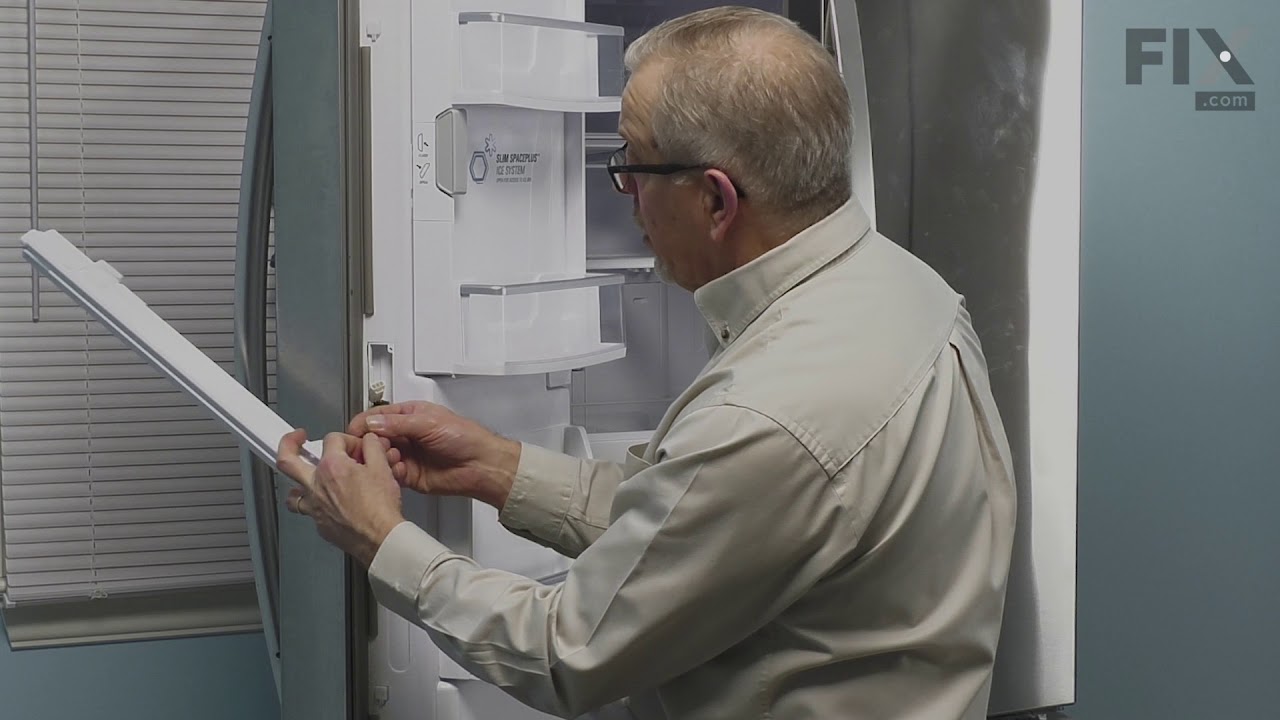
Unscered 2 screws, unplug electrical connection under the screws, slide her flap into grooves, realign screw holes , and rescrew in. Done.
Was this instruction helpful to you?
Thank you for voting!
- Customer:
- Maurice from SEATTLE, WA
- Parts Used:
- AGU75188619
- Difficulty Level:
- Really Easy
- Total Repair Time:
- Less than 15 mins
- Tools:
- Screw drivers
Broken Door Mullion Spring
Had to buy the entire door mullion because the spring broke, wasn't happy. Got the new part very quickly and it was a new replacement part number. Somewhat tentative. Took it out of the box and looked it over. No spring! Groan! Thought I got the wrong part. Flipped the bottom hinge and it snapped open, no need for a spring! Two screws, di
... Read more
sconnect the wire harness, throw away the old, get new, connect the wire harness, connect hinges, put in two screws! Super easy. Watch the video for some pointers along the way.
Read less
Was this instruction helpful to you?
Thank you for voting!