



Models
>
78546
78546 (ATI3SER) LG Refrigerator
Jump to:
Find Part by Name
Keep searches simple, eg. "belt" or "pump".
Diagrams for 78546
Viewing 6 of 6


Keep searches simple, eg. "belt" or "pump".

$25.10
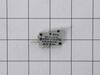
Opening the refrigerator door releases this push-button switch to turn on the interior light, making stored food easier to see. When the door closes, it presses the button and turns the light off. Ins...
In Stock
Order now and your part arrives by Nov 22

$25.25
This part includes a single mounting bolt needed to secure the door handle to your refrigerator. This part is commonly replaced because the handle has started to loosen. Try tightening the screw first...
In Stock
Order now and your part arrives by Nov 22

$28.55
Supply the refrigerator dispenser and ice maker through the enclosed path formed by this plastic water line tubing. The line connects plumbing components within the appliance. Leaks can develop at cra...
In Stock
Order now and your part arrives by Nov 22

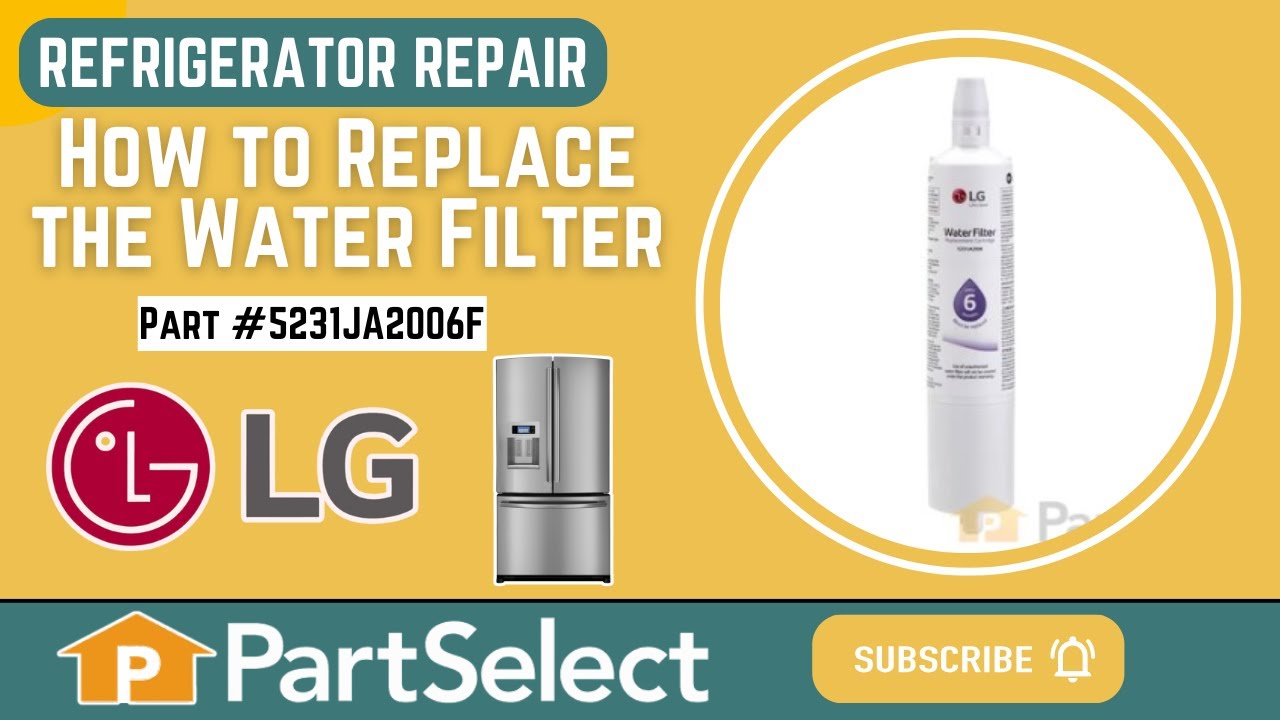
Enjoy cleaner, better-tasting water and ice with this refrigerator water filter. It uses activated carbon to reduce things like chlorine, lead, and other impurities—though it doesn’t remove fluoride. ...
In Stock
Order now and your part arrives by Nov 22

$25.25
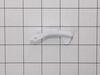
Controlled door travel helps prevent a refrigerator door from swinging beyond its intended opening range. This white plastic door stopper mounts near the bottom of the door and provides a stopping poi...
In Stock
Order now and your part arrives by Nov 22

$45.00
Everyday drinks and condiments stay organized in this refrigerator door shelf bin. The clear front keeps contents clearly visible; the white frame supports jars and bottles. The bin attaches to slots ...
In Stock
Order now and your part arrives by Nov 22

In Stock
Order now and your part arrives by Nov 22

$84.55
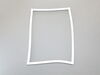
This freezer door gasket keeps frozen food protected from warm air leaks. Its flexible sealing edge fits around the door perimeter and rests against the cabinet when closed, helping retain cold air an...
In Stock
Order now and your part arrives by Nov 22

This lamp cover is also commonly referred to as a light lens. This is a genuine replacement part. It is used in a refrigerator to cover the light bulb. It is made of clear plastic. It measures 14 inch...
No Longer Available


In Stock
Order now and your part arrives by Nov 22
Common Problems and Symptoms for 78546
Viewing 11 of 11Light not working
Fixed by these parts
How to fix it
Leaking
Fixed by these parts
How to fix it
Door won’t open or close
Fixed by these parts
How to fix it
Ice maker won’t dispense ice
Fixed by these parts
How to fix it
Not dispensing water
Fixed by these parts
How to fix it
Noisy
Fixed by these parts
How to fix it
Frost buildup
Fixed by these parts
How to fix it
Freezer not defrosting
Fixed by these parts
How to fix it
Ice maker not making ice
Fixed by these parts
How to fix it
Freezer section too warm
Fixed by these parts
How to fix it
Ice maker dispenses too much ice
Fixed by these parts
How to fix it
Keep searches simple. Use keywords, e.g. "leaking", "pump", "broken" or "fit".
- Customer:
- Debbie from Waltham, MA
- Parts Used:
- 6600JB1010A
- Difficulty Level:
- A Bit Difficult
- Total Repair Time:
- 30 - 60 mins
- Tools:
- Pliers, Screw drivers
Remove and replace light switch
Video makes it look easy. Kenmore refrigerator does not have "groove" along the right hand side of switch that allows for pushing down on release. Used a thin screwdriver to get under to push while holding switch edge with pliers. Kept slipping. Tape sides to avoid scratching inside of refrigerator.
Was this instruction helpful to you?
Thank you for voting!
- Customer:
- Scott from JUPITER, FL
- Parts Used:
- 6615JB2005H
- Difficulty Level:
- Easy
- Total Repair Time:
- 1- 2 hours
- Tools:
- Pliers, Screw drivers
Replace Thermistor in back of freezer
Turn off power, remove upper and lower drawers (may need to open upper refrigerator doors to remove large freezer bin,) remove drawer supports (upper and lower), remove rear freezer panel (trick is to loosen 4 screws on fan bumpout to get the panel to come free from the freezer side wall), test thermistor with multimeter (should have cont
... Read more
inuity or near zero resistance across 2 orange fuse wires) before cutting zip ties, cut zip ties holding Thermistor in place, remove old Thermistor, install new Thermistor, install new zip ties, replace rear freezer panel, install upper and lower drawer supports, install drawers, turn on power, should be fixed if error code doesn't return after 6 hours.
Read less
Was this instruction helpful to you?
Thank you for voting!
- Customer:
- Tom from EASTON, PA
- Parts Used:
- MJU62070602
- Difficulty Level:
- Easy
- Total Repair Time:
- 30 - 60 mins
- Tools:
- Screw drivers, Wrench (Adjustable)
Water feed line running from water valve to filter housing was leaking
Shut off water supply. Disconnect main supply line. Remove rear lower panel on back of refrigerator. Remove all tubing clamps on back. Disconnect leaking tubing from water supply valve. Remove water filter and unscrew/remove water filter housing. Replace tubing - connect to water filter housing then to water supply valve. Reconnect filter
... Read more
housing and filter. Reinstall lower panel, then main water supply line, then all tubing clamps. Turn water back on and check for leaks after discarding several glasses of water to fill filter. Job complete!
Read less
Was this instruction helpful to you?
Thank you for voting!