



Models
>
HPS18BTNDRBB
HPS18BTNDRBB Hotpoint Refrigerator
Jump to:
Find Part by Name
Keep searches simple, eg. "belt" or "pump".
Keep searches simple, eg. "belt" or "pump".
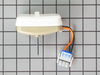
$81.95
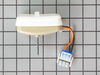
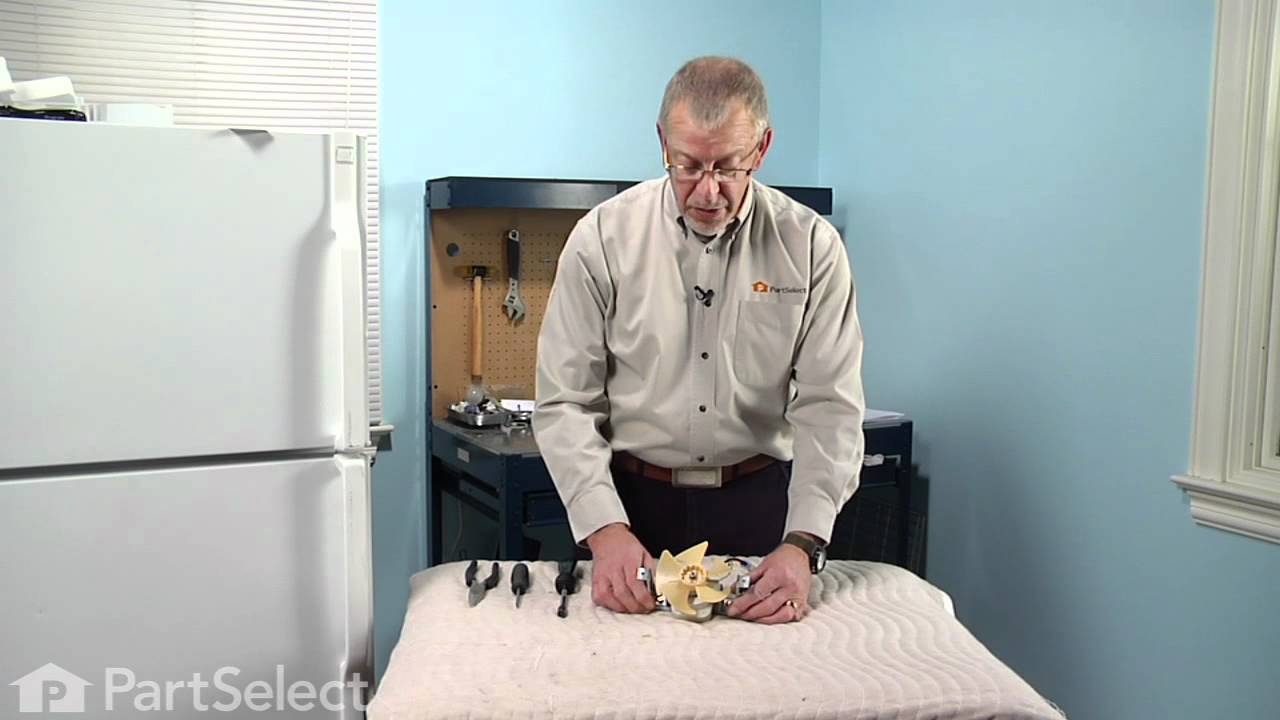
This is an evaporator fan motor, located in the freezer compartment. It is sold as a single unit. It is responsible for moving air over the evaporator coils as the compressor is running. When this par...
In Stock
Order now and your part arrives by Oct 26
$37.49
This is a genuine replacement glass shelf for your refrigerator. It measures 21 by 13 inches and sits above the two crisper drawers. If the shelf has become cracked or damaged it should be replaced so...
In Stock
Order now and your part arrives by Oct 26
$28.95
The door shelf rail snaps into place on the door to hold items on the door shelf.
In Stock
Order now and your part arrives by Oct 26
$56.24
This crisper drawer is for refrigerators. Crisper drawer stores fruits and vegetables at a humidity level that helps keep them fresh longer. Follow the instructions in the owner's manual when installing this part.
In Stock
Order now and your part arrives by Oct 26

$48.95
This durable wire shelf fits into the freezer compartment to help organize frozen items and improve airflow. Its coated wire design supports heavy loads and resists wear. Installation is simple—just s...
In Stock
Order now and your part arrives by Oct 26
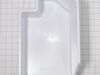
$37.35
If ice spills inside the freezer or the storage bin no longer slides correctly, a damaged bucket may be the cause. This replacement container collects and stores cubes made by the refrigerators automa...
In Stock
Order now and your part arrives by Oct 26
In Stock
Order now and your part arrives by Oct 26
In Stock
Order now and your part arrives by Oct 26
In Stock
Order now and your part arrives by Oct 26

$160.50
This main control board regulates key refrigerator functions like temperature, fan operation, and defrost cycles. It includes integrated LED lighting and responds to sensor input to maintain efficient...
In Stock
Order now and your part arrives by Oct 26
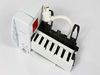
$233.38
An ice maker that no longer fills, freezes, or releases cubes may need a new assembly. This replacement kit controls the full ice-making cycle, from receiving water to dropping finished cubes into the...
In Stock
Order now and your part arrives by Oct 26
In Stock
Order now and your part arrives by Oct 26
Common Problems and Symptoms for HPS18BTNDRBB
Viewing 10 of 10Noisy
Fixed by these parts
How to fix it
Fridge too warm
Fixed by these parts
How to fix it
Freezer section too warm
Fixed by these parts
How to fix it
Fridge and Freezer are too warm
Fixed by these parts
How to fix it
Will Not Start
Fixed by these parts
How to fix it
Light not working
Fixed by these parts

How to fix it
Clicking sound
Fixed by these parts
How to fix it
Too warm
Fixed by these parts
How to fix it
Fridge runs too long
Fixed by these parts
How to fix it
Won’t start
Fixed by these parts
How to fix it
Keep searches simple. Use keywords, e.g. "leaking", "pump", "broken" or "fit".
- Customer:
- Luis from College Station, TX
- Parts Used:
- WR60X31522
- Difficulty Level:
- Really Easy
- Total Repair Time:
- 15 - 30 mins
- Tools:
- Screw drivers, Socket set
Freezer Fan
I removed two srews from the back panel inside fthe reezer compartment and the two that hold the air manifold/baffle? and pulled the baffle out. Then, I removed the two srews that hold the front part of the fan bracket behind the baffle and the back panel came out easily. Two more screws and one quick connect plug attached to the fan and
... Read more
I was done with removal. Insallation was even quicker, I slid the original fan right off the old motor and slid it on the new motor's shaft. Piece of cake! Thanks Partselect.
Read less
Was this instruction helpful to you?
Thank you for voting!
- Customer:
- Arthur from East Meadow, NY
- Parts Used:
- WR60X31522
- Difficulty Level:
- Easy
- Total Repair Time:
- 30 - 60 mins
- Tools:
- Nutdriver, Screw drivers
Loud Fan Motor
Unplug refrigerator.Remove the floor of the freezer box by removing the 4 philips head screws. Remove the cover over the fan by pulling it straight up and out. Remove the styrafoam duct by pulling it straight up and out. Remove the back wall of the freezer by removing the 4 philips head screws. Unplug fan. Remove the fan, bracket and all,
... Read more
by removing the two philips head screws on the back wall. Take the two halves of the bracket appart by removing the two hex head scews on the back of the bracket. Remove the "O" ring from the fan blade and remove the blade. There is a rubber grommet on both the front and back halves of the bracket. Make sure they are set properly in the brackets to secure and position the motor properly so the fan blade doesn't hit anything when it spins. Install the new motor onto the bracket the same way you took the old one off. Check the positions of the brackets, rubber grommets and motor to make sure they're properly installed and secure. Replace the "O" ring onto the fan blade and install it onto the new motor with a firm push on the center of the blade. Install the brackets and fan onto the back wall and plug in the new motor. Reinstall the back wall of the freezer box and make sure the motor is secure. Plug the refrigerator back in and check to make sure the fan blade doesn't hit anything while it's turning. Finish reassembling the freezer box.
Read less
Was this instruction helpful to you?
Thank you for voting!
- Customer:
- Lucinda from Yucca, AZ
- Parts Used:
- WR60X31522
- Difficulty Level:
- Really Easy
- Total Repair Time:
- Less than 15 mins
- Tools:
- Screw drivers
The lower half of the refrigerator was not cold, the fan was not blowing
First I removed the 4 screws in the back of the freezer. I then pulled the connection from the fan , I replaced the fan to the connection, replaced the 4 screws and I was done! I still can't believe how simple it was.
Was this instruction helpful to you?
Thank you for voting!