



Models
>
GSS20DBPJWW
GSS20DBPJWW General Electric Refrigerator
Jump to:
Find Part by Name
Keep searches simple, eg. "belt" or "pump".
Diagrams for GSS20DBPJWW
Viewing 7 of 7


Manuals & Guides for GSS20DBPJWW
Click to downloadKeep searches simple, eg. "belt" or "pump".
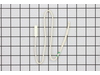
$35.95
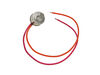
The temperature sensor, also referred to as a thermistor, is used to monitor the refrigerator and freezer internal temperatures. The sensor is a small capsule like device that is protected by a white ...
In Stock
Order now and your part arrives by Oct 15
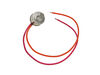
$36.17
If your freezer has a buildup of frost, or is not maintaining the proper temperature, there may be an issue with the defrost thermostat. This device stops the evaporator coil from overheating while th...
In Stock
Order now and your part arrives by Oct 15
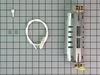
$65.95
This dual heater kit replaces the single heater. It's redesigned to use two heating elements for a better defrost cycle.
In Stock
Order now and your part arrives by Oct 15
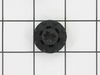
This grommet is found on both the front and back of the fan motor assembly for the condenser and the evaporator in your fridge. It is used to provide a buffer between the fan motor and the mounting br...
In Stock
Order now and your part arrives by Oct 15
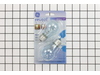
$21.95
This 40-Watt light bulb is sold individually.
It is specially designed to withstand extreme temperatures, so this bulb is compatible with a variety of appliance types including refrigerators, ranges,...
In Stock
Order now and your part arrives by Oct 15

$36.42
The light switch in your refrigerator is used to turn the light on and off when the fridge door opens or closes. This is considered a closed switch, which means that when the fridge door depresses the...
In Stock
Order now and your part arrives by Oct 15
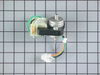
$58.95
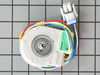
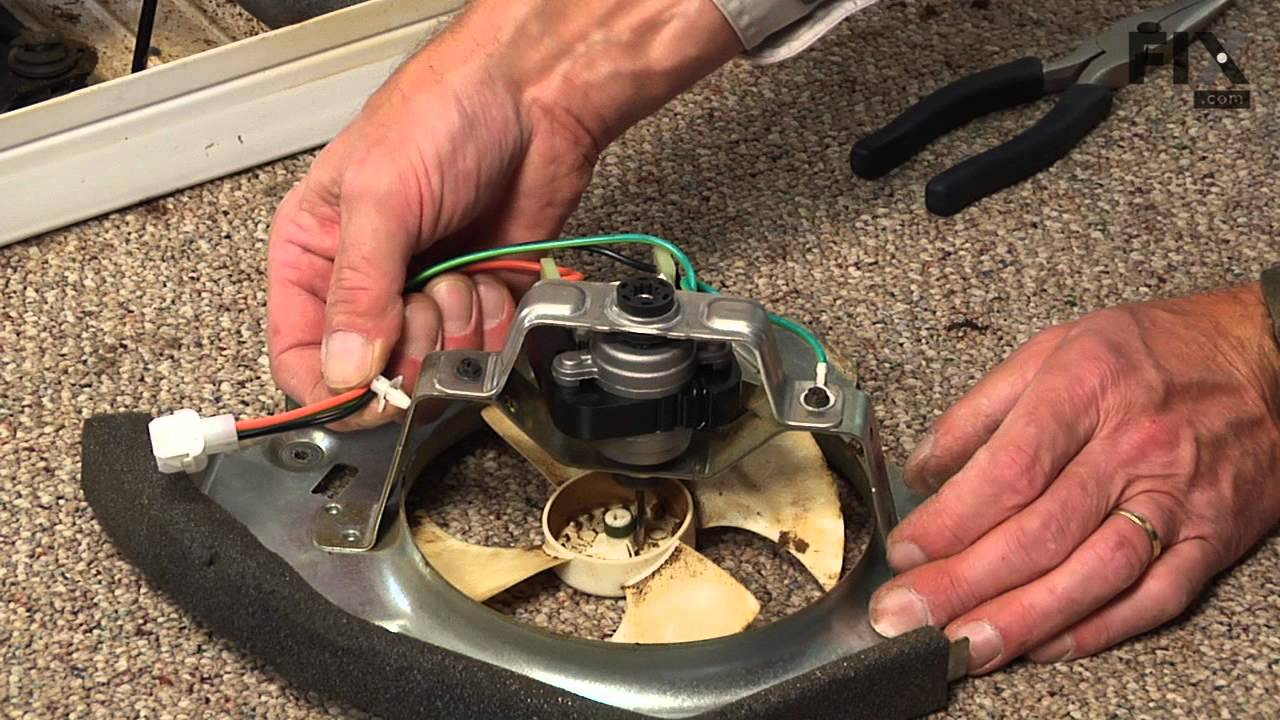
This fan motor is most times used with frost-free refrigerators with a condenser coil. When the compressor runs, so does this fan, circulating air through the refrigerator grille, cooling the compress...
In Stock
Order now and your part arrives by Oct 15
$15.26
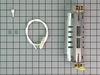
This OEM compression ring is used to hold the evaporator fan motor in place. Signs that you may need to replace the compression ring are if the fan is noisy, or your fridge or freezer are too warm. We...
In Stock
Order now and your part arrives by Oct 15
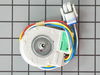
$97.95
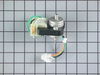
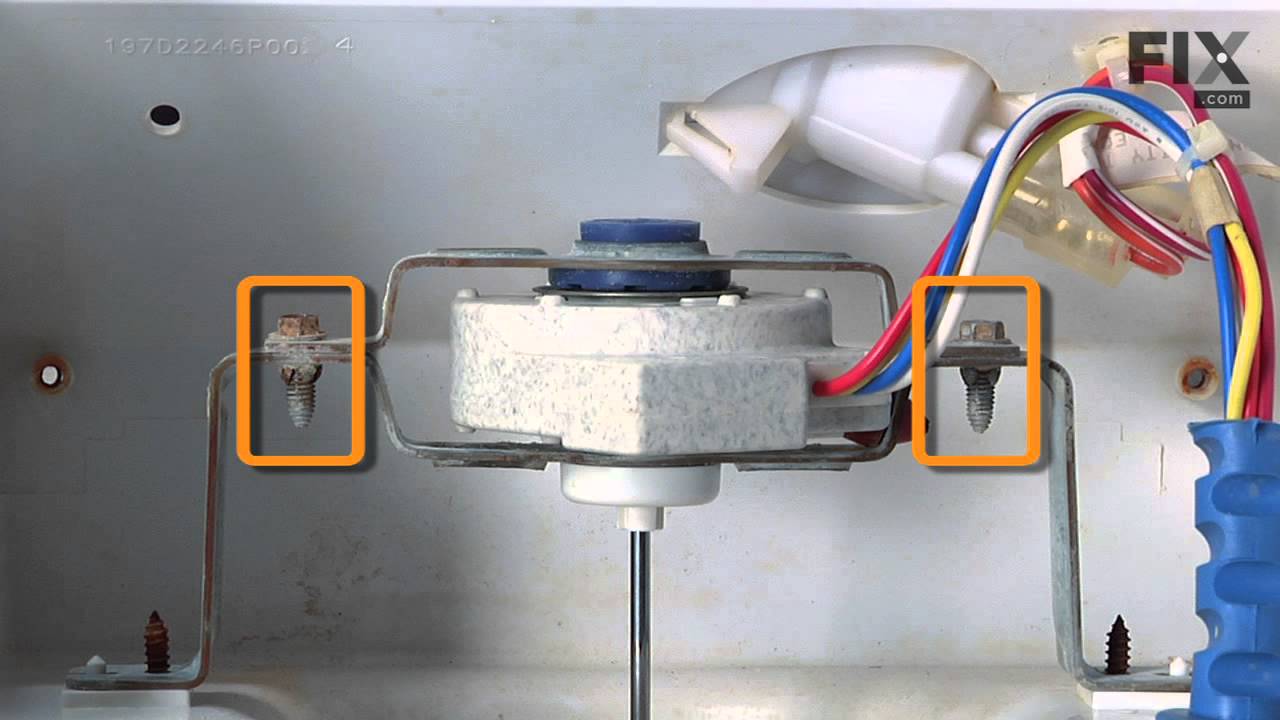
This evaporator fan motor is located in the back of the freezer, and circulates air over the refrigerator coils. These coils will convert the heat into cool air, which is then circulated.
Note: Therm...
In Stock
Order now and your part arrives by Oct 15
$15.26
This genuine OEM replacement part is a bumper for your refrigerator. The bumper is made of orange rubber and measures less than half an inch in diameter. The bumper is used to prevent the fan motor fr...
In Stock
Order now and your part arrives by Oct 15
$81.16
This evaporator fan blade is for your refrigerator, and it circulates air so that the temperature of the fridge is regulated. This model has 3 blades, and is a little more than 4 inches in diameter. I...
In Stock
Order now and your part arrives by Oct 15
The condenser fan blade assembly helps to regulate the temperature in your refrigerator or freezer. This fan assembly has 4 blades, but other fans may have 3 blades, so be sure to check the number of ...
Special Order
Common Problems and Symptoms for GSS20DBPJWW
Viewing 20 of 20Fridge too warm
Fixed by these parts
How to fix it
Freezer section too warm
Fixed by these parts
How to fix it
Noisy
Fixed by these parts
How to fix it
Freezer not defrosting
Fixed by these parts
How to fix it
Light not working
Fixed by these parts

How to fix it
Fridge too cold
Fixed by these parts
How to fix it
Frost buildup
Fixed by these parts
How to fix it
Freezer too cold
Fixed by these parts
How to fix it
Fridge and Freezer are too warm
Fixed by these parts
How to fix it
Too warm
Fixed by these parts
How to fix it
Fridge runs too long
Fixed by these parts
How to fix it
Will Not Start
Fixed by these parts
How to fix it
Door won’t open or close
Fixed by these parts
How to fix it
Ice maker not making ice
Fixed by these parts
How to fix it
Clicking sound
Fixed by these parts
How to fix it
Doesn’t stop running
Fixed by these parts
How to fix it
Not dispensing water
Fixed by these parts
How to fix it
Too cold
Fixed by these parts
How to fix it
Won’t start
Fixed by these parts
How to fix it
Leaking
Fixed by these parts
How to fix it


Keep searches simple. Use keywords, e.g. "leaking", "pump", "broken" or "fit".
- Customer:
- Greg from Aledo, TX
- Parts Used:
- WR51X10101, WR50X10068
- Difficulty Level:
- Really Easy
- Total Repair Time:
- 1- 2 hours
- Tools:
- Nutdriver, Pliers, Screw drivers
Ice box and freezer would not get cold,the back wall of the freezer was covered with ice
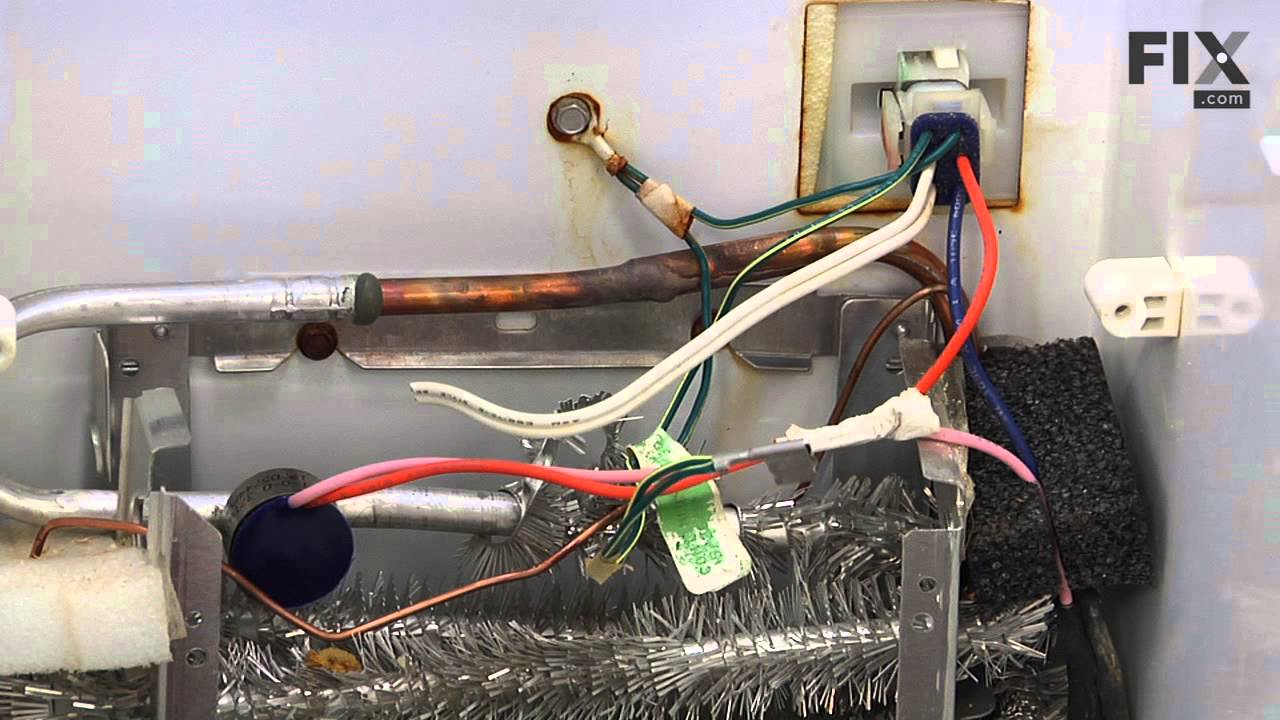
1. I had to defrost the ice off of the back wall of the freezer with a blowdryer.
2. Removed the four 1/4'' screws and removed the back panel.
3. Defrosted all of the ice off the coils and heater.
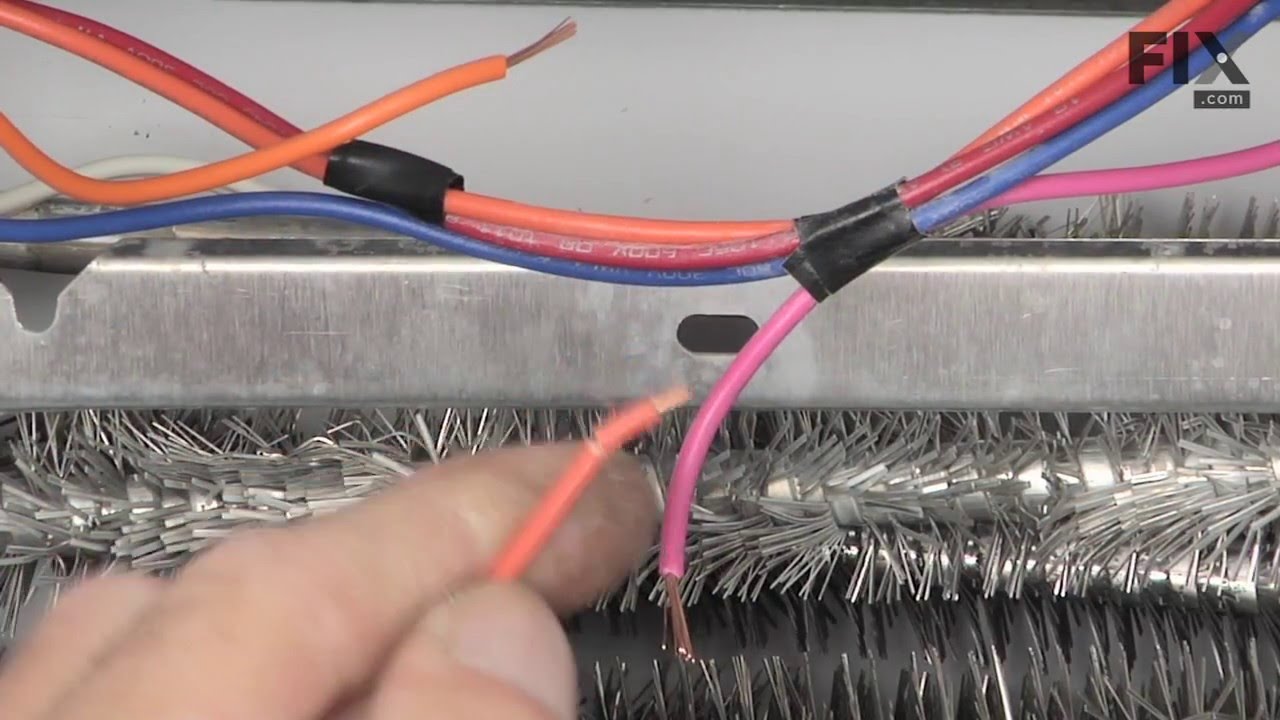
4. I replaced the defrost thermostat and heater by following the directions that came with them. The directions are very clear a ... Read more nd easy to follow. I had a single element heater, and the replacement was a double element, the directions even explained how to rearrange the wires to make it work. The whole job only really consisted of cutting two wires that are color coded on the thermostat and resplicing the new ones in. I used scotch locks and electrical tape for the splices. The element had connectors on it so I just removed two screws, unplugged two wires and plugged them on the new one.
The greatest thing about this repair was that I troubleshot the problem using the PartSelect website, ordered the parts and they arrived at my house in less than 24 hours.
Thank You.
2. Removed the four 1/4'' screws and removed the back panel.
3. Defrosted all of the ice off the coils and heater.
4. I replaced the defrost thermostat and heater by following the directions that came with them. The directions are very clear a ... Read more nd easy to follow. I had a single element heater, and the replacement was a double element, the directions even explained how to rearrange the wires to make it work. The whole job only really consisted of cutting two wires that are color coded on the thermostat and resplicing the new ones in. I used scotch locks and electrical tape for the splices. The element had connectors on it so I just removed two screws, unplugged two wires and plugged them on the new one.
The greatest thing about this repair was that I troubleshot the problem using the PartSelect website, ordered the parts and they arrived at my house in less than 24 hours.
Thank You.
Read less
Was this instruction helpful to you?
Thank you for voting!
- Customer:
- Gerald from San Clemente, CA
- Parts Used:
- WR55X10025, WR02X10552
- Difficulty Level:
- Easy
- Total Repair Time:
- 15 - 30 mins
- Tools:
- Screw drivers
Fridge too warm, evaporator icing up
After replacing the defrost heater, main board and thermistor I still had the same problem. Called a repair guy and he (with the help of GE on the phone) diagnosed that the temperature sensor was bad. So I ordered from partselect and installed it and it fixed the problem. Been good for a couple months (knocking on wood). To install I
... Read more
had to cut the 2 wires to the old sensor, crimp the 2 new wires on and snap the new sensor to the clip on the evaporator. Very easy. Make sure you seal the ends of the wire crimps so moisture doesn't get in and corrode the connection.
Read less
Was this instruction helpful to you?
Thank you for voting!
- Customer:
- Stuart from Lynchburg, VA
- Parts Used:
- WR51X10101
- Difficulty Level:
- Easy
- Total Repair Time:
- 15 - 30 mins
- Tools:
- Screw drivers
Defrost Heater blows out, refrigerator frosts up, then stops cooling
Disclaimer - if you aren't confident about doing this repair, call a repair specialist in. Also, take care not to damage the freezer coils as they have refrigerant in them that I'm told is harmful if it leaks. It may also be under pressure. The instructions that follow won't require you to touch the coils. There is no need to unplug the r
... Read more
efrigerator or disconnect the water supply to do this repair. The screw driver you will need is a phillips (the one withe the + head).
1st, take out your frozen food (which, if you need to do this repair may not be frozen) and put it in a cooler or the refrigerator.
2nd, remove the ice cube bucket and dump the ice cubes in the cooler to help keep the frozen food cool. Turn the ice cube maker off.
3rd, remove the freezer shelves.
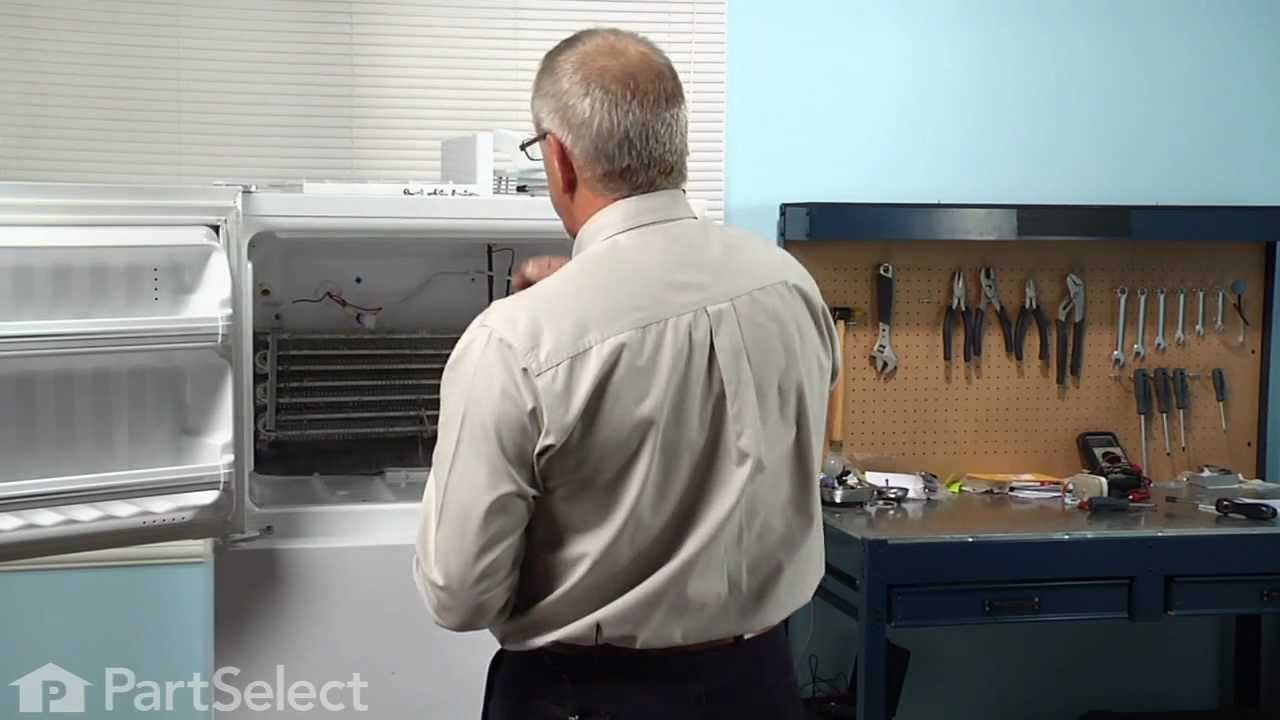
4th, locate the panel covering the freezer coils. It's a panel at the back of the freezer. It hides the freezer coils and protects them from damage. It's held in place by two screws located at the top left and right corners of the panel.
5th, unscrew the screws holding the panel to the refrigerator.
6th, detach the clip at the top of the panel.
7th, remove the panel. You should see the coils now. The coils will be covered in frost if the defroster heater has failed. If the coils are not covered in frost, there may be another reason for the refrigerator failing to cool.
8th, even if the coils are covered in frost, you should also inspect the defroster heater at the bottom, underneath the coils. The business end of it is a long tube running horizontally between two wires. If it's black like a badly burned out light bulb, then it's failed. If the bulb appears fine, you may have a different reason for your refrigerator and freezer frosting up. We'll assume that the defroster heater has blown out, and proceed.
9th, place a towel at the bottom of the panel space, to soak up any water that melts and runs down. There is a drain under the coils. It collects water that melts during the defrost cycle, but I'd rather mop up the water instead of relying on the drain.
10th, use hot air blowing from the hair dryer to defrost the coils. Just play the air from the hair dryer over the coils, starting at the top, and working down. The frost will quickly melt and the water will be soaked up by the towels. If you want things to go faster, you can throw hot water on the coils to melt them faster, but that produces more water to mop up, and makes a big mess. It's also dangerous to have water lying around if you then decide to use the hair dryer to continue defrosting the coils.
11th. MOST IMPORTANT. Don't use your screwdriver or any other sharp object to pick away at the frost on the coils. If you damage the coils the refrigerant could leak out. I'm told that it's dangerous stuff. Furthermore, I expect that you'd have to buy a new refrigerator if you damaged the coils.
12th, once you've defrosted the coils, locate the defroster heater and bracket assembly again. It's held in place by two screws, and has two insulated wires running into it on either side. Unscrew the screws, disconnect the wires and remove the assembly. Throw it away - there are no useful parts in it.
13th, install the new defroster heater and bracket assembly by connecting the wires to it, mounting it back into its place, and rescrewing the screws.
14th, put the panel back in place, replace the clip, and screw the panel back in place.
15th, turn the ice cube maker back on and replace the ice cube bucket and shelves. Put your food back into the freezer.
16th, use the freezer and refrigerator as normal. If the defroster heater fails again (I'm on my third one in less than six years), you'll notice frost building up on the panel at the back of the freezer before your freezer and refrigerator stops cooling. The frost build up is your signal to defrost the freezer and buy another defroster heater and bracket assembly. I don't know why this part is so weak, and don't know any fix except to keep replacing it.
1st, take out your frozen food (which, if you need to do this repair may not be frozen) and put it in a cooler or the refrigerator.
2nd, remove the ice cube bucket and dump the ice cubes in the cooler to help keep the frozen food cool. Turn the ice cube maker off.
3rd, remove the freezer shelves.
4th, locate the panel covering the freezer coils. It's a panel at the back of the freezer. It hides the freezer coils and protects them from damage. It's held in place by two screws located at the top left and right corners of the panel.
5th, unscrew the screws holding the panel to the refrigerator.
6th, detach the clip at the top of the panel.
7th, remove the panel. You should see the coils now. The coils will be covered in frost if the defroster heater has failed. If the coils are not covered in frost, there may be another reason for the refrigerator failing to cool.
8th, even if the coils are covered in frost, you should also inspect the defroster heater at the bottom, underneath the coils. The business end of it is a long tube running horizontally between two wires. If it's black like a badly burned out light bulb, then it's failed. If the bulb appears fine, you may have a different reason for your refrigerator and freezer frosting up. We'll assume that the defroster heater has blown out, and proceed.
9th, place a towel at the bottom of the panel space, to soak up any water that melts and runs down. There is a drain under the coils. It collects water that melts during the defrost cycle, but I'd rather mop up the water instead of relying on the drain.
10th, use hot air blowing from the hair dryer to defrost the coils. Just play the air from the hair dryer over the coils, starting at the top, and working down. The frost will quickly melt and the water will be soaked up by the towels. If you want things to go faster, you can throw hot water on the coils to melt them faster, but that produces more water to mop up, and makes a big mess. It's also dangerous to have water lying around if you then decide to use the hair dryer to continue defrosting the coils.
11th. MOST IMPORTANT. Don't use your screwdriver or any other sharp object to pick away at the frost on the coils. If you damage the coils the refrigerant could leak out. I'm told that it's dangerous stuff. Furthermore, I expect that you'd have to buy a new refrigerator if you damaged the coils.
12th, once you've defrosted the coils, locate the defroster heater and bracket assembly again. It's held in place by two screws, and has two insulated wires running into it on either side. Unscrew the screws, disconnect the wires and remove the assembly. Throw it away - there are no useful parts in it.
13th, install the new defroster heater and bracket assembly by connecting the wires to it, mounting it back into its place, and rescrewing the screws.
14th, put the panel back in place, replace the clip, and screw the panel back in place.
15th, turn the ice cube maker back on and replace the ice cube bucket and shelves. Put your food back into the freezer.
16th, use the freezer and refrigerator as normal. If the defroster heater fails again (I'm on my third one in less than six years), you'll notice frost building up on the panel at the back of the freezer before your freezer and refrigerator stops cooling. The frost build up is your signal to defrost the freezer and buy another defroster heater and bracket assembly. I don't know why this part is so weak, and don't know any fix except to keep replacing it.
Read less
Was this instruction helpful to you?
Thank you for voting!