



Models
>
GBE21DYKJRFS
GBE21DYKJRFS General Electric Refrigerator
Jump to:
Find Part by Name
Keep searches simple, eg. "belt" or "pump".
Diagrams for GBE21DYKJRFS
Viewing 10 of 10


Keep searches simple, eg. "belt" or "pump".

$35.95
The main control board relies on this thermistor, or temperature sensor, for readings from inside the refrigerator or freezer. Those readings guide cooling decisions, including when the compressor and...
In Stock
Order now and your part arrives by Nov 22

$26.19
This part is a genuine OEM replacement door handle fastener for your refrigerator. The fastener is used to connect the door handle to the fridge. It is made of white plastic and metal, and measures ap...
In Stock
Order now and your part arrives by Nov 22

$58.95
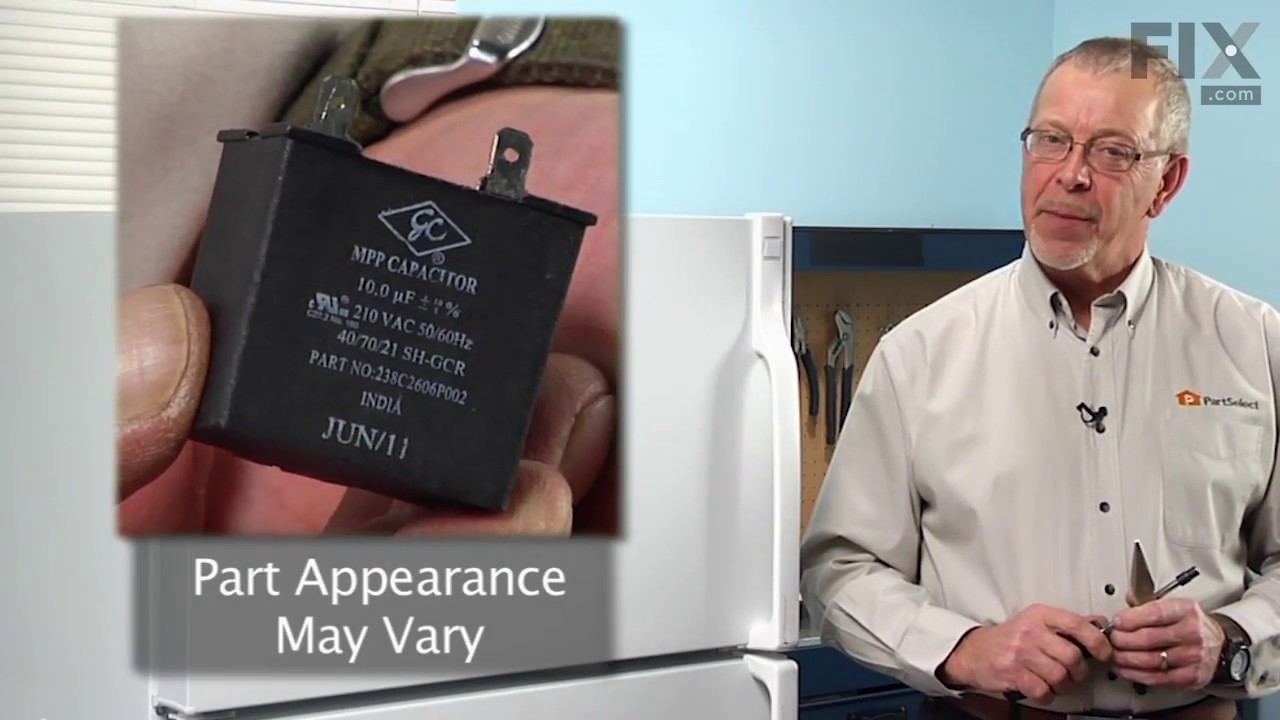
To support steady compressor operation, this refrigerator run capacitor provides the electrical phase shift needed for the compressor motor to run properly as the cooling system operates. Humming, dif...
In Stock
Order now and your part arrives by Nov 22

$15.26
This metal door handle fastener threads into the door and provides a stud for the handle to fit over and lock onto. A stable refrigerator handle depends on a secure mounting point at the door. Replaci...
In Stock
Order now and your part arrives by Nov 22

$81.16
For freezer airflow, the three-blade evaporator fan blade circulates air through the refrigerator and helps remove heat. It is an OEM replacement part. Confirm fit using your appliance model number.
In Stock
Order now and your part arrives by Nov 22

In Stock
Order now and your part arrives by Nov 22

In Stock
Order now and your part arrives by Nov 22

In Stock
Order now and your part arrives by Nov 22

In Stock
Order now and your part arrives by Nov 22

A pair of switches controls the light in your refrigerators fresh-food compartment. If the light stays off when you open the door, this OEM set may be the replacement you need. It is listed for select...
In Stock
Order now and your part arrives by Nov 22

$37.35
For a cracked or damaged ice bucket, this OEM replacement stores ice from your refrigerators ice maker and helps keep cubes from spilling into the freezer. Check compatibility using your refrigerators model number.
In Stock
Order now and your part arrives by Nov 22

A leaking water line or empty ice bin may point to a faulty refrigerator inlet valve. This replacement assembly includes the valve and connected tubing used to direct water toward the dispenser and ic...
In Stock
Order now and your part arrives by Nov 22
Common Problems and Symptoms for GBE21DYKJRFS
Viewing 18 of 18Fridge too warm
Fixed by these parts

How to fix it
Freezer section too warm
Fixed by these parts
How to fix it
Fridge too cold
Fixed by these parts
How to fix it
Freezer not defrosting
Fixed by these parts
How to fix it
Noisy
Fixed by these parts
How to fix it
Will Not Start
Fixed by these parts
How to fix it
Fridge and Freezer are too warm
Fixed by these parts
How to fix it
Too warm
Fixed by these parts
How to fix it
Frost buildup
Fixed by these parts
How to fix it
Fridge runs too long
Fixed by these parts
How to fix it
Freezer too cold
Fixed by these parts
How to fix it
Door won’t open or close
Fixed by these parts

How to fix it
Clicking sound
Fixed by these parts
How to fix it
Ice maker not making ice
Fixed by these parts
How to fix it
Leaking
Fixed by these parts
How to fix it
Light not working
Fixed by these parts
How to fix it
Doesn’t stop running
Fixed by these parts
How to fix it
Too cold
Fixed by these parts
How to fix it
Keep searches simple. Use keywords, e.g. "leaking", "pump", "broken" or "fit".
- Customer:
- michele from North Smithfield, RI
- Parts Used:
- WR55X10025
- Difficulty Level:
- Really Easy
- Total Repair Time:
- 15 - 30 mins
- Tools:
- Pliers
my refigerator was warm but the freezer was cold and working correcttly
I went to a GE repair center to explain my problem, the service center reccomended that I have a techinician come out o look at it. $75.00 for the visit and what ever labor and materials wuld cost.
I went on line to see if there were others having this same problem and found that there were many with the same problem.
... Read more />After reading some of the ways that people found out what was wrong ...it became a matter of three components, the timer, heater or thermostat.
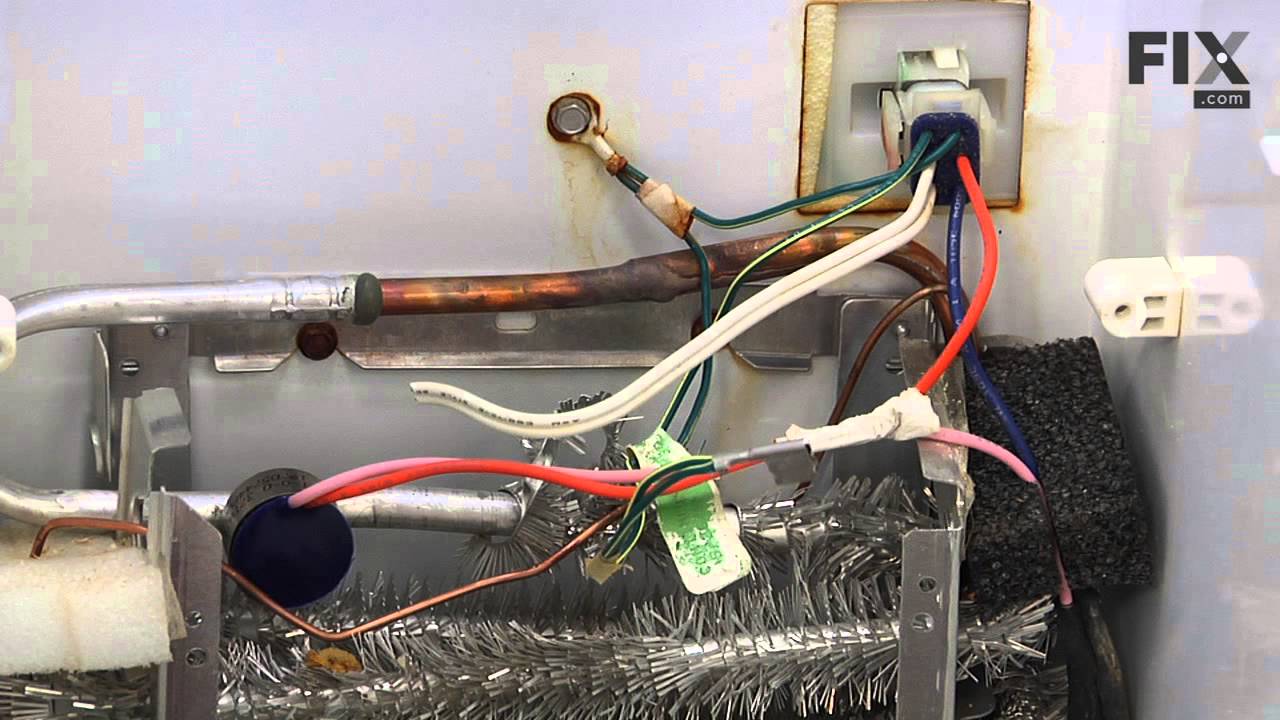
I tried the most common component and the less expensive one first , the thermostat switch I installed it very easily snipping two wires and attaching the news using wire nuts I used the diagram on this website to pinpoint the component and there has not been a problem since.
I went on line to see if there were others having this same problem and found that there were many with the same problem.
... Read more />After reading some of the ways that people found out what was wrong ...it became a matter of three components, the timer, heater or thermostat.
I tried the most common component and the less expensive one first , the thermostat switch I installed it very easily snipping two wires and attaching the news using wire nuts I used the diagram on this website to pinpoint the component and there has not been a problem since.
Read less
Was this instruction helpful to you?
Thank you for voting!
- Customer:
- Larry from Menomonie, WI
- Parts Used:
- WR55X10025
- Difficulty Level:
- A Bit Difficult
- Total Repair Time:
- 15 - 30 mins
refrigerator was getting too cold
I removed the old temperature sensor by cutting the wires. I attached the wires of the new sensor with wire nuts and mounted it in the same bracket.
Was this instruction helpful to you?
Thank you for voting!
- Customer:
- Anthony from Murfreesboro, TN
- Parts Used:
- WR55X10025
- Difficulty Level:
- Really Easy
- Total Repair Time:
- Less than 15 mins
- Tools:
- Screw drivers
fridge side freezes some items
went to your website and viewed exploded view to find the sensor( there are two I just picked one to replace for now), pried the cover off carfully and pulled out the sensor. I snipped the wire in the middle leaving plenty to work with. I shortened the wire on the new piece, spliced the wires together and with some 3M rubberized, tape wr
... Read more
apped them up, replaced the sensor back into the cover and snapped in place.
Read less
Was this instruction helpful to you?
Thank you for voting!