



Models
>
XSS25GGPBCBB
XSS25GGPBCBB General Electric Refrigerator
Jump to:
Find Part by Name
Keep searches simple, eg. "belt" or "pump".
Diagrams for XSS25GGPBCBB
Viewing 9 of 9


Keep searches simple, eg. "belt" or "pump".
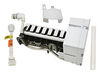
$229.80
The ice maker assembly makes ice by filling the tray with water from the inlet valve, freezing it until solid cubes are formed, and then ejecting them into the ice bucket. This process will repeat unt...
In Stock
Order now and your part arrives by Sep 13
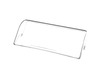
$37.35
This authentic OEM part is a clear plastic dairy door for your refrigerator. It is found on the interior of the fridge door and rotates open and closed so that you can access the dairy compartment. If...
In Stock
Order now and your part arrives by Sep 13
This genuine OEM light switch is used to control the light in your refrigerator. When the fridge door is closed, it depresses the switch and turns the light off. When the fridge door opens, it release...
In Stock
Order now and your part arrives by Sep 13
$15.26
This OEM compression ring is used to hold the evaporator fan motor in place. Signs that you may need to replace the compression ring are if the fan is noisy, or your fridge or freezer are too warm. We...
In Stock
Order now and your part arrives by Sep 13
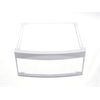
$68.99
This is the replacement fruit and vegetable drawer for your refrigerator. It is made of white and clear plastic and is approximately 16 5/8" L x 15 5/8" W. The fruit and vegetable drawer slides in and...
In Stock
Order now and your part arrives by Sep 13
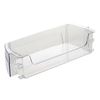
$52.75
This door bin is for refrigerators and attaches to the inside of the refrigerator door and typically holds jars and bottles. Follow the instructions in the owner's manual for installing this part.
On Order
This middle pan cover frame is a genuine OEM replacement part for your refrigerator. This piece consists of just the white plastic frame, the glass insert is not included. You can reuse the glass from...
In Stock
Order now and your part arrives by Sep 13
$15.26
This genuine OEM replacement part is a bumper for your refrigerator. The bumper is made of orange rubber and measures less than half an inch in diameter. The bumper is used to prevent the fan motor fr...
In Stock
Order now and your part arrives by Sep 13
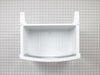
$89.98
This part is the replacement bottom crisper drawer for your refrigerator. The crisper drawer is used to store food items, and because it is made of plastic, it can occasionally become cracked or broke...
On Order
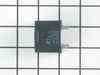
$58.37
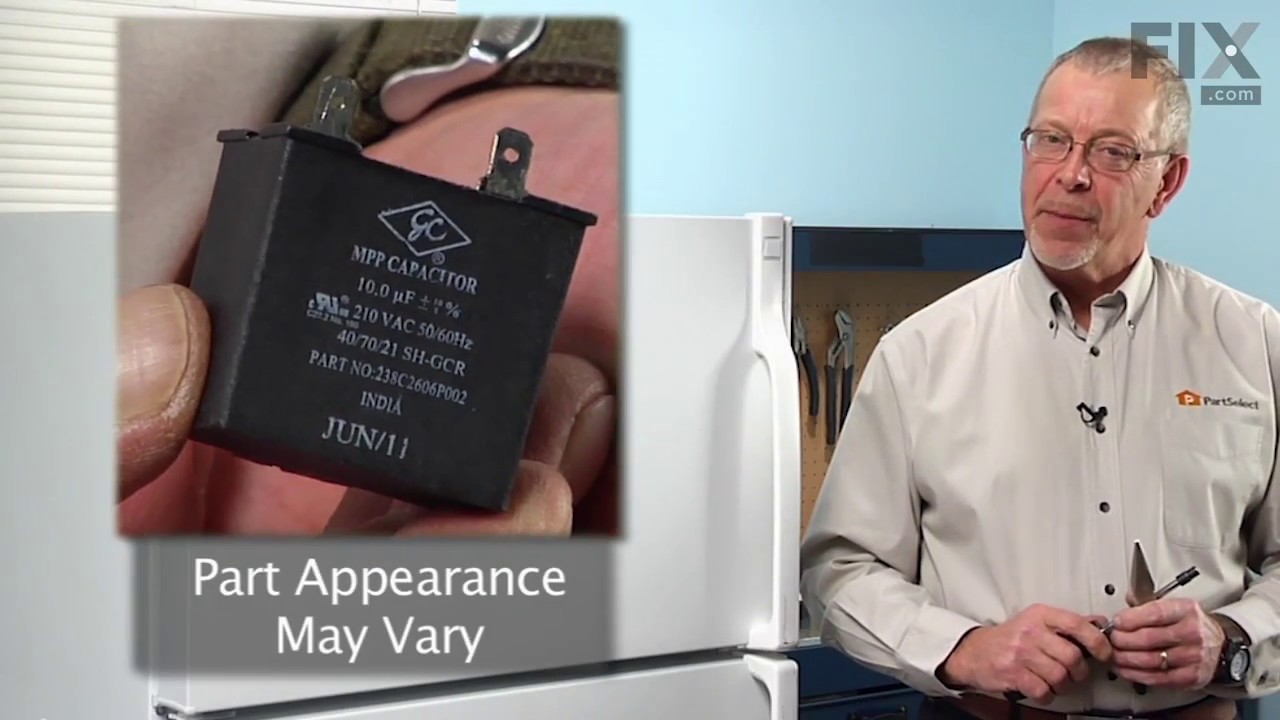
This part helps the compressor kick on and off while maintaining a constant temperature to keep things frozen in your freezer. This part has been updated by the manufacturer and may appear different t...
In Stock
Order now and your part arrives by Sep 13

$81.16
This evaporator fan blade is for your refrigerator, and it circulates air so that the temperature of the fridge is regulated. This model has 3 blades, and is a little more than 4 inches in diameter. I...
In Stock
Order now and your part arrives by Sep 13
$41.26
This part is the replacement water line for your refrigerator. It is a long plastic tube, which is 5/16 of an inch in diameter. If your refrigerator is leaking, or will not dispense water or ice, you ...
In Stock
Order now and your part arrives by Sep 13
Common Problems and Symptoms for XSS25GGPBCBB
Viewing 20 of 20Noisy
Fixed by these parts

How to fix it
Ice maker not making ice
Fixed by these parts
How to fix it
Leaking
Fixed by these parts
How to fix it
Light not working
Fixed by these parts
How to fix it
Fridge too warm
Fixed by these parts
How to fix it
Ice maker won’t dispense ice
Fixed by these parts
How to fix it
Will Not Start
Fixed by these parts
How to fix it
Freezer section too warm
Fixed by these parts
How to fix it
Door won’t open or close
Fixed by these parts
How to fix it
Not dispensing water
Fixed by these parts
How to fix it
Fridge and Freezer are too warm
Fixed by these parts
How to fix it
Door Sweating
Fixed by these parts
How to fix it
Clicking sound
Fixed by these parts
How to fix it
Frost buildup
Fixed by these parts
How to fix it
Too warm
Fixed by these parts
How to fix it
Fridge runs too long
Fixed by these parts
How to fix it
Won’t start
Fixed by these parts
How to fix it
Ice maker dispenses too little ice
Fixed by these parts
How to fix it
Freezer not defrosting
Fixed by these parts
How to fix it
Ice maker dispenses too much ice
Fixed by these parts
How to fix it



Keep searches simple. Use keywords, e.g. "leaking", "pump", "broken" or "fit".
- Customer:
- Paul from Suwanee, GA
- Parts Used:
- WR60X10209
- Difficulty Level:
- Easy
- Total Repair Time:
- 30 - 60 mins
- Tools:
- Nutdriver
Warm freezer and no ice
This story starts with a GE side-by-side refrigerator that has always had wide temperature swings and a temperamental water dispenser. The ice maker was not making ice, and the built in digital thermometer showed it was running warm. I suspected that the heat exchanger was full of dust and so looked there. What I found was that the con
... Read more
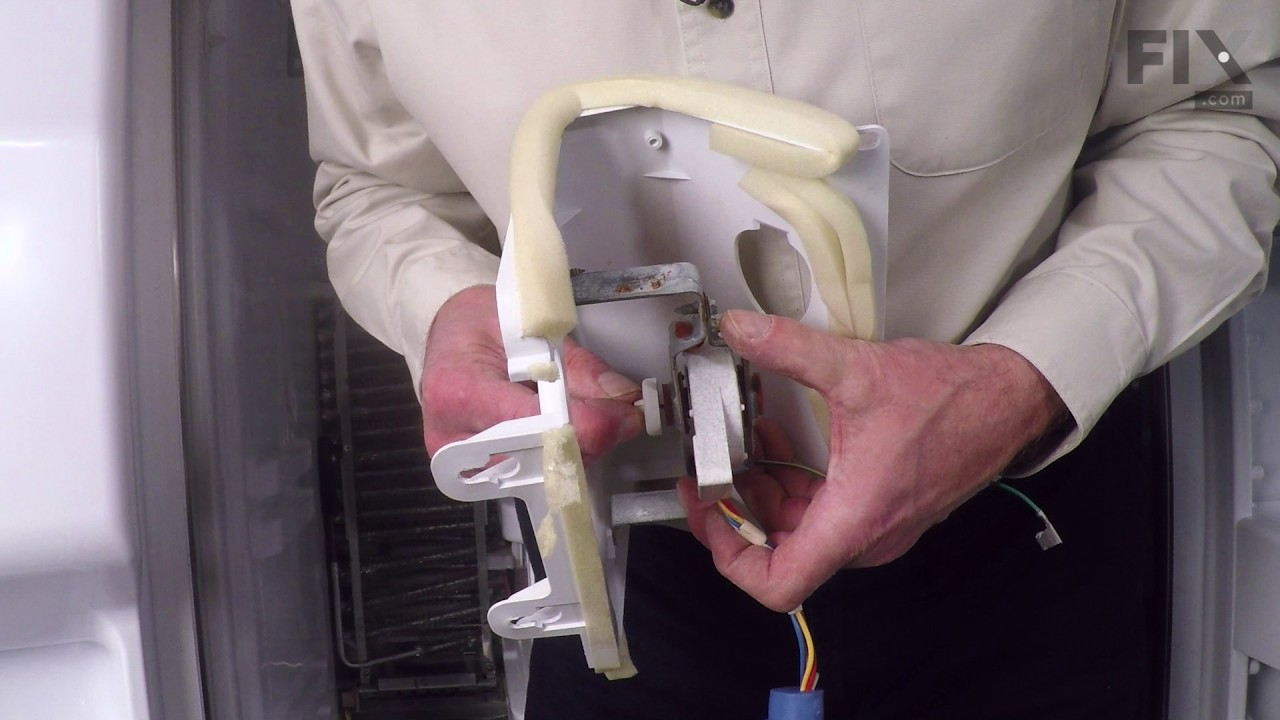
denser tank was hot to the touch and the fan wasn’t running. As an experiment, I aimed a fan at the it for a while I saw that the freezer temperature dropped back to normal.
.The fan is marked as 11.2 DC so I checked for voltage at the fan and found some. With three wires and no wiring diagram I wasn’t sure this answered all the questions, but hooking the fan to a 12 volt power supply didn’t get it to spin.
I priced parts at a couple websites before using partselect.com . They also have a good diagram to look at (Sears diagrams are really poor). I ordered the part with 2-day shipping; it arrived on time, was correct and fixed the problem.
.The fan is marked as 11.2 DC so I checked for voltage at the fan and found some. With three wires and no wiring diagram I wasn’t sure this answered all the questions, but hooking the fan to a 12 volt power supply didn’t get it to spin.
I priced parts at a couple websites before using partselect.com . They also have a good diagram to look at (Sears diagrams are really poor). I ordered the part with 2-day shipping; it arrived on time, was correct and fixed the problem.
Read less
Was this instruction helpful to you?
Thank you for voting!
- Customer:
- Gerald from Benicia, CA
- Parts Used:
- WR30X10093
- Difficulty Level:
- Easy
- Total Repair Time:
- 15 - 30 mins
- Tools:
- Nutdriver, Screw drivers
ice stalactites were drooling out of the icemaker and gumming up the cubes in the receiving tray.
I first shut off water flow to the fridge. Examination of the package (which was not exact in appearance to the original) demonstrated that the electrical connectors were well-insulated so I arrogantly and successfully proceded without disconnecting the power. My fridge is old enough that the model doesn't appear exactly on anyone's list
... Read more
so I wasn't alarmed that it took an extra 10 minutes or so to noodle out how to adapt the slightly different inlet cowling and electrical cord with extension, but the device is pretty simple.
Soon I loosened the two mounting screws with a nut driver, used a screwdriver to pry away the plastic snap-in housing over the electrical socket on the fridge inner wall and pulled away the electrical plug. The original water fill tube remained in its cavity, ready for re-use.
The new unit's mounting points matched the original screw locations perfectly, as did the fill cowling - which on the replacement icemaker has two possible attachment points. The new unit's electrical connector required an extension pigtail to adapt to my socket, but it was included in the package. The extra cable posed a minor cosmetic issue because it hangs in the collection basket a bit, but that will soon be remedied with a tie wrap.
After the water was restored and an anxious wait of a few hours, we had well-formed ice cubes that weren't all stuck together and the stalactites haven't reappeared.
Soon I loosened the two mounting screws with a nut driver, used a screwdriver to pry away the plastic snap-in housing over the electrical socket on the fridge inner wall and pulled away the electrical plug. The original water fill tube remained in its cavity, ready for re-use.
The new unit's mounting points matched the original screw locations perfectly, as did the fill cowling - which on the replacement icemaker has two possible attachment points. The new unit's electrical connector required an extension pigtail to adapt to my socket, but it was included in the package. The extra cable posed a minor cosmetic issue because it hangs in the collection basket a bit, but that will soon be remedied with a tie wrap.
After the water was restored and an anxious wait of a few hours, we had well-formed ice cubes that weren't all stuck together and the stalactites haven't reappeared.
Read less
Was this instruction helpful to you?
Thank you for voting!
- Customer:
- Dan from West Bloomfield, MI
- Parts Used:
- WR30X10093
- Difficulty Level:
- Really Easy
- Total Repair Time:
- Less than 15 mins
- Tools:
- Nutdriver
Ice maker stopped working
I unplugged the electrical connection. Then I removed the 2 screws holding the icemaker in place. I lifted out the old icemaker unit and put the new one in place. Then put the 2 screws back in and plugged in the new unit.
The icemaker started making ice very soon after turning the unit on.
The icemaker started making ice very soon after turning the unit on.
Was this instruction helpful to you?
Thank you for voting!