



Models
>
ZIF361NPRCII
ZIF361NPRCII General Electric Refrigerator
Jump to:
Find Part by Name
Keep searches simple, eg. "belt" or "pump".
Diagrams for ZIF361NPRCII
Viewing 6 of 6


Keep searches simple, eg. "belt" or "pump".
$15.26
This OEM compression ring is used to hold the evaporator fan motor in place. Signs that you may need to replace the compression ring are if the fan is noisy, or your fridge or freezer are too warm. We...
In Stock
Order now and your part arrives by Oct 18
$15.26
This genuine OEM replacement part is a bumper for your refrigerator. The bumper is made of orange rubber and measures less than half an inch in diameter. The bumper is used to prevent the fan motor fr...
In Stock
Order now and your part arrives by Oct 18

$81.16
This evaporator fan blade is for your refrigerator, and it circulates air so that the temperature of the fridge is regulated. This model has 3 blades, and is a little more than 4 inches in diameter. I...
In Stock
Order now and your part arrives by Oct 18
This is a replacement evaporator fan grommet for your refrigerator. The fan grommet absorbs the vibration from the evaporator fan motor for quiet operation while it runs. If your evaporator fan is unu...
In Stock
Order now and your part arrives by Oct 18
In Stock
Order now and your part arrives by Oct 18

In Stock
Order now and your part arrives by Oct 18
In Stock
Order now and your part arrives by Oct 18
Special Order

Special Order
In Stock
Order now and your part arrives by Oct 18
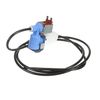
A leaking water line or empty ice bin may point to a faulty refrigerator inlet valve. This replacement assembly includes the valve and connected tubing used to direct water toward the dispenser and ic...
In Stock
Order now and your part arrives by Oct 18
Special Order
Common Problems and Symptoms for ZIF361NPRCII
Viewing 6 of 6Noisy
Fixed by these parts

How to fix it
Fridge too warm
Fixed by these parts
How to fix it
Freezer section too warm
Fixed by these parts
How to fix it
Clicking sound
Fixed by these parts
How to fix it
Not dispensing water
Fixed by these parts
How to fix it
Fridge and Freezer are too warm
Fixed by these parts
How to fix it

Keep searches simple. Use keywords, e.g. "leaking", "pump", "broken" or "fit".
- Customer:
- Bert from Audubon, PA
- Parts Used:
- WR60X30922, WR02X12149, WR02X11331, WR02X10322
- Difficulty Level:
- Easy
- Total Repair Time:
- 30 - 60 mins
- Tools:
- Nutdriver
High pitch noise
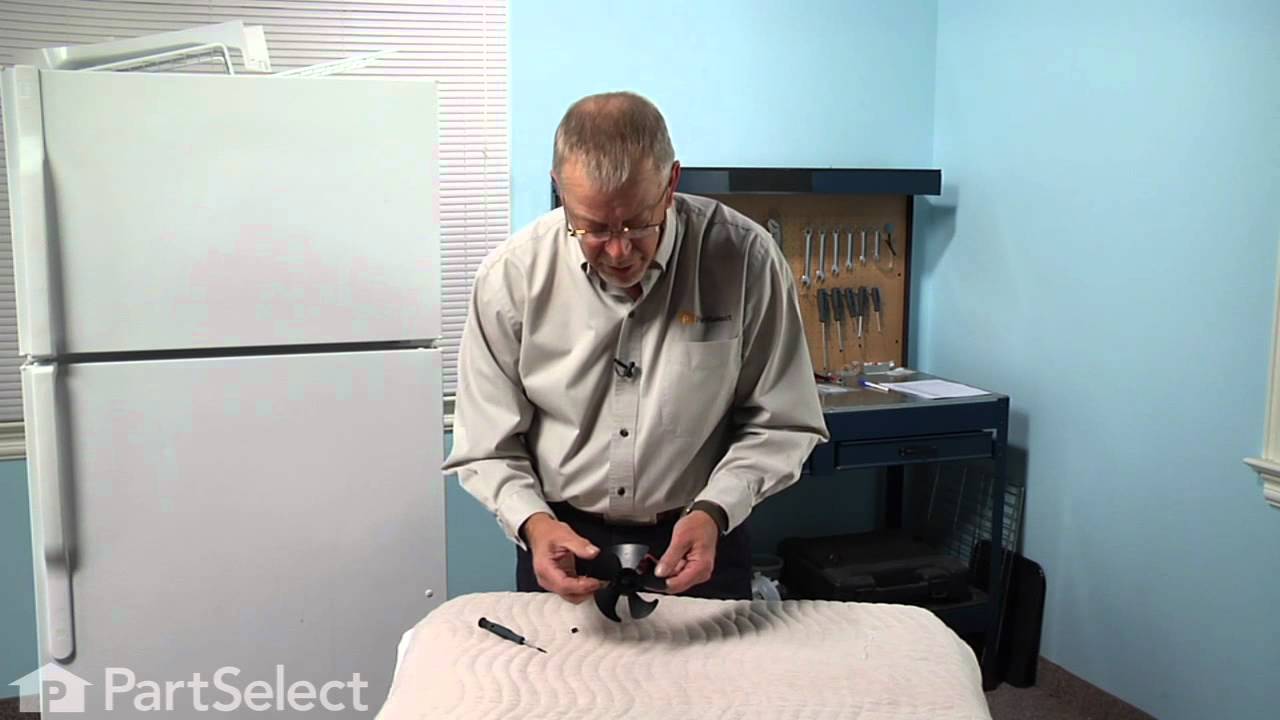
My GE refrigerator emitted high pitch noise a short while ago. I tried different dampening methods that helped but not eliminating the problem. I finally replaced the fan, motor, and associated parts and solved the problem. The total cost was about $50.
Was this instruction helpful to you?
Thank you for voting!
- Customer:
- Bert from SAN JOSE, CA
- Parts Used:
- WR60X30922
- Difficulty Level:
- A Bit Difficult
- Total Repair Time:
- 30 - 60 mins
- Tools:
- Nutdriver, Screw drivers
INTERMITENT LOUD NOISE FROM EVAPORATOR FAN IN FREEZER
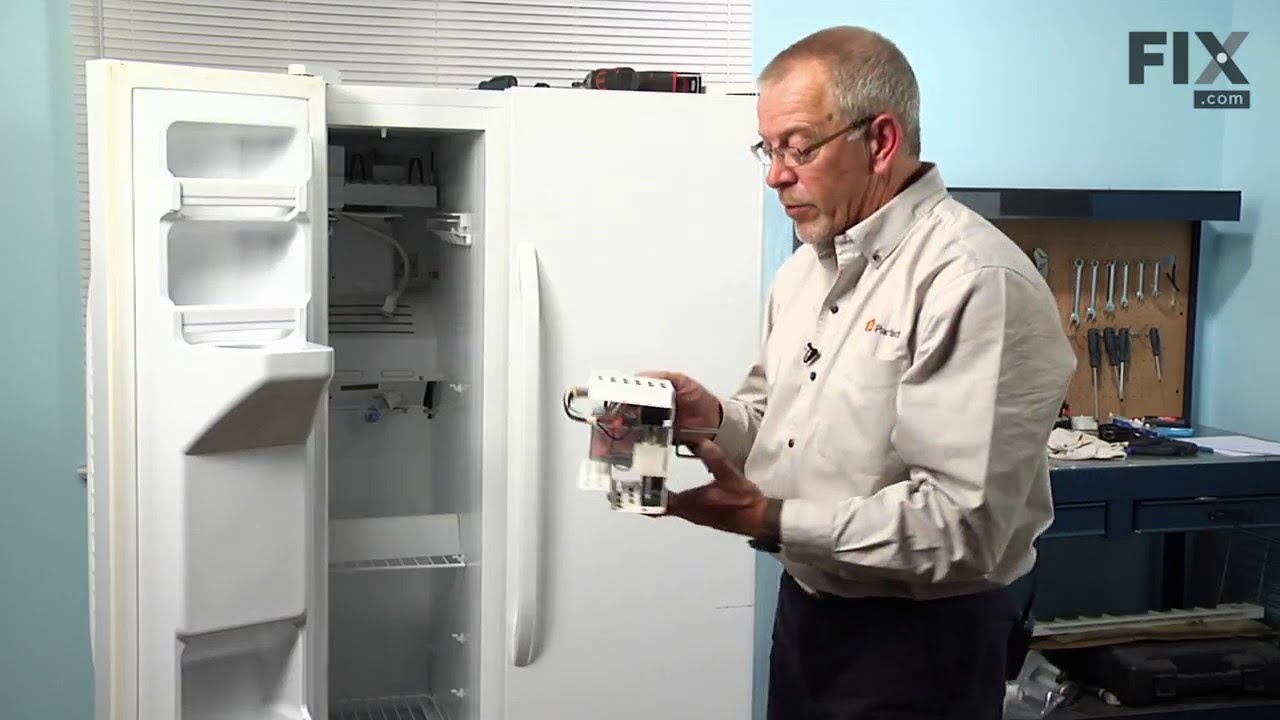
The repair did not go exactly the way it was described in the YouTube video, but basically it was similar. After unplugging the power cord, emptying the freezer, removing the shelves and the ice reservoir, I removed the ice maker assembly by unscrewing a Philips head screw and unplugging the power connector. The connector had little ret
... Read more
aining tabs on each side that I pried open with a straight blade screwdriver. Then the ice maker lifted right out. Next I removed one screw holding the auger motor assembly, unplugged the power connector, and lifted out the assembly. This where things got difficult. After flailing around a bit, I removed the panel on the back wall of the freezer below the evaporator fan assembly, exposing the evaporator coil. I saw that the fan assembly was attached with two screws at the top and two screws at the bottom. The top screws were easily removed, but when I removed the bottom screws, which were situated in very tight quarters, I DROPPED BOTH SCREWS DOWN BEHIND THE EVAPORATOR COIL. Be prepared with a magnetic nutdriver so this doesn't happen to you. I could not retrieve the lost screws, but fortunately it appears that the top screws hold the assembly securely enough. The assembly was loose, but it was still attached by a power cord that I could not disconnect. I removed the tracks on the side walls for the ice bucket, and then I could maneuver the fan motor assembly just enough that I could reach over the top of it, grab and pull off the old fan blade, and slide the new fan blade onto the shaft. Reassembly was straightforward, replacing each part (except two lost screws) in reverse order to disassembly. After getting everything put back in and plugging in the power cord, I was amazed at how quiet it ran.
Read less
Was this instruction helpful to you?
Thank you for voting!
- Customer:
- Douglas from LAFAYETTE, LA
- Parts Used:
- WR02X11331
- Difficulty Level:
- Really Easy
- Total Repair Time:
- 30 - 60 mins
- Tools:
- Screw drivers
Squeky Evaporator Fan
I made my wife fix it.
Was this instruction helpful to you?
Thank you for voting!