



Models
>
GLM25WGSAGS
GLM25WGSAGS General Electric Refrigerator
Jump to:
Find Part by Name
Keep searches simple, eg. "belt" or "pump".
Keep searches simple, eg. "belt" or "pump".
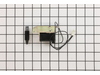
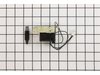
The dispenser door solenoid is the part that controls the flapper door on your ice maker, allowing it to open and close when dispensing ice. If your ice maker is not dispensing ice or water, the door ...
In Stock
Order now and your part arrives by Aug 1
$97.95
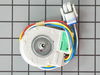
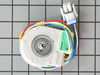
This evaporator fan motor is located in the back of the freezer, and circulates air over the refrigerator coils. These coils will convert the heat into cool air, which is then circulated.
Note: Therm...
In Stock
Order now and your part arrives by Aug 1

This crisper pan cover assembly in white is a genuine OEM replacement for select GE refrigerators. Designed to sit above the crisper drawers, it serves as the middle cover, providing a sturdy and clea...
No Longer Available
Common Problems and Symptoms for GLM25WGSAGS
Viewing 18 of 18Noisy
Fixed by these parts
How to fix it
Ice maker won’t dispense ice
Fixed by these parts
How to fix it
Not dispensing water
Fixed by these parts
How to fix it
Freezer section too warm
Fixed by these parts
How to fix it
Fridge too warm
Fixed by these parts
How to fix it
Door won’t open or close
Fixed by these parts
How to fix it
Door Sweating
Fixed by these parts
How to fix it
Leaking
Fixed by these parts
How to fix it
Ice maker not making ice
Fixed by these parts
How to fix it
Frost buildup
Fixed by these parts
How to fix it
Fridge and Freezer are too warm
Fixed by these parts
How to fix it
Will Not Start
Fixed by these parts
How to fix it
Too warm
Fixed by these parts
How to fix it
Freezer not defrosting
Fixed by these parts
How to fix it
Ice maker dispenses too much ice
Fixed by these parts
How to fix it
Won’t start
Fixed by these parts
How to fix it
Clicking sound
Fixed by these parts
How to fix it
Ice maker dispenses too little ice
Fixed by these parts
How to fix it
Keep searches simple. Use keywords, e.g. "leaking", "pump", "broken" or "fit".
- Customer:
- DOUG from MARYSVILLE, OH
- Parts Used:
- WR60X10185
- Difficulty Level:
- A Bit Difficult
- Total Repair Time:
- 30 - 60 mins
- Tools:
- Nutdriver, Screw drivers
Evaporator motor sounded like wind in the trees howling
I had to remove all of the shelves.....part of the ice maker.....the rear cover over the freezer coils.....There were two wires that came from the back of the freezer that were also incorporated with the fan motor plug from the factory....This caused me to cut all of the wires from the new motor and soider them to the existing plug and sh
... Read more
rink wrap the connections. If GE would have supplied two new ends I could have cut only those wires added the ends and inserted them into the new motor plug thus eliminating an extra hour and a soildering iron,,,,In my case not a big deal however not a project for those who have trouble with repairs using these type of tools.
Read less
Was this instruction helpful to you?
Thank you for voting!
- Customer:
- David from Romeo, MI
- Parts Used:
- WR60X10185
- Difficulty Level:
- Really Easy
- Total Repair Time:
- 15 - 30 mins
- Tools:
- Nutdriver, Pliers
The evaporator fan motor stopped running, freezer was warmer than normal
First ,I placed all the frozen food from the freezer into the lower fridge compartment. Removed the main shelf. Removed the ice cube tray shelf. Removed the center plastic covers using a nut driver. Removed the complete inside back wall of the freezer to get access to the fan. Simply removed about 5 screws, and cut 3 tie straps that held
... Read more
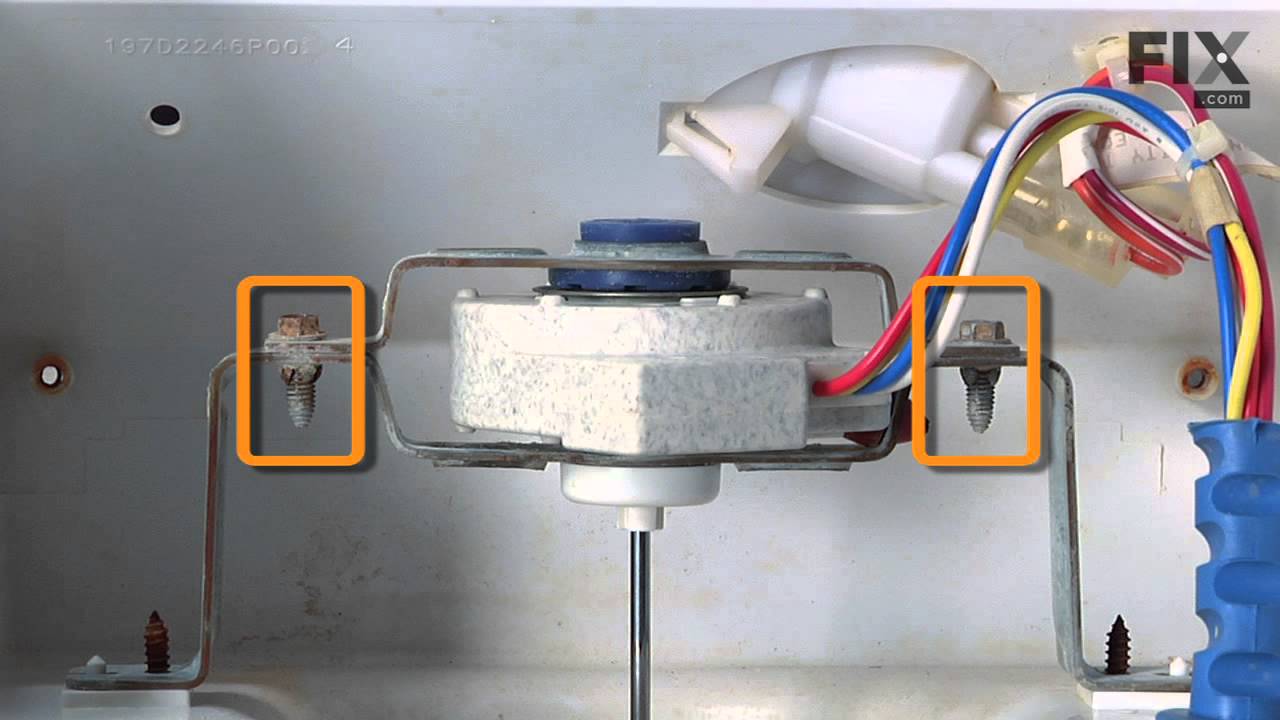
the wiring in place. Unplugged the fan connector and removed fan with its brackets and placed them on the kitchen table. Then used the nut driver to remove 2 screws which hald the fan to its bracket. Simply pulled off the fan blades and pressed them onto the new motor. Mounted new motor onto the bracket. Reinstalled the fan assembly back into freezer. Reconnected the wiring and the fan began to run... BE CAREFUL NOT TO TOUCH THE FAN WITH YOUR FINGERS!
Finally replaced all the covers, panels, and shelf etc. and everything is once again nice and cold.
Finally replaced all the covers, panels, and shelf etc. and everything is once again nice and cold.
Read less
Was this instruction helpful to you?
Thank you for voting!
- Customer:
- James from Madison, CT
- Parts Used:
- WR60X10185
- Difficulty Level:
- A Bit Difficult
- Total Repair Time:
- 1- 2 hours
- Tools:
- Nutdriver
The freezer was whining and growling like a baby
I replaced the motor that runs the fan in the freezer compartment. Had to remove a number of shields to get to the fan and then some wires and screws to get at the motor. It came with a plug with 4 wires in it and I was supposed to pull 2 wires out of the old plug and place them in the new plug. Long story short the pins would not extr
... Read more
act from the plug and the wiring harness was molded in solid plastic, so I ended up cutting the 4 wires to the motor and splicing in the new one and taping them with electrical tape. So far no more moaning and the ice cream is still hard, so I think we nailed it.
Read less
Was this instruction helpful to you?
Thank you for voting!