



Models
>
GLM25KESBGS
GLM25KESBGS General Electric Refrigerator
Jump to:
Find Part by Name
Keep searches simple, eg. "belt" or "pump".
Keep searches simple, eg. "belt" or "pump".
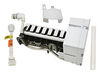
$229.80
The ice maker assembly makes ice by filling the tray with water from the inlet valve, freezing it until solid cubes are formed, and then ejecting them into the ice bucket. This process will repeat unt...
In Stock
Order now and your part arrives by Sep 20
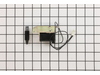
The dispenser door solenoid is the part that controls the flapper door on your ice maker, allowing it to open and close when dispensing ice. If your ice maker is not dispensing ice or water, the door ...
In Stock
Order now and your part arrives by Sep 20
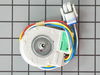
$97.95
This evaporator fan motor is located in the back of the freezer, and circulates air over the refrigerator coils. These coils will convert the heat into cool air, which is then circulated.
Note: Therm...
In Stock
Order now and your part arrives by Sep 20

This crisper pan cover assembly in white is a genuine OEM replacement for select GE refrigerators. Designed to sit above the crisper drawers, it serves as the middle cover, providing a sturdy and clea...
No Longer Available
Common Problems and Symptoms for GLM25KESBGS
Viewing 18 of 18Ice maker not making ice
Fixed by these parts
How to fix it
Ice maker won’t dispense ice
Fixed by these parts
How to fix it
Noisy
Fixed by these parts
How to fix it
Not dispensing water
Fixed by these parts
How to fix it
Leaking
Fixed by these parts
How to fix it
Freezer section too warm
Fixed by these parts
How to fix it
Fridge too warm
Fixed by these parts
How to fix it
Door won’t open or close
Fixed by these parts
How to fix it
Door Sweating
Fixed by these parts
How to fix it
Frost buildup
Fixed by these parts
How to fix it
Ice maker dispenses too little ice
Fixed by these parts
How to fix it
Ice maker dispenses too much ice
Fixed by these parts
How to fix it
Fridge and Freezer are too warm
Fixed by these parts
How to fix it
Will Not Start
Fixed by these parts
How to fix it
Won’t start
Fixed by these parts
How to fix it
Too warm
Fixed by these parts
How to fix it
Freezer not defrosting
Fixed by these parts
How to fix it
Clicking sound
Fixed by these parts
How to fix it

Keep searches simple. Use keywords, e.g. "leaking", "pump", "broken" or "fit".
- Customer:
- DOUG from MARYSVILLE, OH
- Parts Used:
- WR60X10185
- Difficulty Level:
- A Bit Difficult
- Total Repair Time:
- 30 - 60 mins
- Tools:
- Nutdriver, Screw drivers
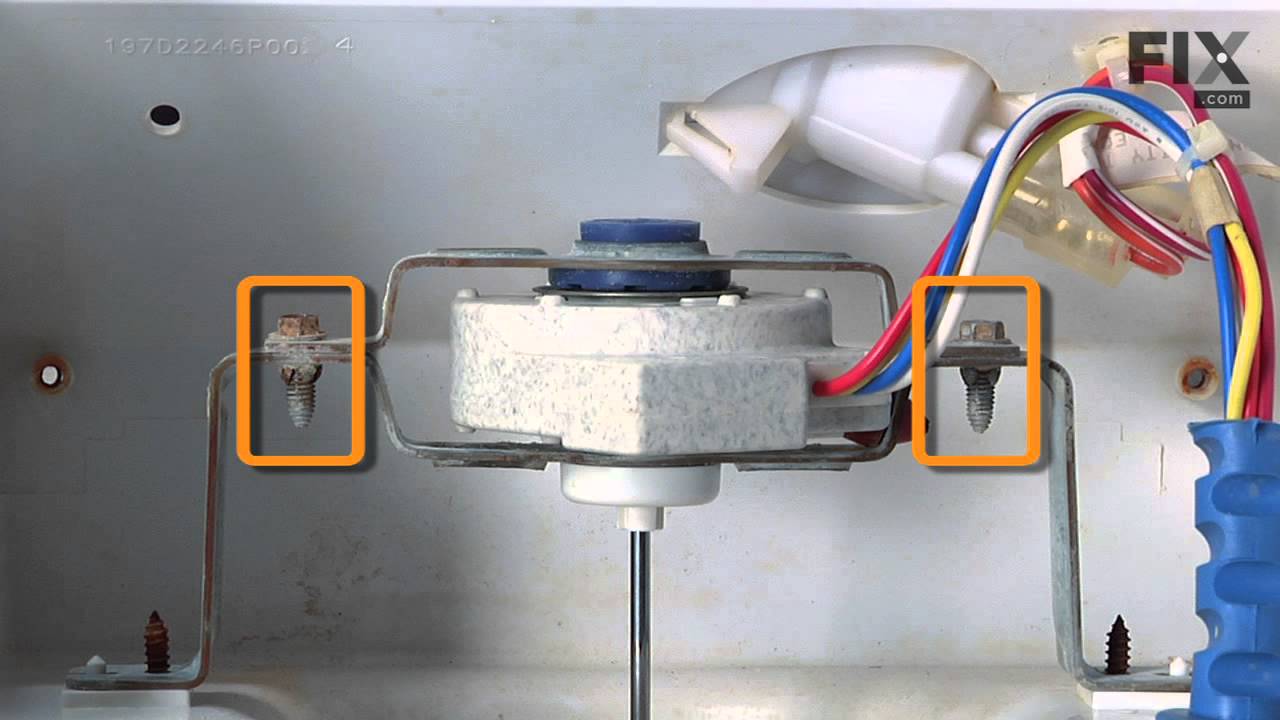
Evaporator motor sounded like wind in the trees howling
I had to remove all of the shelves.....part of the ice maker.....the rear cover over the freezer coils.....There were two wires that came from the back of the freezer that were also incorporated with the fan motor plug from the factory....This caused me to cut all of the wires from the new motor and soider them to the existing plug and sh
... Read more
rink wrap the connections. If GE would have supplied two new ends I could have cut only those wires added the ends and inserted them into the new motor plug thus eliminating an extra hour and a soildering iron,,,,In my case not a big deal however not a project for those who have trouble with repairs using these type of tools.
Read less
Was this instruction helpful to you?
Thank you for voting!
- Customer:
- Gerald from Benicia, CA
- Parts Used:
- WR30X10093
- Difficulty Level:
- Easy
- Total Repair Time:
- 15 - 30 mins
- Tools:
- Nutdriver, Screw drivers
ice stalactites were drooling out of the icemaker and gumming up the cubes in the receiving tray.
I first shut off water flow to the fridge. Examination of the package (which was not exact in appearance to the original) demonstrated that the electrical connectors were well-insulated so I arrogantly and successfully proceded without disconnecting the power. My fridge is old enough that the model doesn't appear exactly on anyone's list
... Read more
so I wasn't alarmed that it took an extra 10 minutes or so to noodle out how to adapt the slightly different inlet cowling and electrical cord with extension, but the device is pretty simple.
Soon I loosened the two mounting screws with a nut driver, used a screwdriver to pry away the plastic snap-in housing over the electrical socket on the fridge inner wall and pulled away the electrical plug. The original water fill tube remained in its cavity, ready for re-use.
The new unit's mounting points matched the original screw locations perfectly, as did the fill cowling - which on the replacement icemaker has two possible attachment points. The new unit's electrical connector required an extension pigtail to adapt to my socket, but it was included in the package. The extra cable posed a minor cosmetic issue because it hangs in the collection basket a bit, but that will soon be remedied with a tie wrap.
After the water was restored and an anxious wait of a few hours, we had well-formed ice cubes that weren't all stuck together and the stalactites haven't reappeared.
Soon I loosened the two mounting screws with a nut driver, used a screwdriver to pry away the plastic snap-in housing over the electrical socket on the fridge inner wall and pulled away the electrical plug. The original water fill tube remained in its cavity, ready for re-use.
The new unit's mounting points matched the original screw locations perfectly, as did the fill cowling - which on the replacement icemaker has two possible attachment points. The new unit's electrical connector required an extension pigtail to adapt to my socket, but it was included in the package. The extra cable posed a minor cosmetic issue because it hangs in the collection basket a bit, but that will soon be remedied with a tie wrap.
After the water was restored and an anxious wait of a few hours, we had well-formed ice cubes that weren't all stuck together and the stalactites haven't reappeared.
Read less
Was this instruction helpful to you?
Thank you for voting!
- Customer:
- Dan from West Bloomfield, MI
- Parts Used:
- WR30X10093
- Difficulty Level:
- Really Easy
- Total Repair Time:
- Less than 15 mins
- Tools:
- Nutdriver
Ice maker stopped working
I unplugged the electrical connection. Then I removed the 2 screws holding the icemaker in place. I lifted out the old icemaker unit and put the new one in place. Then put the 2 screws back in and plugged in the new unit.
The icemaker started making ice very soon after turning the unit on.
The icemaker started making ice very soon after turning the unit on.
Was this instruction helpful to you?
Thank you for voting!