



Models
>
GSF25TGWCWW
GSF25TGWCWW General Electric Refrigerator
Jump to:
Find Part by Name
Keep searches simple, eg. "belt" or "pump".
Diagrams for GSF25TGWCWW
Viewing 9 of 9


Manuals & Guides for GSF25TGWCWW
Click to downloadKeep searches simple, eg. "belt" or "pump".

$35.95
The main control board relies on this thermistor, or temperature sensor, for readings from inside the refrigerator or freezer. Those readings guide cooling decisions, including when the compressor and...
In Stock
Order now and your part arrives by Nov 22

$38.45
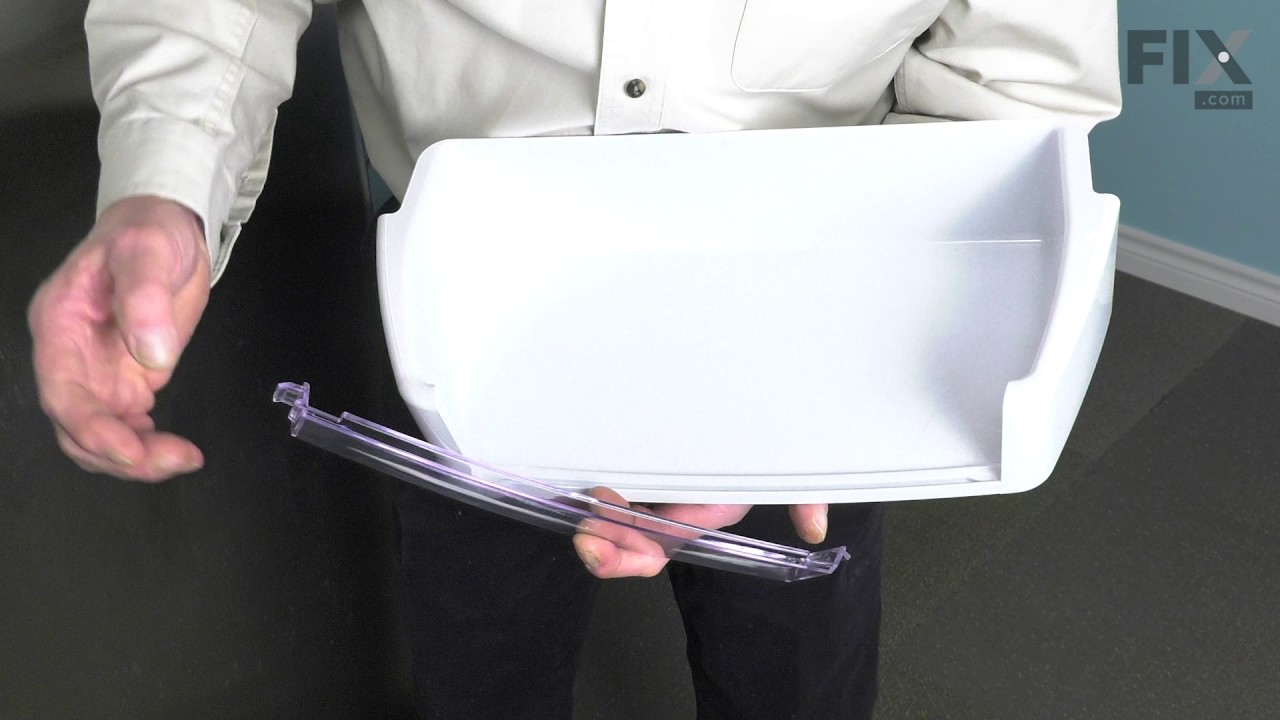
This is an OEM clear plastic module shelf insert (door shelf trim), which is the part of the door shelf bin that snaps onto the front to keep items contained securely on the shelf. This is the shelf i...
In Stock
Order now and your part arrives by Nov 22

$229.80
This refrigerator ice maker assembly automatically freezes water and releases crescent-shaped ice cubes into the storage bin. It replaces an existing ice maker that has stopped cycling, fails to relea...
In Stock
Order now and your part arrives by Nov 22

$16.95
Measuring approximately 1 inch in diameter and helps reduce vibration transferred from the running motor, this red evaporator fan grommet cushions the fan motor at its contact with the mounting bracke...
In Stock
Order now and your part arrives by Nov 22

Warm, moist air stays out of the ice chute when this refrigerator dispenser door flapper closes against the opening. The flap opens during ice dispensing, letting cubes pass through, then returns to f...
In Stock
Order now and your part arrives by Nov 22

$408.23
This electronic board (Main Control Board Assembly, Control Board, Motherboard) controls the temperature and defrost functions of the unit. This control board is located on the back of the refrigerato...
In Stock
Order now and your part arrives by Nov 22

This ice dispenser solenoid is used to move the linkage that opens the ice chute door when dispensing is activated. When power is released, the mechanism allows the flap to close and limit warm air en...
In Stock
Order now and your part arrives by Nov 22

This defrost heater and bracket assembly is used to melt frost from the evaporator coils during the automatic defrost cycle. Clearing the frost allows air to move across the cooling surface and throug...
In Stock
Order now and your part arrives by Nov 22

This part is found at the end of the auger in the ice container - replace this part when the icemaker doesn't dispense ice.
No Longer Available

$15.26
After the ice dispenser is used, this recess door spring brings the chute door or dispenser lever back to its resting position. The spring is housed behind the control panel in the water and ice dispe...
In Stock
Order now and your part arrives by Nov 22

$31.95
This OEM dispenser lightbulb is sold individually. This light bulb is responsible for lighting up the dispenser area of your fridge. It is 12 volts, 6 watts, and has a screw-in base. For this simple t...
In Stock
Order now and your part arrives by Nov 22

This grommet is found on both the front and back of the fan motor assembly for the condenser and the evaporator in your fridge. It is used to provide a buffer between the fan motor and the mounting br...
In Stock
Order now and your part arrives by Nov 22
Common Problems and Symptoms for GSF25TGWCWW
Viewing 26 of 26Fridge too warm
Fixed by these parts
How to fix it
Leaking
Fixed by these parts

How to fix it
Noisy
Fixed by these parts
How to fix it
Ice maker won’t dispense ice
Fixed by these parts


How to fix it
Freezer section too warm
Fixed by these parts
How to fix it
Ice maker not making ice
Fixed by these parts
How to fix it
Not dispensing water
Fixed by these parts
How to fix it
Light not working
Fixed by these parts

How to fix it
Freezer not defrosting
Fixed by these parts
How to fix it
Fridge too cold
Fixed by these parts
How to fix it
Will Not Start
Fixed by these parts

How to fix it
Frost buildup
Fixed by these parts
How to fix it
Door Sweating
Fixed by these parts
How to fix it
Door won’t open or close
Fixed by these parts
How to fix it
Fridge and Freezer are too warm
Fixed by these parts
How to fix it
Clicking sound
Fixed by these parts

How to fix it
Door latch failure
Fixed by these parts
How to fix it
Too warm
Fixed by these parts
How to fix it
Fridge runs too long
Fixed by these parts
How to fix it
Freezer too cold
Fixed by these parts
How to fix it
Ice maker dispenses too little ice
Fixed by these parts
How to fix it
Ice maker dispenses too much ice
Fixed by these parts
How to fix it
Doesn’t stop running
Fixed by these parts
How to fix it
Too cold
Fixed by these parts
How to fix it
Won’t start
Fixed by these parts
How to fix it
Leaks water
Fixed by these parts
How to fix it

Keep searches simple. Use keywords, e.g. "leaking", "pump", "broken" or "fit".
- Customer:
- Gerald from San Clemente, CA
- Parts Used:
- WR55X10025, WR02X10552
- Difficulty Level:
- Easy
- Total Repair Time:
- 15 - 30 mins
- Tools:
- Screw drivers
Fridge too warm, evaporator icing up
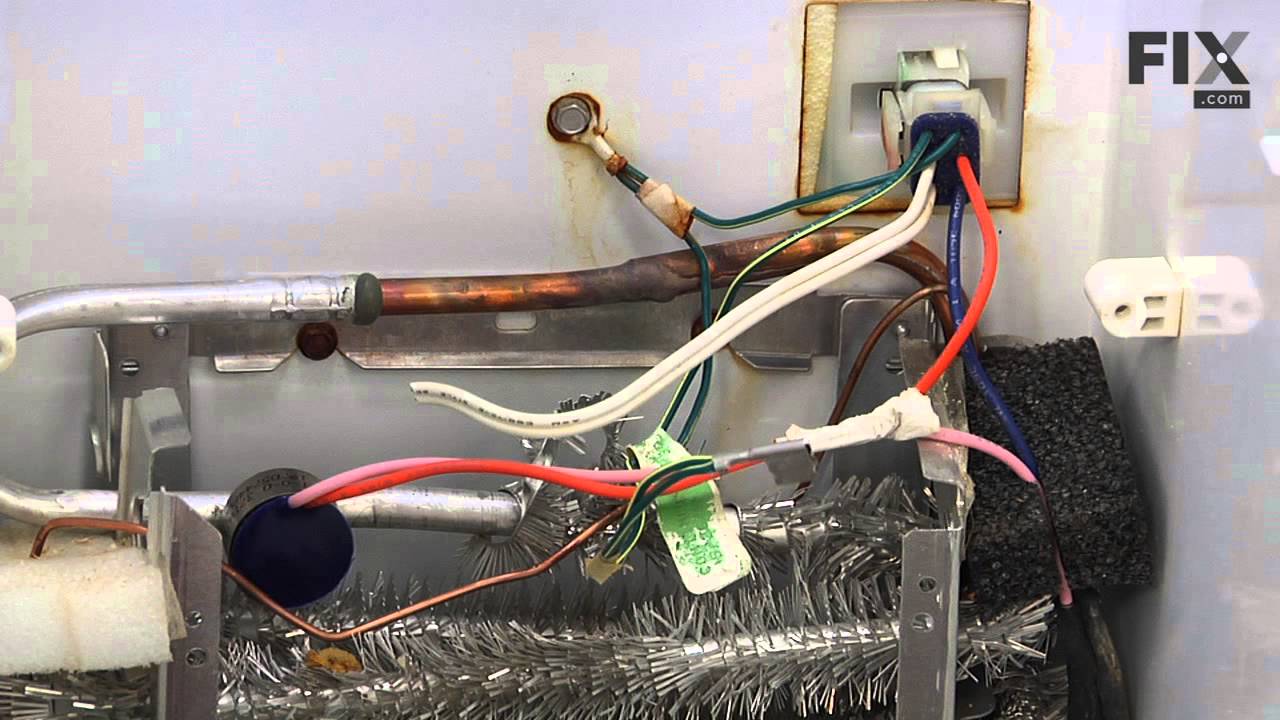
After replacing the defrost heater, main board and thermistor I still had the same problem. Called a repair guy and he (with the help of GE on the phone) diagnosed that the temperature sensor was bad. So I ordered from partselect and installed it and it fixed the problem. Been good for a couple months (knocking on wood). To install I
... Read more
had to cut the 2 wires to the old sensor, crimp the 2 new wires on and snap the new sensor to the clip on the evaporator. Very easy. Make sure you seal the ends of the wire crimps so moisture doesn't get in and corrode the connection.
Read less
Was this instruction helpful to you?
Thank you for voting!
- Customer:
- John from Holly Springs, NC
- Parts Used:
- WR55X10942C
- Difficulty Level:
- Really Easy
- Total Repair Time:
- Less than 15 mins
- Tools:
- Nutdriver
The refrigerator made continous "whooing" sounds that increased and decreased in pitch. Sounded like a ghost. Would keep us up at night. Also noticed that the heater was not heating under the evaporator coils.
After checking the stories, the consensus of opinion was to change the mother board. I had a tremendous help from Tom Paone at [email protected]. He also told me to change the motherboard but to make sure that the coils were totally defrosted before starting up the refrigerator after changing the board.
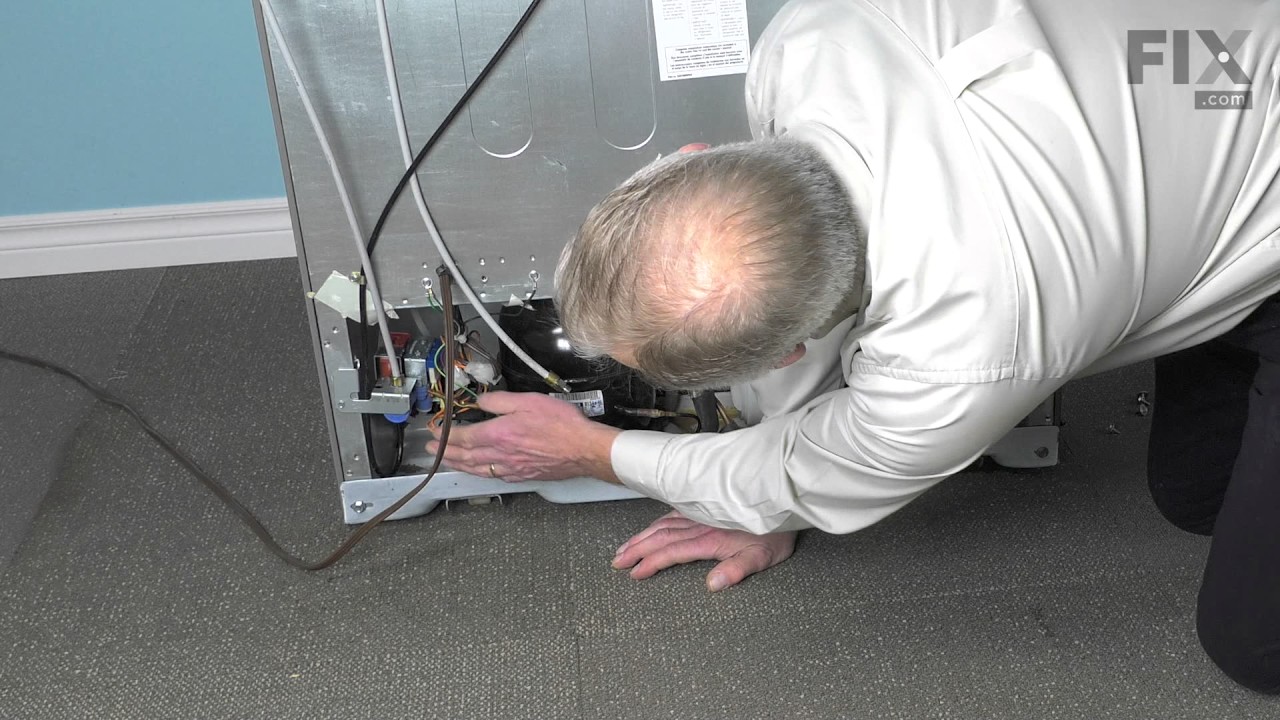
Took off thr ... Read more ee nuts around the board at the back of the unit. Removed the input wires and you have to push in the plastic tabs holding the board in. Then just put the new board in place and push till the tabs click. Re-install the wires and put the cover back on.
Really simple task,
It is now a week since doing this and the unit is working perfectly. No soulds and good nights sleep. The ghost has moved on.
Took off thr ... Read more ee nuts around the board at the back of the unit. Removed the input wires and you have to push in the plastic tabs holding the board in. Then just put the new board in place and push till the tabs click. Re-install the wires and put the cover back on.
Really simple task,
It is now a week since doing this and the unit is working perfectly. No soulds and good nights sleep. The ghost has moved on.
Read less
Was this instruction helpful to you?
Thank you for voting!
- Customer:
- ALBERT from RALEIGH, NC
- Parts Used:
- WR55X10942C, WR17X11653
- Difficulty Level:
- Easy
- Total Repair Time:
- Less than 15 mins
- Tools:
- Nutdriver, Pliers, Screw drivers
Our Ice Damper was warped, which let warm air into the freezer and caused frost to form. Also, our ice and water dispensers stopped working.
Swapping out the ice dispenser damper door was pretty easy- just used a combination of screwdrivers to remove the dispenser assembly, popped the old damper off, put the new damper on. Replacing the control board was only a bit more complicated- unplugged the fridge, removed the control board metal cover (beware the somewhat sharp edges),
... Read more
unhooked all the cables from the board, used needle-nose pliers to pinch each plastic spacer/fastener as to not damage them while removing the old board, mounted the new board where the old board was, and plugged in all the cables (they were all different enough from each other that I didn't have any trouble figuring out where they were supposed to connect). I now have my fridge plugged into a surge protector- hopefully that will protect this new board I've installed. Thanks a bunch,PartSelect.
Read less
Was this instruction helpful to you?
Thank you for voting!