



Models
>
HTS22GBPW
HTS22GBPW General Electric Refrigerator
Jump to:
Find Part by Name
Keep searches simple, eg. "belt" or "pump".
Keep searches simple, eg. "belt" or "pump".
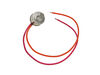
$36.17
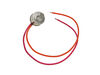
If your freezer has a buildup of frost, or is not maintaining the proper temperature, there may be an issue with the defrost thermostat. This device stops the evaporator coil from overheating while th...
In Stock
Order now and your part arrives by Sep 24
This drawer slide rail is a genuine OEM replacement part for the crisper drawer shelf in your refrigerator. This rail is for the left-hand side of the shelf assembly. If you need to replace both sides...
In Stock
Order now and your part arrives by Sep 24
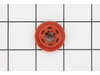
$16.95
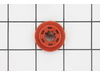
The evaporator fan grommet is used to provide a cushion between the fan motor and the motor mounting bracket in your freezer. This genuine OEM part is about one inch in diameter and is red in color. I...
In Stock
Order now and your part arrives by Sep 24
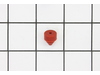
$15.26
This genuine OEM replacement part is a bumper for your refrigerator. The bumper is made of orange rubber and measures less than half an inch in diameter. The bumper is used to prevent the fan motor fr...
In Stock
Order now and your part arrives by Sep 24
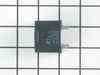
$58.37
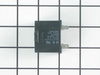
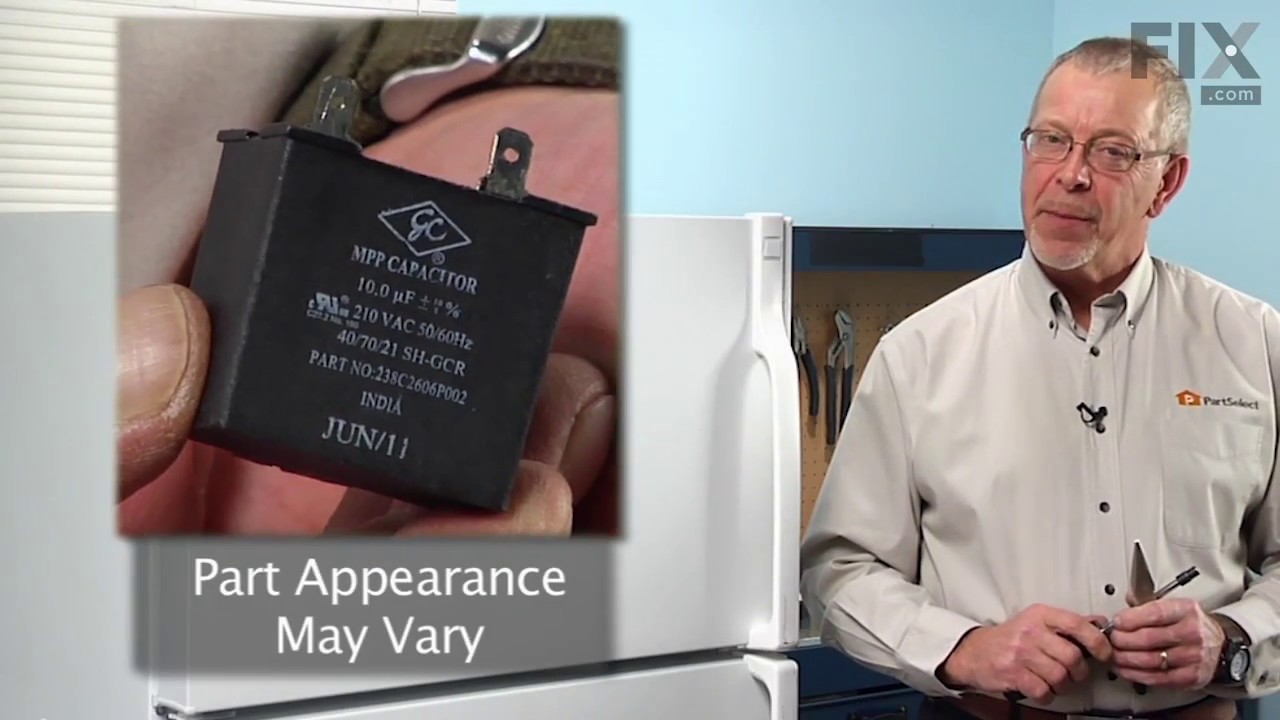
This part helps the compressor kick on and off while maintaining a constant temperature to keep things frozen in your freezer. This part has been updated by the manufacturer and may appear different t...
In Stock
Order now and your part arrives by Sep 24
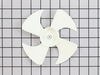
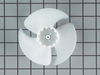
The condenser fan blade assembly helps to regulate the temperature in your refrigerator or freezer. This fan assembly has 4 blades, but other fans may have 3 blades, so be sure to check the number of ...
Special Order
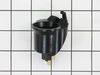
$20.95
This part is a replacement light socket for your refrigerator. It connects to the power source, and holds the light bulb. If the light in your refrigerator is not working, you could have a faulty sock...
In Stock
Order now and your part arrives by Sep 24
This part is the replacement drawer slide rail for your refrigerator. The crisper draw will slide in and out along this rail. If the rail is damaged or missing, the crisper will either hang from one s...
On Order
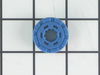
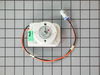
This is a replacement evaporator fan grommet for your refrigerator. The fan grommet absorbs the vibration from the evaporator fan motor for quiet operation while it runs. If your evaporator fan is unu...
In Stock
Order now and your part arrives by Sep 24
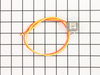
$39.55
this part acts as a safety device against over-heating in case of mechanical failure.
In Stock
Order now and your part arrives by Sep 24
In Stock
Order now and your part arrives by Sep 24
In Stock
Order now and your part arrives by Sep 24
Common Problems and Symptoms for HTS22GBPW
Viewing 20 of 20Fridge too warm
Fixed by these parts
How to fix it
Noisy
Fixed by these parts
How to fix it
Freezer section too warm
Fixed by these parts
How to fix it
Freezer not defrosting
Fixed by these parts
How to fix it
Will Not Start
Fixed by these parts
How to fix it
Light not working
Fixed by these parts
How to fix it
Frost buildup
Fixed by these parts
How to fix it
Fridge and Freezer are too warm
Fixed by these parts
How to fix it
Too warm
Fixed by these parts
How to fix it
Freezer too cold
Fixed by these parts
How to fix it
Fridge runs too long
Fixed by these parts
How to fix it
Fridge too cold
Fixed by these parts
How to fix it
Door won’t open or close
Fixed by these parts
How to fix it
Leaking
Fixed by these parts

How to fix it
Clicking sound
Fixed by these parts
How to fix it
Not dispensing water
Fixed by these parts
How to fix it
Ice maker not making ice
Fixed by these parts
How to fix it
Door Sweating
Fixed by these parts
How to fix it
Doesn’t stop running
Fixed by these parts
How to fix it
Won’t start
Fixed by these parts
How to fix it

Keep searches simple. Use keywords, e.g. "leaking", "pump", "broken" or "fit".
- Customer:
- Christian from Kearneysville, WV
- Parts Used:
- WR55X24064, WR2X9391
- Difficulty Level:
- Really Easy
- Total Repair Time:
- Less than 15 mins
- Tools:
- Screw drivers
No power to the fan and compressor
I have a fridge in my garage. I have found that a glass of ice water or a cold drink outside is very important to me. When I discovered melting ice dripping onto the garage floor I was very upset. I spun the fridge and found that the compressor and fan weren't starting. I got out my multi-meter and discovered that power was not makin
... Read more
g it to these components. I did some research and found the wiring diagram online. There really isn't too much going on with a fridge and the most likely candidate seemed to be the run capacitor. I ordered the part, replaced it in a few minutes and the fridge began working again.
Read less
Was this instruction helpful to you?
Thank you for voting!
- Customer:
- Scott from Pratt, KS
- Parts Used:
- WR50X10071, WR51X10038
- Difficulty Level:
- A Bit Difficult
- Total Repair Time:
- 30 - 60 mins
- Tools:
- Nutdriver
Freezer cold, but Refrigerator not cooling. Iced up coils.
After determining that it was the defrost system, I ordered the thermostat. Make sure you look closely. Mine had two thermostats, and so I had to wait a couple of days for the extra part.
1. Remove ice maker if installed.
2. Remove center casing on ceiling and back wall. There may be two screws that need removed.
3. L ... Read more ocate and remove two screws on upper back wall.
4. Remove back wall carefully, revealing coil system.
5. If this was the problem, the coils will be iced over and need thawed. Either time or a hair dryer...
6. The thermostats clip onto the copper tubing, simply pull them off, keeping close attention to the color of the wires.
7. Be very careful touching the bottom of the coils as the defrost conductor coils are along the bottom and encased in easily breakable glass. If you need to replace this as well, remove the center brace (wire)by pulling towards you and then down. remove wire attachments at both ends and rotate coil out of end braces.
8. Replacing thermostats...you must CUT the wires, and attach new thermostats with wire couplers or wire nuts and then wrap with electrical tape that is rated for the cold.
9. Re-attach all parts and replace back wall and coverings.
10. Enjoy!
1. Remove ice maker if installed.
2. Remove center casing on ceiling and back wall. There may be two screws that need removed.
3. L ... Read more ocate and remove two screws on upper back wall.
4. Remove back wall carefully, revealing coil system.
5. If this was the problem, the coils will be iced over and need thawed. Either time or a hair dryer...
6. The thermostats clip onto the copper tubing, simply pull them off, keeping close attention to the color of the wires.
7. Be very careful touching the bottom of the coils as the defrost conductor coils are along the bottom and encased in easily breakable glass. If you need to replace this as well, remove the center brace (wire)by pulling towards you and then down. remove wire attachments at both ends and rotate coil out of end braces.
8. Replacing thermostats...you must CUT the wires, and attach new thermostats with wire couplers or wire nuts and then wrap with electrical tape that is rated for the cold.
9. Re-attach all parts and replace back wall and coverings.
10. Enjoy!
Read less
Was this instruction helpful to you?
Thank you for voting!
- Customer:
- nancy from silsbee, TX
- Parts Used:
- WR2X9391
- Difficulty Level:
- Really Easy
- Total Repair Time:
- Less than 15 mins
bad light socket
unplugged refrigerator. removed light bulb from old socket. unsnapped old light socket and pulled it out just enough to diconnect the electrical plug that plugs into the socket . discarded the old socket and plugged in new socket. snapped in new socket into refrigerator. i watched how to do this simple procedure on you tube and decided to
... Read more
do it myself. easy easy easy
Read less
Was this instruction helpful to you?
Thank you for voting!