



Models
>
RY4951
RY4951 (RY4951000W0) Gaggenau Refrigerator
Jump to:
Find Part by Name
Keep searches simple, eg. "belt" or "pump".
Diagrams for RY4951
Viewing 15 of 15


Keep searches simple, eg. "belt" or "pump".

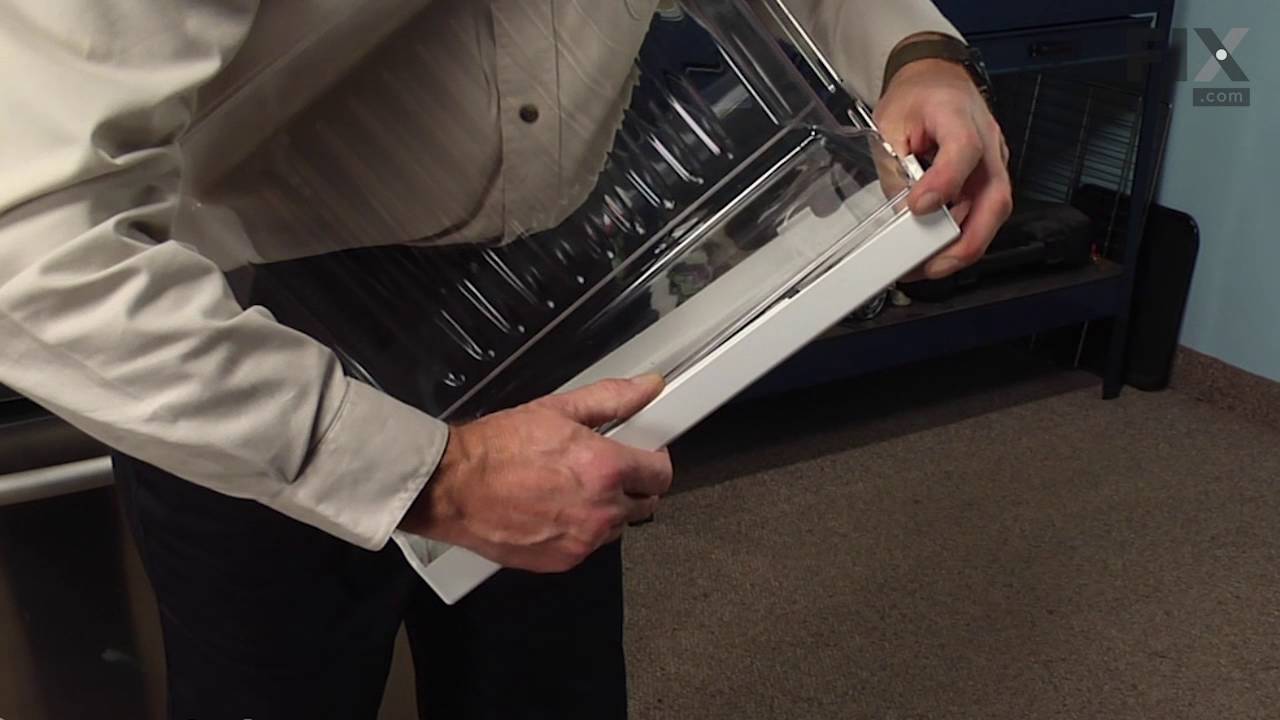
This refrigerator pantry drawer door cover keeps pantry foods covered and easy to see. Its white frame and clear window enclose the drawer while letting you spot meats, cheeses, and snacks at a glance...
In Stock
Order now and your part arrives by Nov 28

$113.72
This refrigerator crisper drawer pan is used to keep fruits and vegetables contained in a separate storage space within the fresh food section. Clear plastic walls let you see the contents and arrange...
In Stock
Order now and your part arrives by Nov 28

$55.18
To support the drawer and help keep it aligned as it slides open and closed, this left-side refrigerator pantry drawer end cap mounts to the interior wall and provides a connection point for the pantr...
In Stock
Order now and your part arrives by Nov 28

$31.05
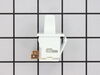
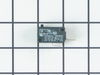
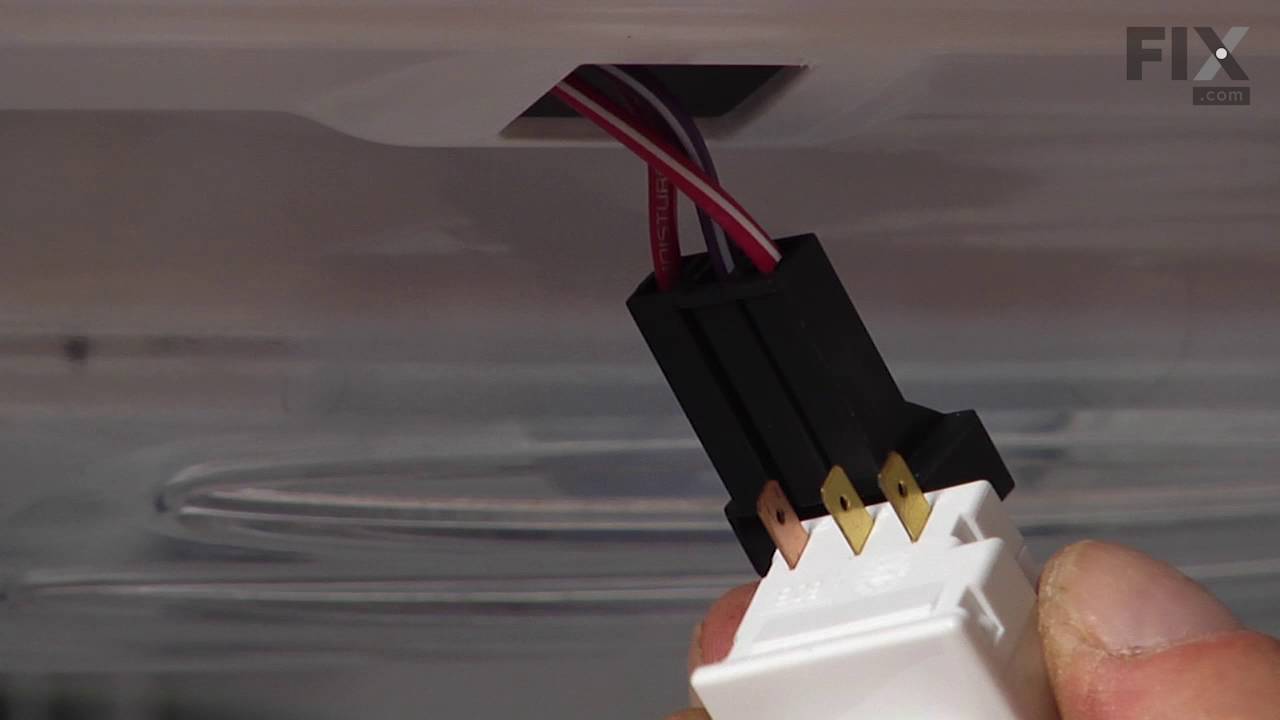
The refrigerator door switch turns the interior light off when the door closes. If the light is not working, the switch may be the cause. This is an OEM replacement. Confirm compatibility using your r...
In Stock
Order now and your part arrives by Nov 28

$31.05
A three-terminal rocker arm switch controls a refrigerator light and fan circuit. It is an OEM replacement switch for that circuit.
In Stock
Order now and your part arrives by Nov 28

$21.82
This is a screw and it is made for multiple appliances in your home. This model is called a sheet metal screw because it has sharp points, and the threads are closer together. This screw is designed t...
In Stock
Order now and your part arrives by Nov 28

$7.60
This is a multi-use screw and can be used on a variety of appliances. The measurements of the screw are: 8/18 x 3/8. *Please note: the screw is sold individually. Refer to the manual provided by the m...
In Stock
Order now and your part arrives by Nov 28

When you remove the refrigerator water filter, this OEM bypass plug lets water continue to the dispenser and ice maker. It attaches in the water filter head. Follow your owners manual for installation.
In Stock
Order now and your part arrives by Nov 28

This icemaker water inlet cup is three inches long. It is all white in color and is made of plastic.
In Stock
Order now and your part arrives by Nov 28

$154.27
This white refrigerator door gasket maintains a tight seal around the fresh food section. As the door shuts, the flexible magnetic edge meets the cabinet. This helps retain cold air and block warm air...
In Stock
Order now and your part arrives by Nov 28

$27.83
This is the replacement water tube kit for your refrigerator. This tubing is made of plastic, is 1/4 inch in diameter, and comes with 2 inserts. This tube may be longer than the original tube, and may...
In Stock
Order now and your part arrives by Nov 28

$28.91
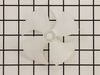
The white, four-blade OEM evaporator fan blade moves cold air over your refrigerators evaporator coils. A noisy fan or a warm refrigerator can indicate a problem with the blade. Check your refrigerato...
In Stock
Order now and your part arrives by Nov 28
Common Problems and Symptoms for RY4951
Viewing 20 of 20Light not working
Fixed by these parts
How to fix it
Door won’t open or close
Fixed by these parts
How to fix it
Leaking
Fixed by these parts

How to fix it
Ice maker not making ice
Fixed by these parts
How to fix it
Fridge too warm
Fixed by these parts

How to fix it
Not dispensing water
Fixed by these parts
How to fix it
Fridge too cold
Fixed by these parts
How to fix it
Noisy
Fixed by these parts
How to fix it
Door Sweating
Fixed by these parts
How to fix it
Ice maker won’t dispense ice
Fixed by these parts
How to fix it
Freezer too cold
Fixed by these parts
How to fix it
Ice maker dispenses too much ice
Fixed by these parts
How to fix it
Freezer section too warm
Fixed by these parts
How to fix it
Frost buildup
Fixed by these parts
How to fix it
Freezer not defrosting
Fixed by these parts
How to fix it
Clicking sound
Fixed by these parts
How to fix it
Too warm
Fixed by these parts
How to fix it
Fridge and Freezer are too warm
Fixed by these parts
How to fix it
Ice maker dispenses too little ice
Fixed by these parts
How to fix it
Fridge runs too long
Fixed by these parts
How to fix it
Keep searches simple. Use keywords, e.g. "leaking", "pump", "broken" or "fit".
- Customer:
- David from Chester, CA
- Parts Used:
- WP628356
- Difficulty Level:
- Really Easy
- Total Repair Time:
- Less than 15 mins
- Tools:
- Nutdriver, Screw drivers
The Bearing Cup Assembly was broken and ice would jamb against it during the ice making cycle.
I removed the ice maker from the refrigerator, by removing one screw on the underside bracket and loosening the two screws at the top side, then lifting the ice maker off the loosened screws. I then unplugged the electrical harness that supplies power from the refrigerator to the ice maker. I then disassembled the ice maker by removing
... Read more
the front cover which is snapped in place, then removing two recessed screws at the front. I removed the broken part, I then reassembled the ice maker with the new part. I replaced the two recessed screws at the front and snapped on the cover. Then I reinstalled the ice maker in the refrigator by plugging in the harness, slipping the ice maker over the loosened screws in the refrigerator and replacing the screw that was removed from the underside bracket. Tightening all the screws completed the project.
Read less
Was this instruction helpful to you?
Thank you for voting!
- Customer:
- Clint from Rayville, MO
- Parts Used:
- W11384469
- Difficulty Level:
- Really Easy
- Total Repair Time:
- Less than 15 mins
- Tools:
- Screw drivers
Lights inside refrigerator not working
I used a flat-head screwdriver to pop out the old light rocker switch. Then, I unplugged the wires, plugged them into the new light rocker switch, and then popped the new switch into the hole. That's it! Lights began working again.
Was this instruction helpful to you?
Thank you for voting!
- Customer:
- Richard from Yarmouth, ME
- Parts Used:
- WPM0114003, WPA3223101, W11176463
- Difficulty Level:
- Really Easy
- Total Repair Time:
- 15 - 30 mins
- Tools:
- Nutdriver, Pliers
Leak at fill tube
Removed two screws that held cover plate. remove cover plate. Remove water hose, and clamp, by compressing clamp with pliers. Remove fill tube by pulling HARD, from back.
Replace fill tube, check to be sure that it entered ice maker properly. Replace hose and clamp.
Replace cover and screws.
Replace fill tube, check to be sure that it entered ice maker properly. Replace hose and clamp.
Replace cover and screws.
Was this instruction helpful to you?
Thank you for voting!