



Models
>
MRS22WIFD0
MRS22WIFD0 Frigidaire Refrigerator
Jump to:
Find Part by Name
Keep searches simple, eg. "belt" or "pump".
Diagrams for MRS22WIFD0
Viewing 12 of 12


Keep searches simple, eg. "belt" or "pump".

To support the retainer bar inside a refrigerator or freezer door, this white door shelf end cap fits either the left or right end of the specified shelf rail and helps keep bottles and containers in ...
In Stock
Order now and your part arrives by Nov 21

$41.55
This 120 volt, 60 hertz defrost timer is used to switch the refrigerator into a 30 minute defrost cycle after eight hours of compressor run time. The cycle allows the heater to clear frost from the ev...
In Stock
Order now and your part arrives by Nov 21

This is a genuine OEM ice maker assembly for your refrigerator. The ice maker makes eight cubes at a time, by filling the mold with water from the inlet valve, freezing the water until the cubes are f...
In Stock
Order now and your part arrives by Nov 21

To hold the retainer bar in place on the inside of the refrigerator door, this white plastic door shelf end cap fits either the left or right end of the specified shelf rail and is supplied as one pie...
In Stock
Order now and your part arrives by Nov 21

$21.95
This 40-watt light bulb has a standard screw-in base and is used in many different appliances. If your current bulb is burnt out or broken you will need to replace it. This light bulb is a genuine OEM...
In Stock
Order now and your part arrives by Nov 21

In Stock
Order now and your part arrives by Nov 21

In Stock
Order now and your part arrives by Nov 21

Trim this white door shelf retainer bar to the length needed for the refrigerator or freezer door shelf. Supplied at approximately 30.75 inches long and 1.75 inches wide, it restrains bottles, jars, a...
In Stock
Order now and your part arrives by Nov 21

$107.43
Fresh ice is produced automatically by this refrigerator ice maker assembly, which fills its mold, freezes water, and releases cubes into the storage bin. Its heat release mechanism briefly warms the ...
In Stock
Order now and your part arrives by Nov 21

$41.75
During automatic defrosting, this refrigerator thermostat permits heater operation while the evaporator coils are cold, then breaks the circuit at the cutoff temperature to help prevent overheating. I...
In Stock
Order now and your part arrives by Nov 21

This is the door shelf end cap for your refrigerator. It connects to the refrigerator door and keeps the door bar in place. Your refrigerator will have two shelf end caps, one for the right side and o...
In Stock
Order now and your part arrives by Nov 21

This is the door shelf end cap for your refrigerator. It connects to the refrigerator door and keeps the door bar in place. Your refrigerator will have two shelf end caps, one for the right side and o...
In Stock
Order now and your part arrives by Nov 21
Common Problems and Symptoms for MRS22WIFD0
Viewing 19 of 19Fridge too warm
Fixed by these parts


How to fix it
Ice maker not making ice
Fixed by these parts

How to fix it
Freezer not defrosting
Fixed by these parts
How to fix it
Freezer section too warm
Fixed by these parts
How to fix it
Light not working
Fixed by these parts
How to fix it
Leaking
Fixed by these parts

How to fix it
Noisy
Fixed by these parts

How to fix it
Ice maker won’t dispense ice
Fixed by these parts
How to fix it
Will Not Start
Fixed by these parts
How to fix it
Fridge runs too long
Fixed by these parts
How to fix it
Fridge and Freezer are too warm
Fixed by these parts
How to fix it
Freezer too cold
Fixed by these parts
How to fix it
Fridge too cold
Fixed by these parts
How to fix it
Frost buildup
Fixed by these parts
How to fix it
Door won’t open or close
Fixed by these parts


How to fix it
Too warm
Fixed by these parts
How to fix it
Won’t start
Fixed by these parts
How to fix it
Not dispensing water
Fixed by these parts
How to fix it
Clicking sound
Fixed by these parts
How to fix it
Keep searches simple. Use keywords, e.g. "leaking", "pump", "broken" or "fit".
- Customer:
- Stephen from Warrington, PA
- Parts Used:
- 5303917954, 215846602
- Difficulty Level:
- Easy
- Total Repair Time:
- 30 - 60 mins
- Tools:
- Nutdriver, Pliers, Screw drivers
Fridge got warm and freezer coils were frosted
Fridge is a side by side. The freezer is pretty narrow for a guy with wide shoulders.
Pulled plug.
Had to remove bottom drawers then used nut driver to remove screws closest to back wall in drawer runners. Once the back screws were removed the runners could be swung up or down out of way so back cover could be re ... Read more moved.
Once back cover was removed thermostat was located attached to top pipe going into coil using a spring clamp.
Cut the wires just outside the crimp connectors going into thermostat. Released the spring clamp buy squeezing botton together.
Removed old badly corroded thermostat.
I wish I had attached the crimp connectors to the new thermostat wires before mounting it. Reaching way in the back, while turning shoulders verticly and trying to get the wire connectors set from both sides was awkward and uncomfortable...The biggest PIA of the whole task.
Once connected I let the fridge (thermostat) cool for 10 min. Turned the dial defrost timer to get it into defrost mode. Stupidly touched the heating element to see if it was getting warm...it was very hot.
Coils steamed...every looked like it was working. Unplugged, put back cover back on and retattached drawer mounts.
Plugged back in and everying is working great!
Pulled plug.
Had to remove bottom drawers then used nut driver to remove screws closest to back wall in drawer runners. Once the back screws were removed the runners could be swung up or down out of way so back cover could be re ... Read more moved.
Once back cover was removed thermostat was located attached to top pipe going into coil using a spring clamp.
Cut the wires just outside the crimp connectors going into thermostat. Released the spring clamp buy squeezing botton together.
Removed old badly corroded thermostat.
I wish I had attached the crimp connectors to the new thermostat wires before mounting it. Reaching way in the back, while turning shoulders verticly and trying to get the wire connectors set from both sides was awkward and uncomfortable...The biggest PIA of the whole task.
Once connected I let the fridge (thermostat) cool for 10 min. Turned the dial defrost timer to get it into defrost mode. Stupidly touched the heating element to see if it was getting warm...it was very hot.
Coils steamed...every looked like it was working. Unplugged, put back cover back on and retattached drawer mounts.
Plugged back in and everying is working great!
Read less
Was this instruction helpful to you?
Thank you for voting!
- Customer:
- Juan from Miami, FL
- Parts Used:
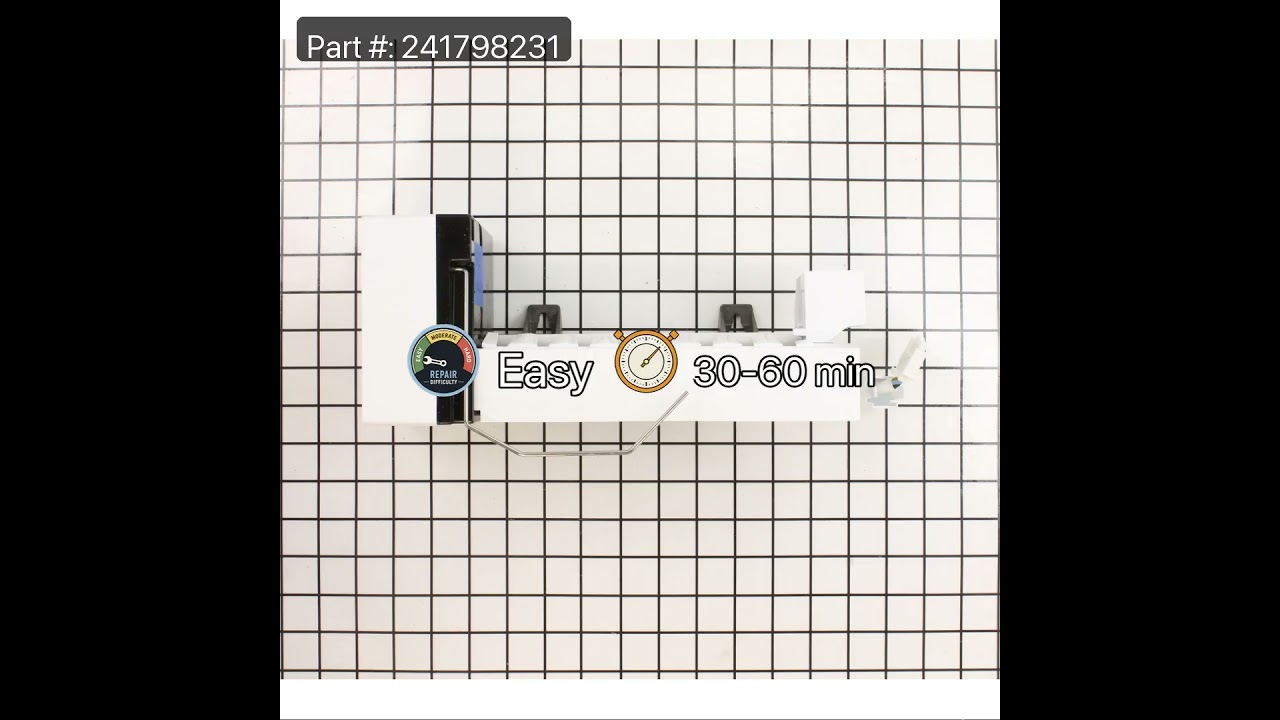
- 241798231
- Difficulty Level:
- Really Easy
- Total Repair Time:
- 15 - 30 mins
- Tools:
- Socket set
Broken ice maker
Unplugged faulty ice maker, removed two screws holding it to the refrigerator and took it out. Reversed the operation with the new ice maker and after a few minutes presto, we have ice.
Was this instruction helpful to you?
Thank you for voting!
- Customer:
- JACK from MESA, AZ
- Parts Used:
- 5303918277
- Difficulty Level:
- A Bit Difficult
- Total Repair Time:
- 1- 2 hours
- Tools:
- Screw drivers
Ice Maker Stopped Working
It was pretty straight forward. Remove the two screws that hold the unit to the wall of the freezer. In my case, I had to use a different ice maker than what came with the frig. In order to install the replacement unit they sent a wire adaptor so it would attach to the existing wiring. That too was all fine and dandy. The only p
... Read more
roblem was that the end of the wire adaptor did not fit through the existing hole in the rear of the frig. I used a utility knife to cut through the thin metal lining. That worked just fine. However, I could not cut through the insulation because I could not reach it through the small hole. The excess wire was supposed to be pulled through the hole and out through the back of the unit. So now the excess is between the wall of the freezer and the insulation. The unit is working wonderfully. In fact, it is making more ice than I can use. I am very pleased with the replacement unit. This is the 3rd ice maker that has been in this frig. All the others had a design flaw that had a leak in the rear of the unit. This caused all the ice to form into a big block. The replacement unit has not had this problem so far. Thank you for allowing me to explain my situation so that maybe others may benifit from my experience. Thank you. Jack
Read less
Was this instruction helpful to you?
Thank you for voting!