



Models
>
WRT18CVAW2
WRT18CVAW2 Frigidaire Refrigerator
Jump to:
Find Part by Name
Keep searches simple, eg. "belt" or "pump".
Diagrams for WRT18CVAW2
Viewing 5 of 5


Keep searches simple, eg. "belt" or "pump".
$41.75
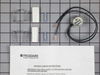
This limiter thermostat cuts out when the temperature inside your refrigerator reaches 55 degrees Fahrenheit and kicks back in when the internal temperature drops to 20 degrees Fahrenheit.
In Stock
Order now and your part arrives by Oct 8
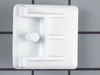
This is the replacement crisper drawer cover support for your refrigerator. The crisper shelf rests on the support, which keeps it level. If your drawer cover or shelf will not stay level, or will not...
No Longer Available

In Stock
Order now and your part arrives by Oct 8
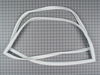
This white fresh food door gasket is used to seal the refrigerator door when closed to keep the cool air inside and the room air out.
No Longer Available
In Stock
Order now and your part arrives by Oct 8
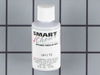
This 18 ml bottle of white appliance touch up paint is a little over two inches tall. It can be used for refrigerators, microwaves, ranges, clothes dryers, and freezers.
No Longer Available
In Stock
Order now and your part arrives by Oct 8

In Stock
Order now and your part arrives by Oct 8
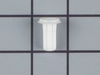
This white hinge pin bearing pivots the freezer and refrigerator door.
No Longer Available
In Stock
Order now and your part arrives by Oct 8
In Stock
Order now and your part arrives by Oct 8
Common Problems and Symptoms for WRT18CVAW2
Viewing 15 of 15Fridge too warm
Fixed by these parts

How to fix it
Noisy
Fixed by these parts
How to fix it
Freezer not defrosting
Fixed by these parts
How to fix it
Freezer section too warm
Fixed by these parts
How to fix it
Light not working
Fixed by these parts
How to fix it
Fridge runs too long
Fixed by these parts
How to fix it
Door Sweating
Fixed by these parts
How to fix it
Freezer too cold
Fixed by these parts
How to fix it
Leaking
Fixed by these parts
How to fix it
Frost buildup
Fixed by these parts
How to fix it
Fridge and Freezer are too warm
Fixed by these parts
How to fix it
Fridge too cold
Fixed by these parts
How to fix it
Too warm
Fixed by these parts
How to fix it
Door won’t open or close
Fixed by these parts
How to fix it
Will Not Start
Fixed by these parts
How to fix it

Keep searches simple. Use keywords, e.g. "leaking", "pump", "broken" or "fit".
Refrigerator ran frequently and freezer door was sagging
I pulled off the old door gasket which came off really easy. I was hoping the new one would go on as easy as just popping it in place but it didnt work. I had to remove the inside door panel. The gasket wouldnt lay entirely flat in the inside groove so I used a bead of RTV around the entire circumference which helped to hold it in place w
... Read more
hile reattaching the panel back onto the door. The screws fit on the under side of the magnetic portion of the gasket. In order to access the screw holes the gasket has to be lifted which sometimes causes the gasket to pull from the lip on the back side of the panel making the RTV get everywhere. After every screw was in place and lightly tightened the panel had to be adjusted to allow for the proper closing of the door. This was the worst part, fortunatly the screws left a slight indentation of where they were before I removed them so it gave me a nice reference.
The hinge part of the new gasket requires a lubricant so it wont bind up when the door is closed. I didnt know about this until my order arrived and a part number was recommended for the type of lube. I just used Vasolene and it works fine.
The pin bearing was really easy. Just unload the contents from the door, mine was the freezer door. I popped off the cap covering the screws and removed the screws while holding the door so it wouldnt drop on the floor. Once off I used a flat head screwdriver to pry out the old one and a light tap of a hammer to replace it with the new. I put it all together the way it came off.
Now my fridge runs much less and the freezer door doesnt sag.
The hinge part of the new gasket requires a lubricant so it wont bind up when the door is closed. I didnt know about this until my order arrived and a part number was recommended for the type of lube. I just used Vasolene and it works fine.
The pin bearing was really easy. Just unload the contents from the door, mine was the freezer door. I popped off the cap covering the screws and removed the screws while holding the door so it wouldnt drop on the floor. Once off I used a flat head screwdriver to pry out the old one and a light tap of a hammer to replace it with the new. I put it all together the way it came off.
Now my fridge runs much less and the freezer door doesnt sag.
Read less
Was this instruction helpful to you?
Thank you for voting!
- Customer:
- Clark from Wenatchee, WA
- Parts Used:
- 5303276826, 218730609
- Difficulty Level:
- Easy
- Total Repair Time:
- 30 - 60 mins
- Tools:
- Nutdriver
door seals cracking from age on both compartments
Located the many screws which hold the inside surface of the door on. The screws are located between the seal and the inside surface; you have to hold back the seal to find the screws.
The seals are attached to this inner surface by a snug fit, and clamped in place when the screws are tightened again. Its simpler than it soun ... Read more ds.
Finally, it is wise to get a food safe RTV sealant to glue down the corners of the door seals to make they don't scoot around during the life of the seal.
The seals are attached to this inner surface by a snug fit, and clamped in place when the screws are tightened again. Its simpler than it soun ... Read more ds.
Finally, it is wise to get a food safe RTV sealant to glue down the corners of the door seals to make they don't scoot around during the life of the seal.
Read less
Was this instruction helpful to you?
Thank you for voting!
- Customer:
- debra from new washington, OH
- Parts Used:
- 5303917954
- Difficulty Level:
- Really Easy
- Total Repair Time:
- 15 - 30 mins
- Tools:
- Nutdriver, Pliers
freezer kept icing over, refrigerator too hot
First, I unplugged the appliance. Safety, first.
Than I removed the shield which was held in by screws. This covered the fan, thermometer.
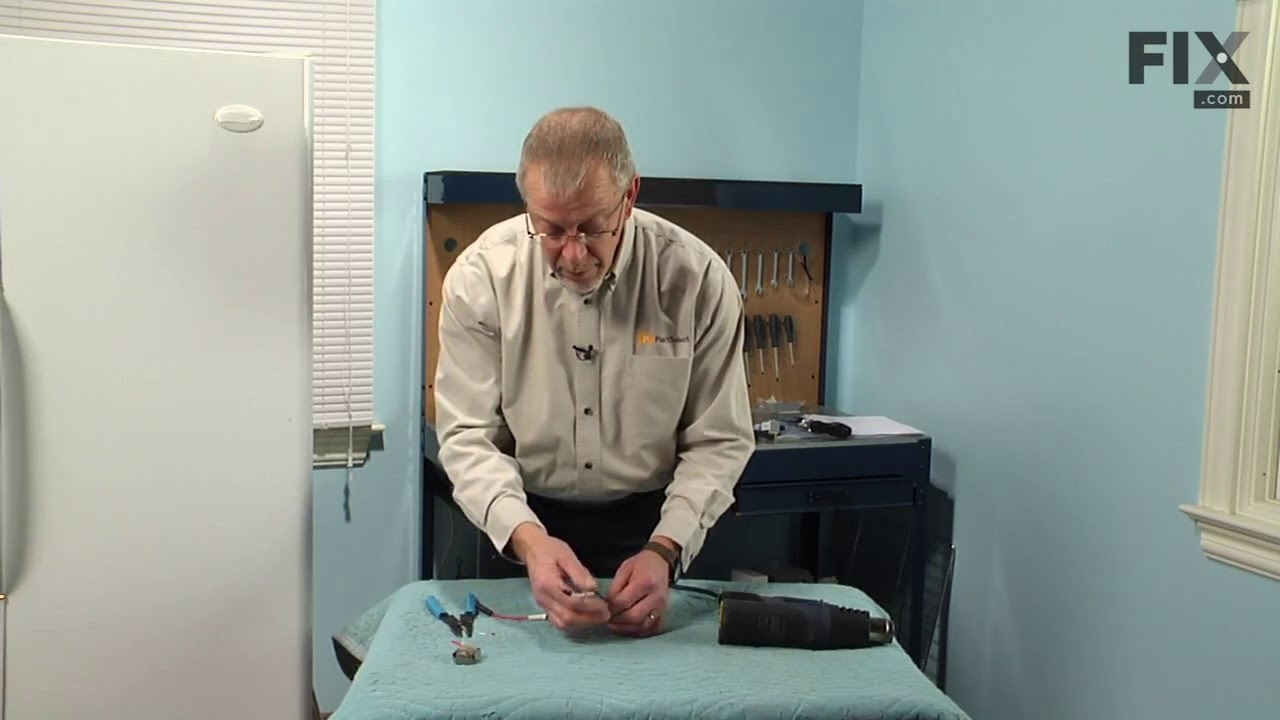
The defrost thermostat was taken out, with a little extra force. The wires on the defective part were no longer attached to the part. The instructions were easy to follow in replacing the d ... Read more efrost thermostat. I stripped the coating on the wire, attached it with the enclosed electical bugs. The assy was able to follow, and the part went back on. The refrigerator is working perfectly. I couldn't have done it without the help in diagnosing the problem and with the speedy delivery of the new part. Thanks for all your help and the ease of the installing the new part!
Than I removed the shield which was held in by screws. This covered the fan, thermometer.
The defrost thermostat was taken out, with a little extra force. The wires on the defective part were no longer attached to the part. The instructions were easy to follow in replacing the d ... Read more efrost thermostat. I stripped the coating on the wire, attached it with the enclosed electical bugs. The assy was able to follow, and the part went back on. The refrigerator is working perfectly. I couldn't have done it without the help in diagnosing the problem and with the speedy delivery of the new part. Thanks for all your help and the ease of the installing the new part!
Read less
Was this instruction helpful to you?
Thank you for voting!