



Models
>
FRS23W3AQ6
FRS23W3AQ6 Frigidaire Refrigerator
Jump to:
Find Part by Name
Keep searches simple, eg. "belt" or "pump".
Diagrams for FRS23W3AQ6
Viewing 12 of 12


Manuals & Guides for FRS23W3AQ6
Click to downloadInstall
Installation Instructions
(0.58MB)
Manual
Owner's Manuals
(1.55MB)
Manual
Owner's Manuals
(9.11MB)
Wiring
Wiring Diagram
(0.32MB)
Keep searches simple, eg. "belt" or "pump".

A level crisper cover relies on secure supports beneath its frame. This plastic front crisper cover support mounts to the inner refrigerator cabinet wall and holds up the shelf above the produce drawe...
In Stock
Order now and your part arrives by Nov 22

$17.48
Inside your refrigerator, the crisper cover support mounts to the cabinet wall and holds up the crisper drawer cover. Check fit against your refrigerator model before ordering.
In Stock
Order now and your part arrives by Nov 22

In Stock
Order now and your part arrives by Nov 22

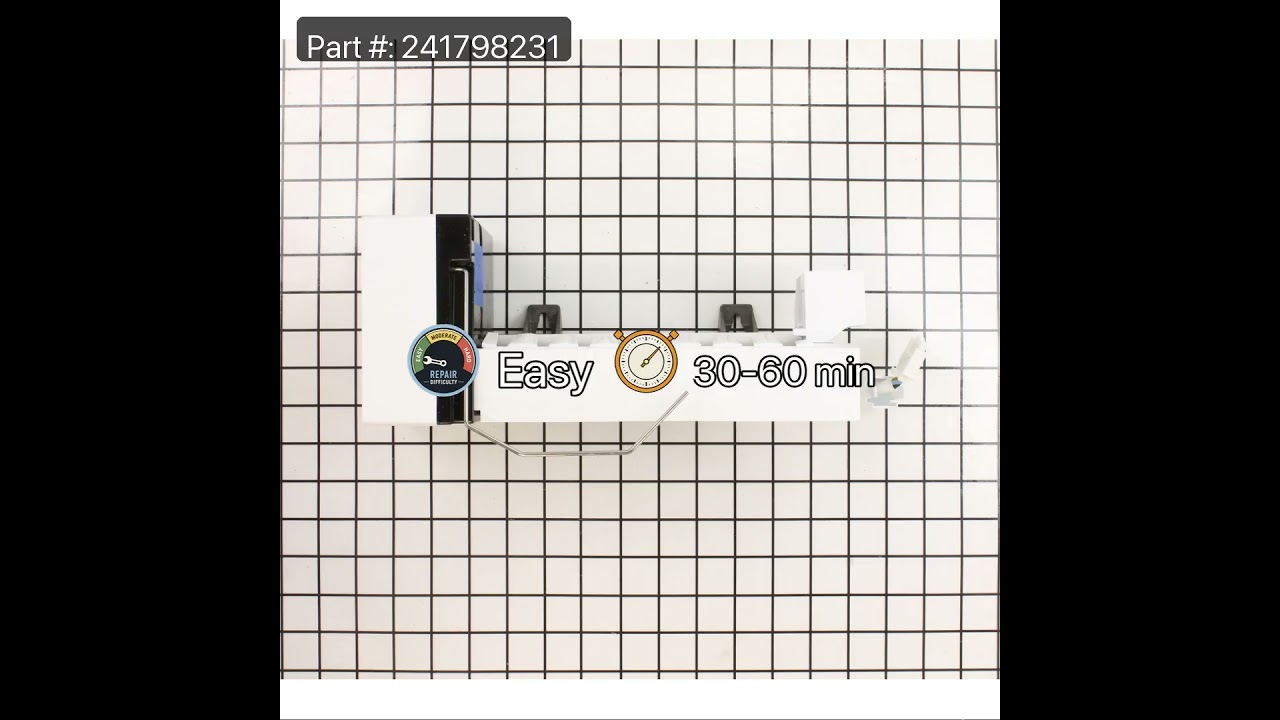
This is a genuine OEM ice maker assembly for your refrigerator. The ice maker makes eight cubes at a time, by filling the mold with water from the inlet valve, freezing the water until the cubes are f...
In Stock
Order now and your part arrives by Nov 22

$54.95
A white refrigerator door shelf bin designed to hold items such as two litre bottles keeps bottles, jars, and condiments organized. The bin snaps onto the inner door liner, providing accessible storag...
In Stock
Order now and your part arrives by Nov 22

$35.95
This defrost thermostat is used to monitor evaporator temperature and switch the heater off as the coil warms during defrost. Included in the kit: the thermostat, mounting clip, wire leads, and a heat...
In Stock
Order now and your part arrives by Nov 22

$59.35
To help the refrigerator or freezer door move into its closed position, this door closing cam works with the lower hinge mechanism. Look for the part at the bottom of the door and is supplied as one p...
In Stock
Order now and your part arrives by Nov 22

$67.05
To keep jars, bottles, and gallon-sized containers from shifting when the refrigerator door opens or closes, use this white door bin. It attaches inside the door and measures 15 x 5 x 8 inches. This i...
In Stock
Order now and your part arrives by Nov 22

$21.95
This 40-watt light bulb has a standard screw-in base and is used in many different appliances. If your current bulb is burnt out or broken you will need to replace it. This light bulb is a genuine OEM...
In Stock
Order now and your part arrives by Nov 22

$58.25
Add storage to the freezer door with this white refrigerator door bin. It is an OEM part listed for select refrigerator models, so check your model to confirm fit.
In Stock
Order now and your part arrives by Nov 22

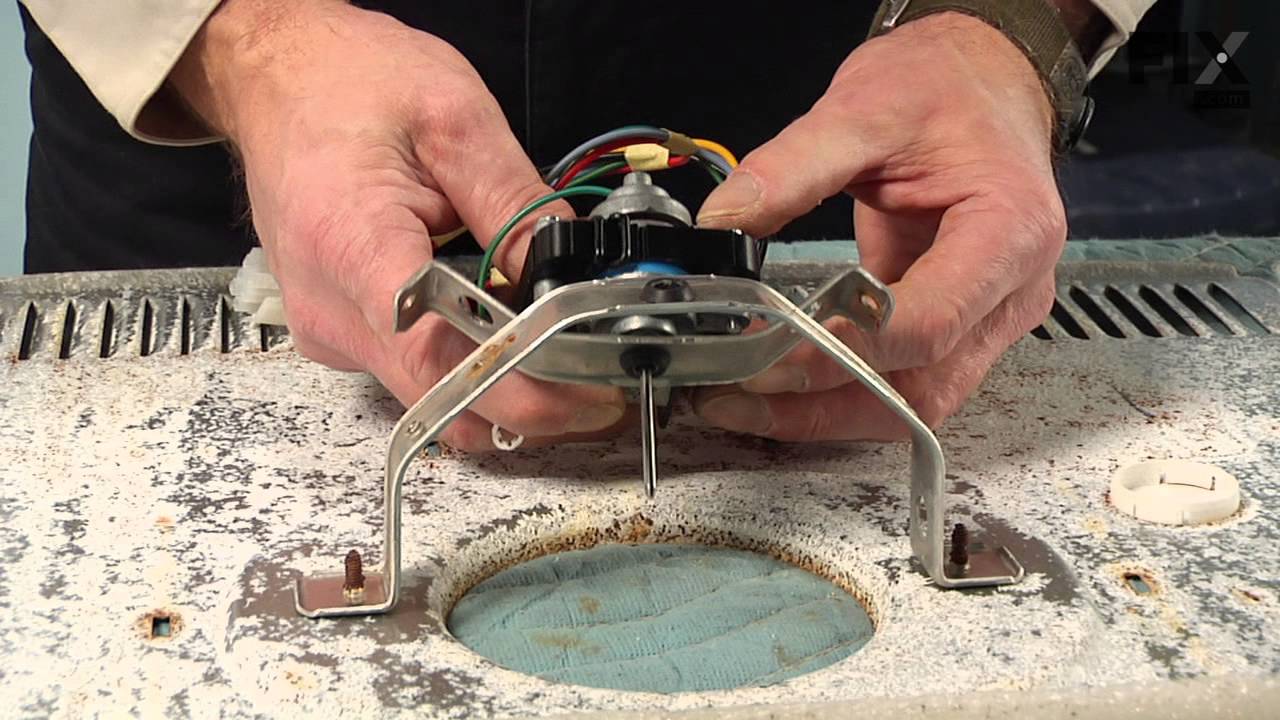
Cold air moves through the food compartments with help from this refrigerator evaporator fan motor kit. The motor drives the fan that circulates air across the evaporator coils and distributes cooled ...
In Stock
Order now and your part arrives by Nov 22

$107.43
Fresh ice is produced automatically by this refrigerator ice maker assembly, which fills its mold, freezes water, and releases cubes into the storage bin. Its heat release mechanism briefly warms the ...
In Stock
Order now and your part arrives by Nov 22
Common Problems and Symptoms for FRS23W3AQ6
Viewing 23 of 23Fridge too warm
Fixed by these parts

How to fix it
Ice maker not making ice
Fixed by these parts

How to fix it
Clicking sound
Fixed by these parts


How to fix it
Door won’t open or close
Fixed by these parts

How to fix it
Noisy
Fixed by these parts

How to fix it
Ice maker won’t dispense ice
Fixed by these parts
How to fix it
Fridge too cold
Fixed by these parts

How to fix it
Light not working
Fixed by these parts
How to fix it
Freezer section too warm
Fixed by these parts
How to fix it
Leaking
Fixed by these parts
How to fix it
Freezer not defrosting
Fixed by these parts
How to fix it
Not dispensing water
Fixed by these parts


How to fix it
Fridge and Freezer are too warm
Fixed by these parts
How to fix it
Will Not Start
Fixed by these parts
How to fix it
Too warm
Fixed by these parts
How to fix it
Frost buildup
Fixed by these parts
How to fix it
Door Sweating
Fixed by these parts
How to fix it
Won’t start
Fixed by these parts
How to fix it
Ice maker dispenses too much ice
Fixed by these parts

How to fix it
Freezer too cold
Fixed by these parts
How to fix it
Fridge runs too long
Fixed by these parts
How to fix it
Ice maker dispenses too little ice
Fixed by these parts
How to fix it
Doesn’t stop running
Fixed by these parts
How to fix it
Keep searches simple. Use keywords, e.g. "leaking", "pump", "broken" or "fit".
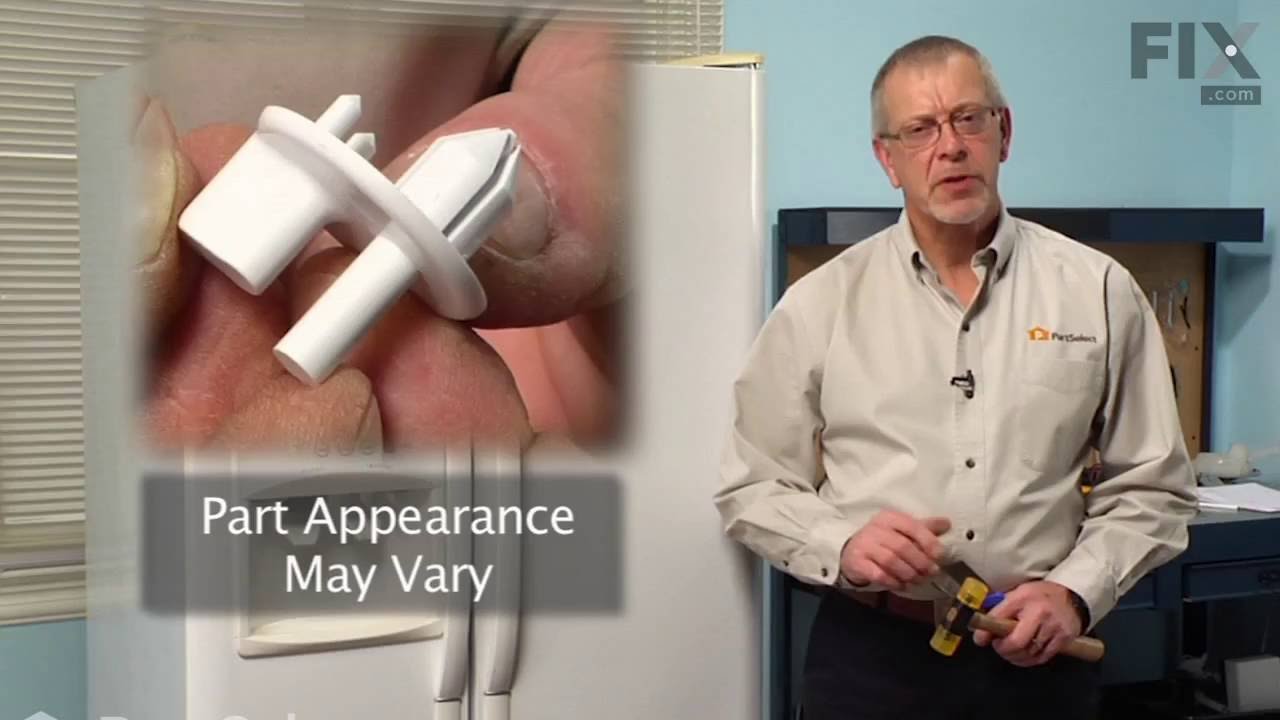
Support studs were broken
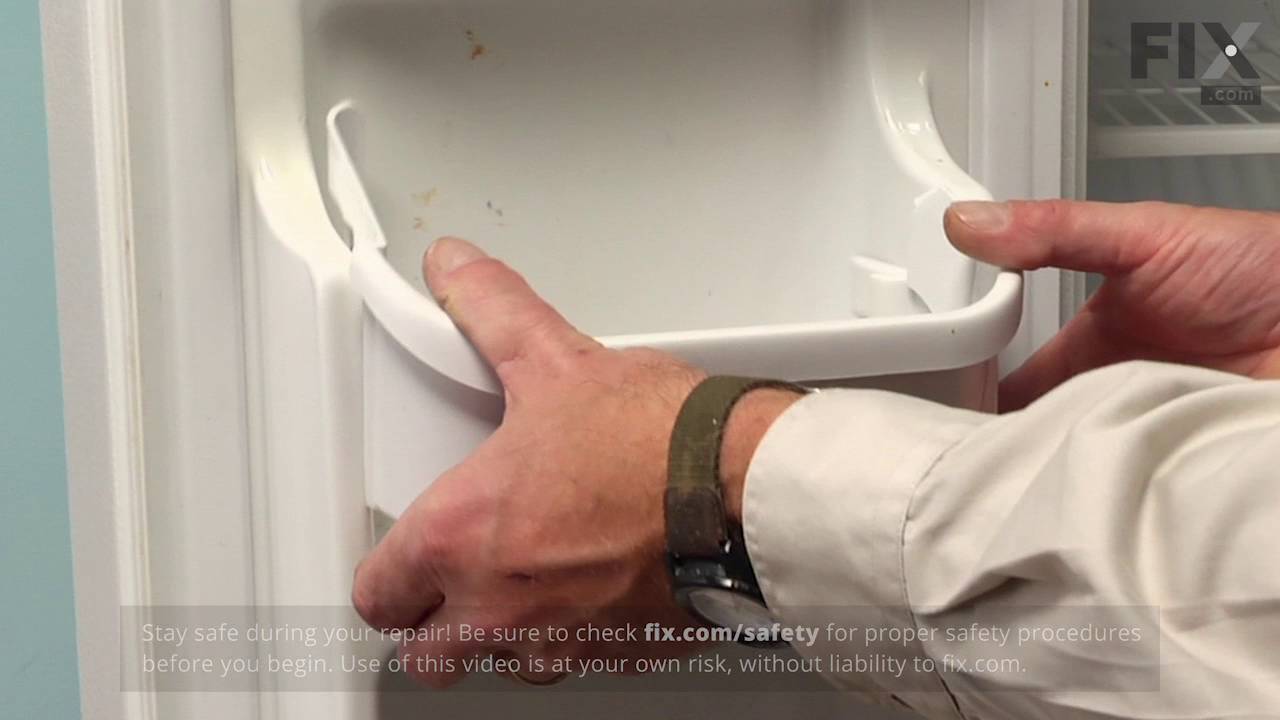
Used pliers to remove the residual broken stud that was still attached to the wall of the refrigerator, and then just pushed the new part in place. The longest time was spent in removing the food and crisper drawers.
Was this instruction helpful to you?
Thank you for voting!
- Customer:
- Leo from Bentonville, AR
- Parts Used:
- 5303918214
- Difficulty Level:
- Easy
- Total Repair Time:
- 15 - 30 mins
- Tools:
- Nutdriver, Pliers
Running but not cooling off and frost in the back of the freezer
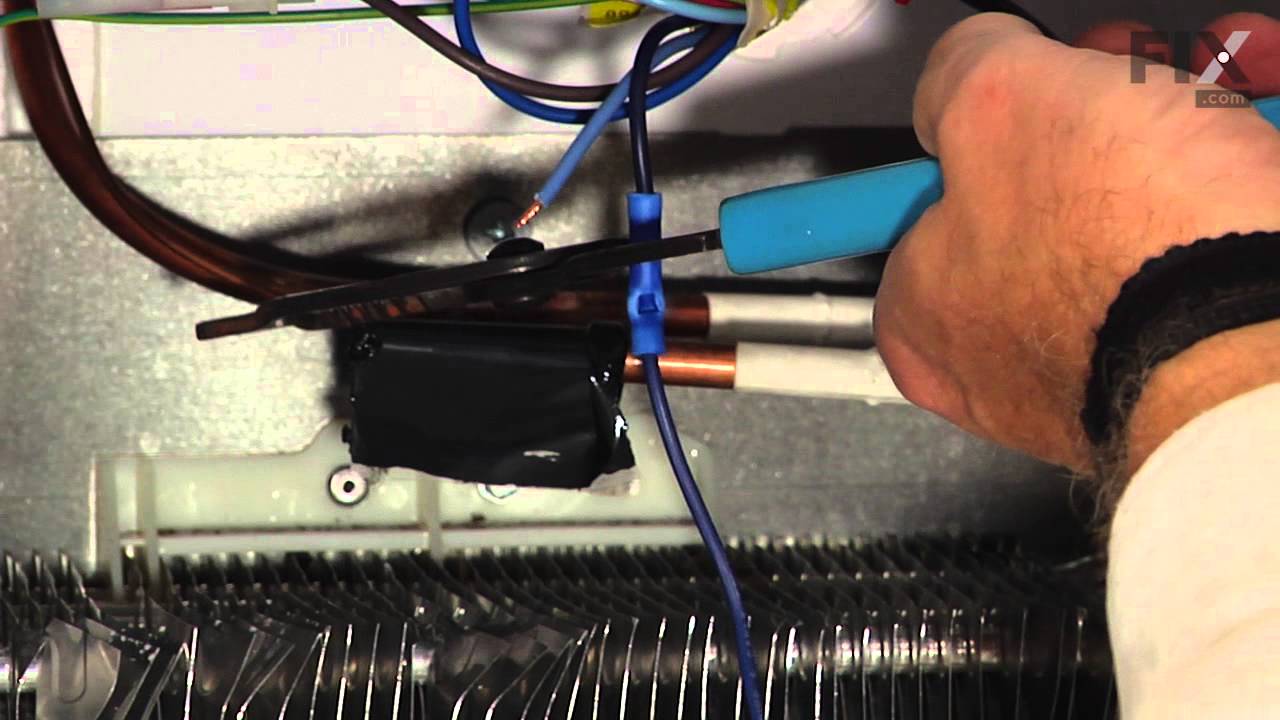
Unplugged the refrigerator. Removed the 4 hex head screws on the lower back panel at the back of the freezer. Used a blow dryer to defrost the pipes and area surrounding the thermostat. Unplug the connection from the back of the freezer, unplug the 2 wires, one that goes to the heater, one that comes from power. Unclip the thermostat
... Read more
from the pipe and note which pipe you unclipped it from. Cut the wires on the old thermostat midway between the plugs and the sensor. Using the supplied butt connectors, strip the wire ends on color matched wires (should be a dark blue or black) and crimp them together. Repeat with the other wire. Discard the white shrink wrapping. I wasn't able to get it small enough with a hair dryer or lighter. Plug the thermostat back into it's respective plugs. Clip the thermostat back onto the pipe you removed it from. Replace the back panel with the four screws. Ensure the bottom of the panel is set inside of the drip tray. Replace any shelving you removed. Plug the refrigerator back into the wall. Your done!
Read less
Was this instruction helpful to you?
Thank you for voting!
- Customer:
- Juan from Miami, FL
- Parts Used:
- 241798231
- Difficulty Level:
- Really Easy
- Total Repair Time:
- 15 - 30 mins
- Tools:
- Socket set
Broken ice maker
Unplugged faulty ice maker, removed two screws holding it to the refrigerator and took it out. Reversed the operation with the new ice maker and after a few minutes presto, we have ice.
Was this instruction helpful to you?
Thank you for voting!