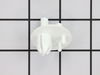
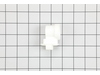
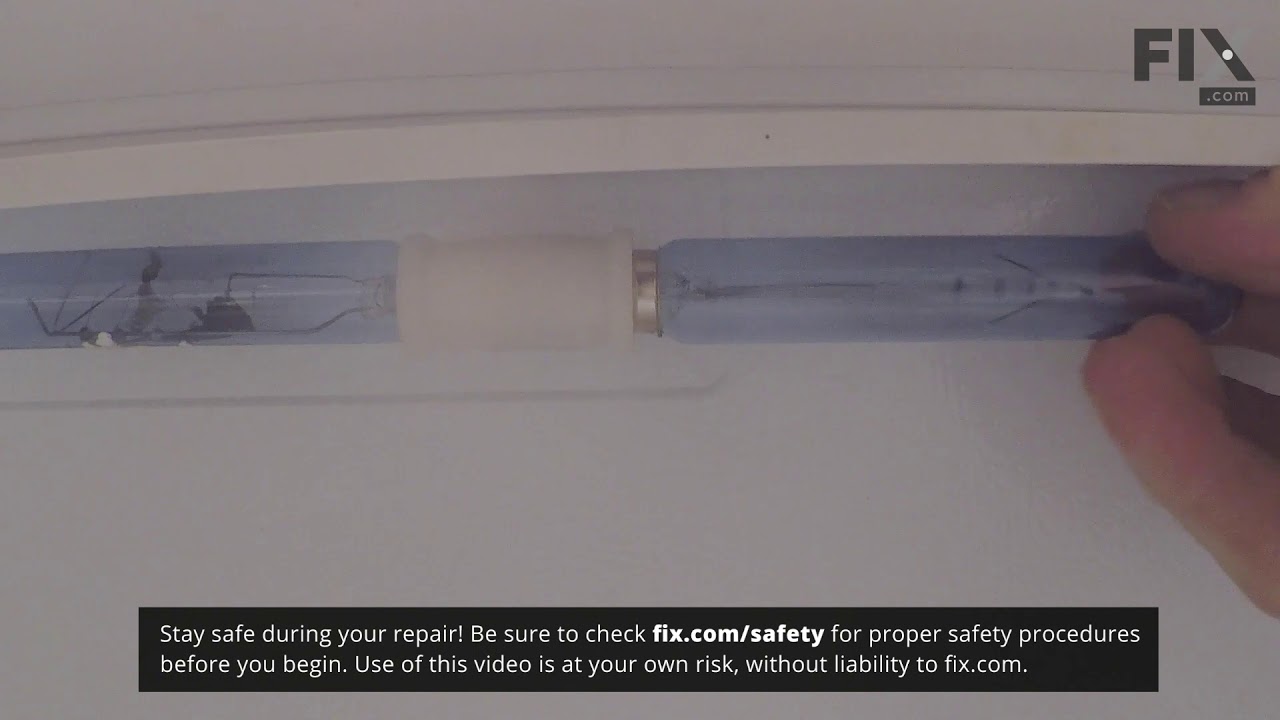
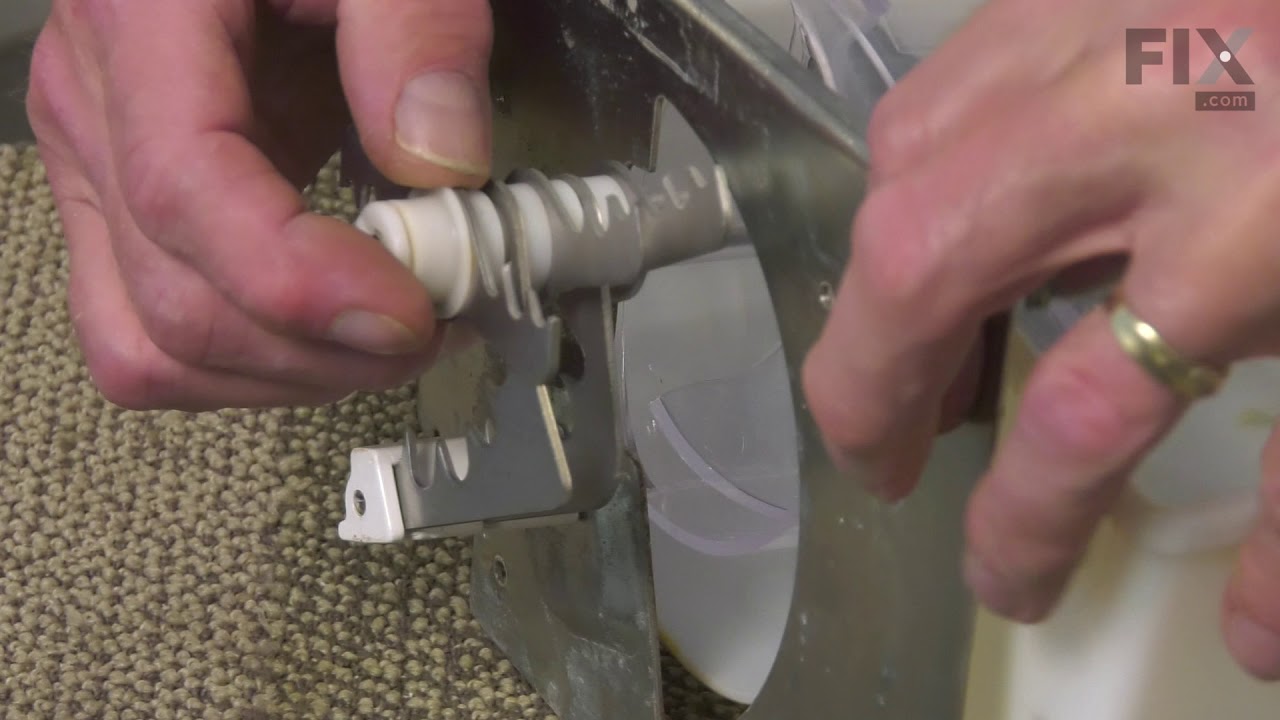
This rear crisper support mounts on the inside of the refrigerator wall to support the rear crisper cover. It is made of white plastic and is sold as an individual part. The support is secured in plac...
This is a refrigerator water inlet valve and mounting bracket. It is responsible for releasing water from the supply line when triggered, which makes its way through to the water dispenser and/or icem...
This is a genuine OEM ice maker assembly for your refrigerator. The ice maker makes eight cubes at a time, by filling the mold with water from the inlet valve, freezing the water until the cubes are f...
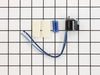
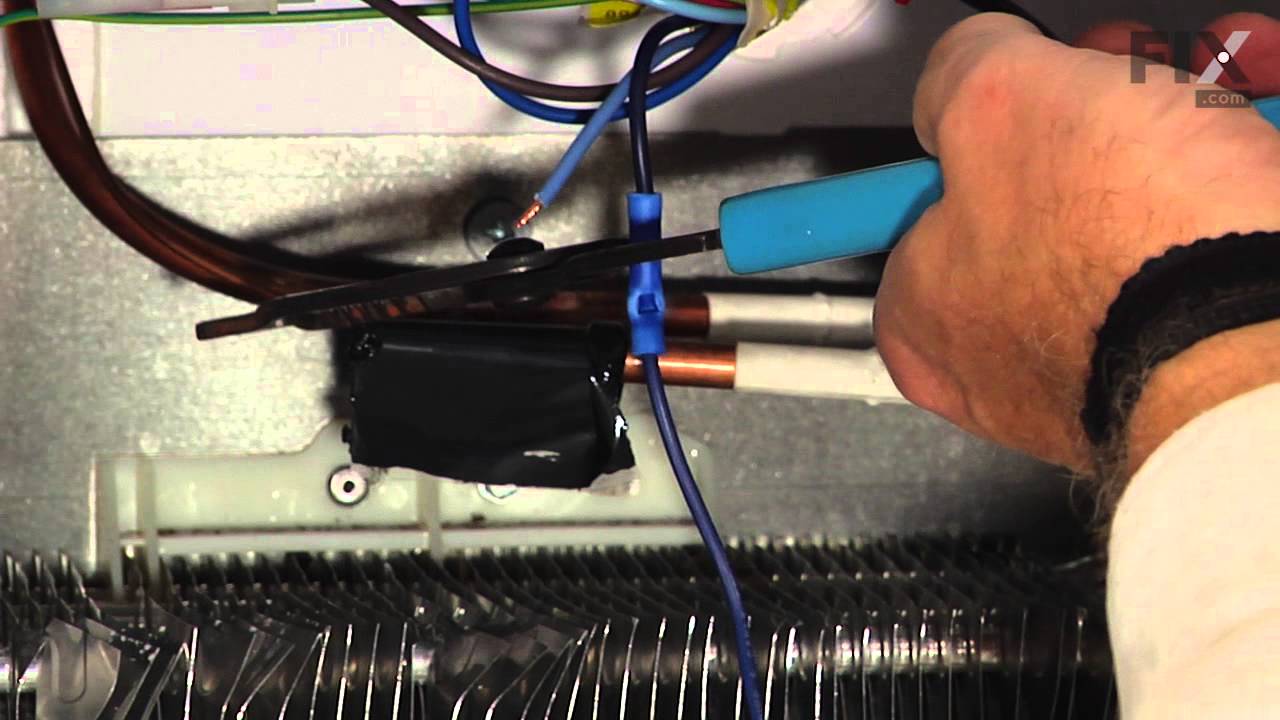
This is a genuine OEM kit for the defrost thermostat in your freezer. This kit comes with the clip, leads, and heat shrink. Some indicators that you may need to replace your thermostat is if there is ...
This is a replacement crisper glass insert for your refrigerator. It fits into the crisper pan frame and acts as the top of the crisper pan, as well as a shelf for food storage. Because it is made of ...
This 40-watt light bulb has a standard screw-in base and is used in many different appliances. If your current bulb is burnt out or broken you will need to replace it. This light bulb is a genuine OEM...
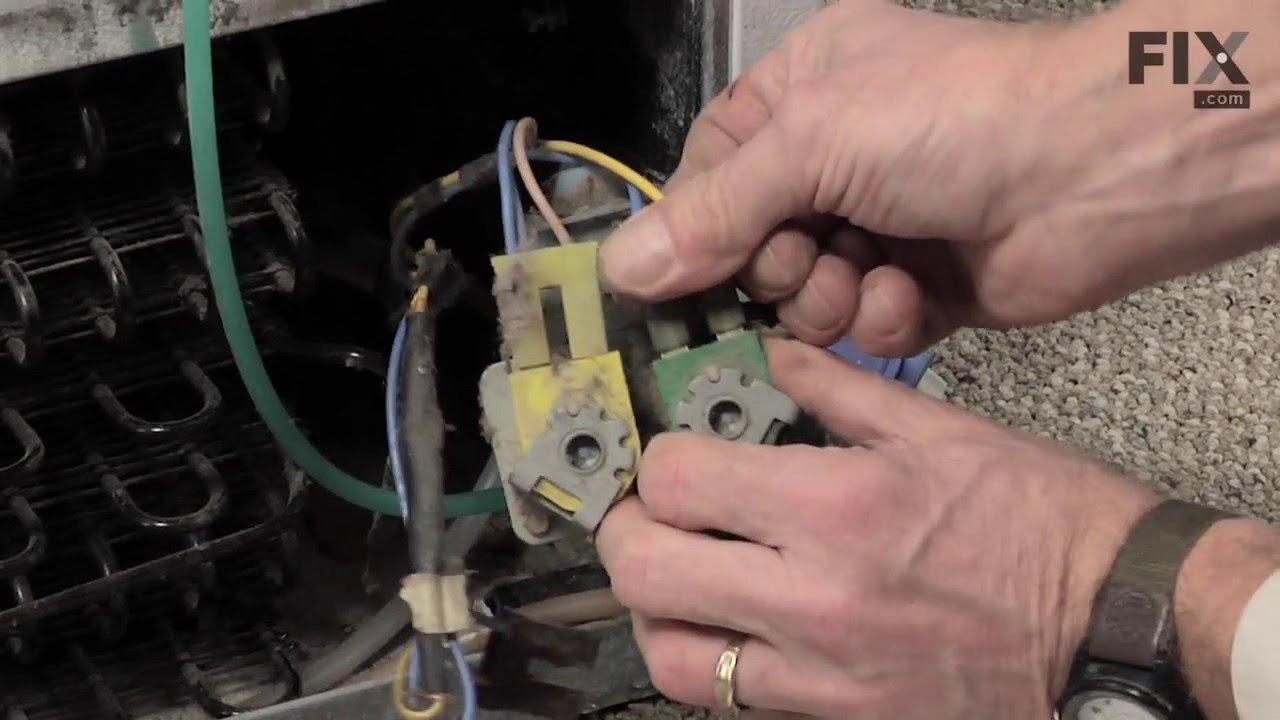
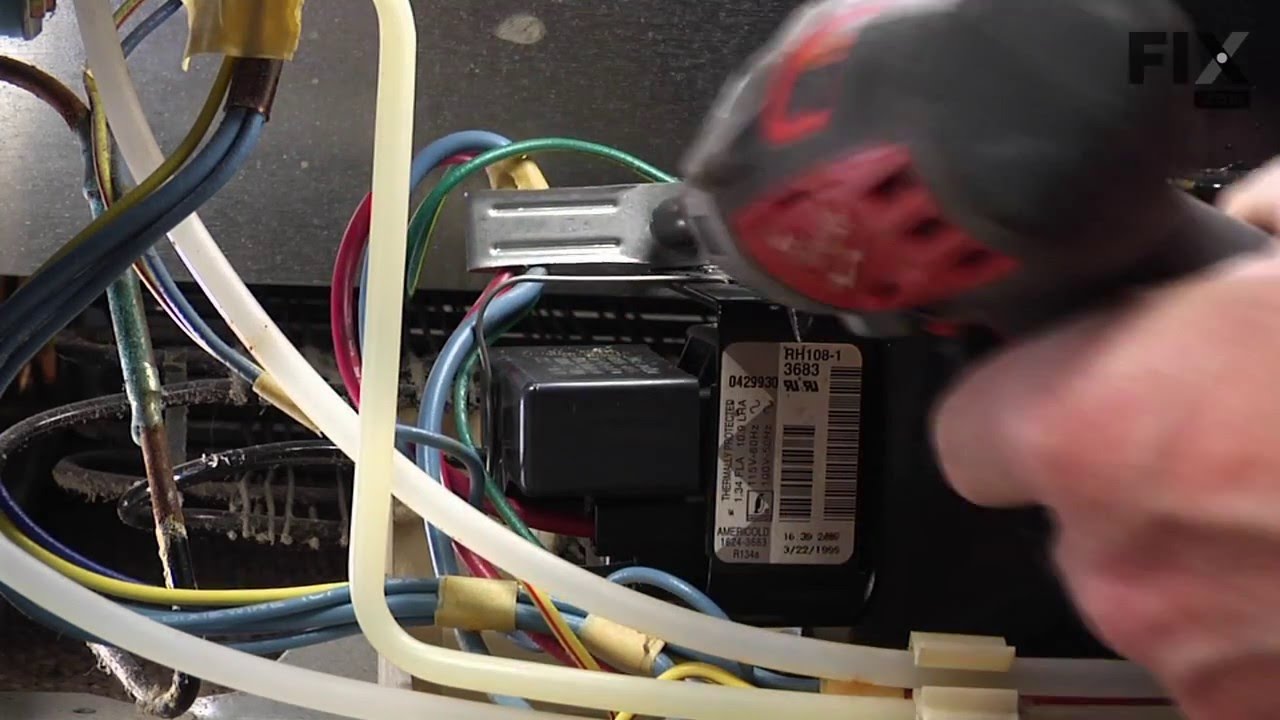
This part is attached to the compressor. It helps the compressor kick on and off while maintaining a constant temperature to keep things frozen in your freezer.
Sold individually.
This is a genuine part. The handle mounting shoulder screw (no.10 ab) is made for use with many refrigerators. The metal screw helps to fasten the handle assembly to the outer do...
This kit includes the ice maker, power cord, bail arm, and fill cup. If your ice maker is not making or dispensing ice, or you notice a leak, you may need to replace the rear-mount ice maker assembly....
This dispenser crusher housing, also known as a refrigerator ice crusher housing, is a genuine replacement part compatible with various refrigerator models. It functions as a protective cover for the ...
Ensure proper lighting inside your refrigerator with this 3.8W LED bulb, designed for use in various models. It provides clear, energy-efficient illumination to help you easily see stored items. If yo...
This genuine replacement ice dispenser drum is designed for use with a wide range of refrigerator models. Made from durable plastic, the drum plays a key role in your ice maker by capturing ice and di...
In Stock
Order now and your part arrives by Sep 28
Questions and Answers
Ask our experts a question about this part and we'll get back to you as soon as possible!
1 question answered by our experts.
< Prev
1
Next >
Sort by:
Search filter:
Clear Filter
Your search term must have 3 or more characters.
Keep searches simple. Use keywords, e.g. "leaking", "pump", "broken" or "fit".
Sorry, we couldn't find any existing answers that matched. Try using some different or simpler keywords, or submit your new question by using the "Ask a Question" button above!
Cynthia
August 11, 2026
the tray in the fridge door under the ice and water dispenser has a bit of water in all the time. Something is leaking? Maybe from the water dispenser?
For model number EI26SS55GS0
Hello Cynthia, thank you for contacting us. Wipe the tray completely dry and look up into the ice chute with a flashlight. Small ice shavings or chips from crushed ice frequently get lodged in the chute and slowly melt into the tray as room temperature air warms the door. To isolate this, wipe the tray dry and dispense water only, no ice for 24 to 48 hours. If the tray stays dry, the ice chute, part number FIX2332021, is the issue. Check for trapped air in the water line, especially after a filter change or water shutoff. Air pockets act like a spring and force several drops of water out of the nozzle seconds after you release the lever. Purge the system by dispensing a full gallon of water in continuous bursts. To rule out a failing water inlet valve, part number FIX7784018, wipe the dispenser nozzle completely dry, place a dry paper towel in the tray, and leave the refrigerator untouched overnight without dispensing anything. If the paper towel has a wet spot directly under the water spout in the morning the inlet valve is not sealing fully and needs to be replaced. Glad to be of assistance!
In my specific appliance the water valve is located in the bottom right hand corner looking at it from the back. To get to it I remove the thin layer of cardboard the covers the back of the fridge. I then proceeded to disconnect the 1/4" copper tubing which is the water feed coming out of the wall. Then I removed the screws that hold the
... Read more valve assembly in place. I took the water valve out and removed the electrical connections as well as the plastic tubing which feed the water dispenser and the ice maker. To install the new water valve it was just a matter of reversing steps.
Even though my wife said that our icemaker broke, there was actually nothing wrong with it. It was the valve that let water flow in during the 'harvest' cycle. A real easy way to test the icemaker without voltage and current measurements, is to fill the tray by hand with a little cup of water; wait till the water freezes and see if t
... Read morehe maker dumped the ice into the bin.
Unplugged the refrigerator. Removed the 4 hex head screws on the lower back panel at the back of the freezer. Used a blow dryer to defrost the pipes and area surrounding the thermostat. Unplug the connection from the back of the freezer, unplug the 2 wires, one that goes to the heater, one that comes from power. Unclip the thermostat
... Read morefrom the pipe and note which pipe you unclipped it from. Cut the wires on the old thermostat midway between the plugs and the sensor. Using the supplied butt connectors, strip the wire ends on color matched wires (should be a dark blue or black) and crimp them together. Repeat with the other wire. Discard the white shrink wrapping. I wasn't able to get it small enough with a hair dryer or lighter. Plug the thermostat back into it's respective plugs. Clip the thermostat back onto the pipe you removed it from. Replace the back panel with the four screws. Ensure the bottom of the panel is set inside of the drip tray. Replace any shelving you removed. Plug the refrigerator back into the wall. Your done!