



Models
>
CRT188HLW7
CRT188HLW7 Crosley Refrigerator
Jump to:
Find Part by Name
Keep searches simple, eg. "belt" or "pump".
Diagrams for CRT188HLW7
Viewing 6 of 6


Keep searches simple, eg. "belt" or "pump".

$58.25
To hold bottles, jars, and condiments on the lower shelf on the inside of the refrigerator door, this white plastic door shelf retainer attaches to the inner door panel and helps keep items in place w...
In Stock
Order now and your part arrives by Nov 28

$43.95
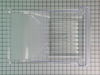
This clear plastic crisper pan is used to provide a separate storage space for fruits and vegetables in the refrigerator fresh food section. You can see the stored contents through the transparent sid...
In Stock
Order now and your part arrives by Nov 28

$53.53
A clear food-storage surface above the crisper drawers is provided by this glass shelf insert. Measuring approximately 23.82 inches wide by 15.5 inches deep, it fits into the existing supporting frame...
In Stock
Order now and your part arrives by Nov 28

$142.16
To help keep cold air inside and warm air carrying moisture out, this white refrigerator door gasket seals the fresh food section. Its flexible vinyl edge fits around the inner door panel and makes co...
In Stock
Order now and your part arrives by Nov 28

Bring stored food forward for easier access with this sliding refrigerator glass shelf assembly. Its raised edges help retain minor spills and limit drips onto food below. A white frame supports the g...
In Stock
Order now and your part arrives by Nov 28

This is a genuine OEM replacement crisper drawer cover for your refrigerator. It measures approximately 27 inches by 20 inches and does not include the glass insert for the self. You can reuse the gla...
In Stock
Order now and your part arrives by Nov 28

$21.95
This 40-watt light bulb has a standard screw-in base and is used in many different appliances. If your current bulb is burnt out or broken you will need to replace it. This light bulb is a genuine OEM...
In Stock
Order now and your part arrives by Nov 28

$17.47
Four #10-16 screws secure a refrigerator or freezer door handle to the door. This OEM kit includes screws that are 0.500 in. long, with a Phillips or square drive. Confirm compatibility with your appliance before buying.
In Stock
Order now and your part arrives by Nov 28

$56.05
Steady compressor operation relies on the electrical support provided by this refrigerator run capacitor. To help the compressor run as designed while circulating refrigerant through the cooling syste...
In Stock
Order now and your part arrives by Nov 28

$62.53
For refrigerator-door storage, the white gallon bin slides into place as a replacement. Check your refrigerator model to confirm fit.
In Stock
Order now and your part arrives by Nov 28

$109.64
Meats, snacks, and other refrigerated foods stay organized in this clear plastic pantry drawer. The sliding pan provides contained storage in the fresh food section, while transparent sides make the c...
In Stock
Order now and your part arrives by Nov 28

$77.21
This freezer wire shelf organizes frozen meals, containers, and bags. Its full-width design adds a raised storage surface, making items easier to separate and reach. The open wire spacing lets cold ai...
In Stock
Order now and your part arrives by Nov 28
Common Problems and Symptoms for CRT188HLW7
Viewing 17 of 17Fridge too warm
Fixed by these parts


How to fix it
Door won’t open or close
Fixed by these parts
How to fix it
Noisy
Fixed by these parts


How to fix it
Will Not Start
Fixed by these parts
How to fix it
Freezer section too warm
Fixed by these parts
How to fix it
Door Sweating
Fixed by these parts

How to fix it
Fridge and Freezer are too warm
Fixed by these parts
How to fix it
Freezer not defrosting
Fixed by these parts
How to fix it
Leaking
Fixed by these parts
How to fix it
Too warm
Fixed by these parts
How to fix it
Light not working
Fixed by these parts

How to fix it
Won’t start
Fixed by these parts
How to fix it
Fridge runs too long
Fixed by these parts
How to fix it
Frost buildup
Fixed by these parts
How to fix it
Fridge too cold
Fixed by these parts
How to fix it
Doesn’t stop running
Fixed by these parts
How to fix it
Clicking sound
Fixed by these parts
How to fix it

Keep searches simple. Use keywords, e.g. "leaking", "pump", "broken" or "fit".
- Customer:
- Matthew from Washington, DC
- Parts Used:
- 242193213
- Difficulty Level:
- Easy
- Total Repair Time:
- Less than 15 mins
Refrigerator door gasket torn
No instructions included, so it took a little bit of staring at the new part to figure out how it works. The barbed ridge on the gasket fits into a slot on the door. The flat face of the gasket has an internal magnetic strip that helps keep the seal tight against the steel face of the refrigerator. Installation requires no tools. This is
... Read more
the basic process:
1) Unbox the new gasket and get it ready to install so you don't have to leave the fridge open too long.
2) Open the door and grab the old gasket at one of the corners and pull away. This will unseat the barbed ridge I mentioned above. Work your way around the door until the whole gasket is free.
3) Set aside the old gasket
4) Grab a moistened paper towel and wipe down the (now exposed) sealing surface of the fridge and door.
5) Align the new gasket in the door and start pushing the barb into place. I found that the new gasket seemed slightly oversize compared to the original, so it took a little tweaking. What worked for me was to get all the corners seated, then work my way around the door making sure the gasket is fully seated.
6) Once you have the new gasket installed, close the door to make sure everything fits OK.
7) Open the door again and run your finger along the inside edge of the gasket seal. What you want to do is fold the edge of the gasket down so it lays flat against the outer wall of the door.
8) Shut the door and look from the sides and top to try to spot any gaps. You should be able to poke the gasket from the side and get the magnet strips to click into place. It seems like after a day or so the gasket 'relaxed' and I didn't have to worry about this anymore.
9) Dispose of the old gasket. I was able to pull the gasket into four pieces (separating at the corners) so it would fit in my city trash can...
Read less
Was this instruction helpful to you?
Thank you for voting!
- Customer:
- Bruce from Alton, IL
- Parts Used:
- 241537103
- Difficulty Level:
- Really Easy
- Total Repair Time:
- Less than 15 mins
- Tools:
- Pliers, Screw drivers
Refrigerator would not run but interior light was on.
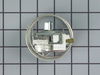
I unplugged the refrigerator, then opened the door and removed four screws holding the plastic electrical panel to the interior top of the main refrigerator compartment and noticed the cold control was corroded badly, apparently from moisture in the panel. I ordered a new one from partselect.com. When it arrived the next day, I then pul
... Read more
led off the control knob, unclipped the cold control, unplugged the three wires to the control, then removed the styrofoam insulation blocks holding the thermocouple wire and then removed the thermocouple wire to complete the removal. I then reversed the process to install the new thermostat and control. That is repositioned the thermocouple wire, put the insulation blocks back to hold the wire, then replugged the three electrical wires, clipped the control back and pushed the control knob back on and finally screwed the panel back to the top of the main compartment and plugged the refrigerator electrical cord back in to provide current to the refrigerator. It immediately started up and ran fine. Total time - about 8 minutes.
Read less
Was this instruction helpful to you?
Thank you for voting!
- Customer:
- Phillip from Cary, NC
- Parts Used:
- 240338101
- Difficulty Level:
- Really Easy
- Total Repair Time:
- Less than 15 mins
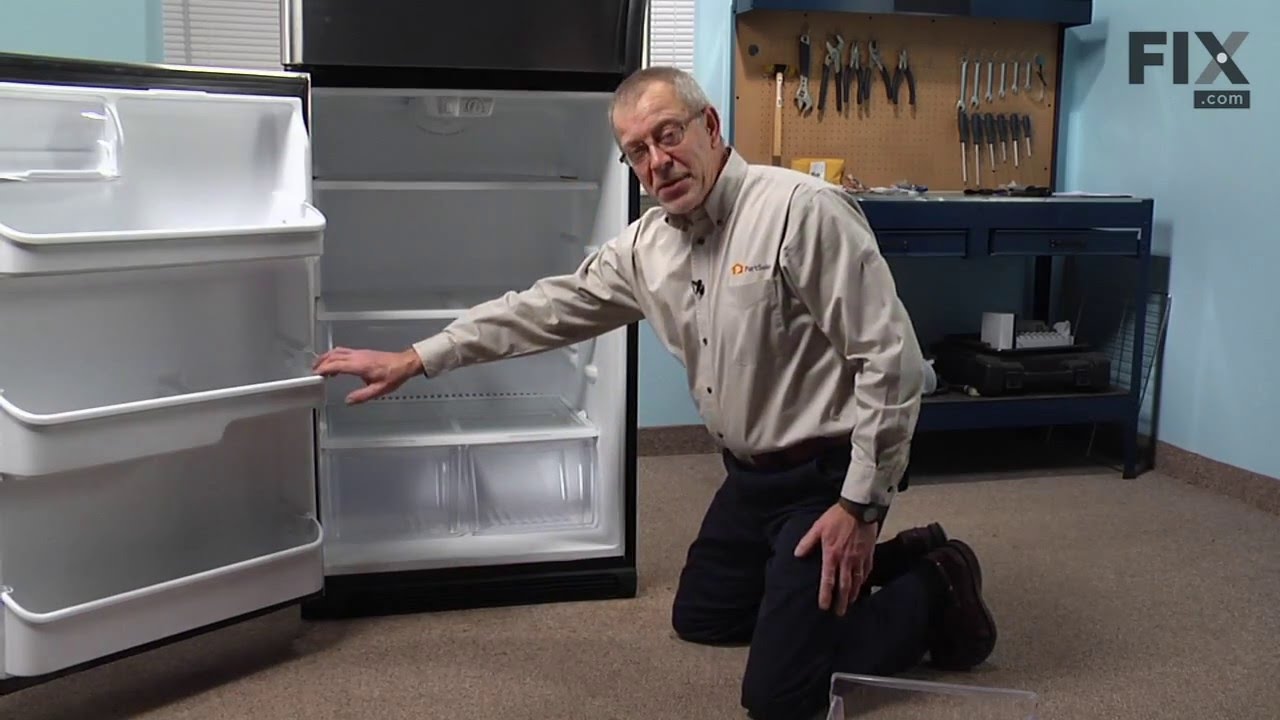
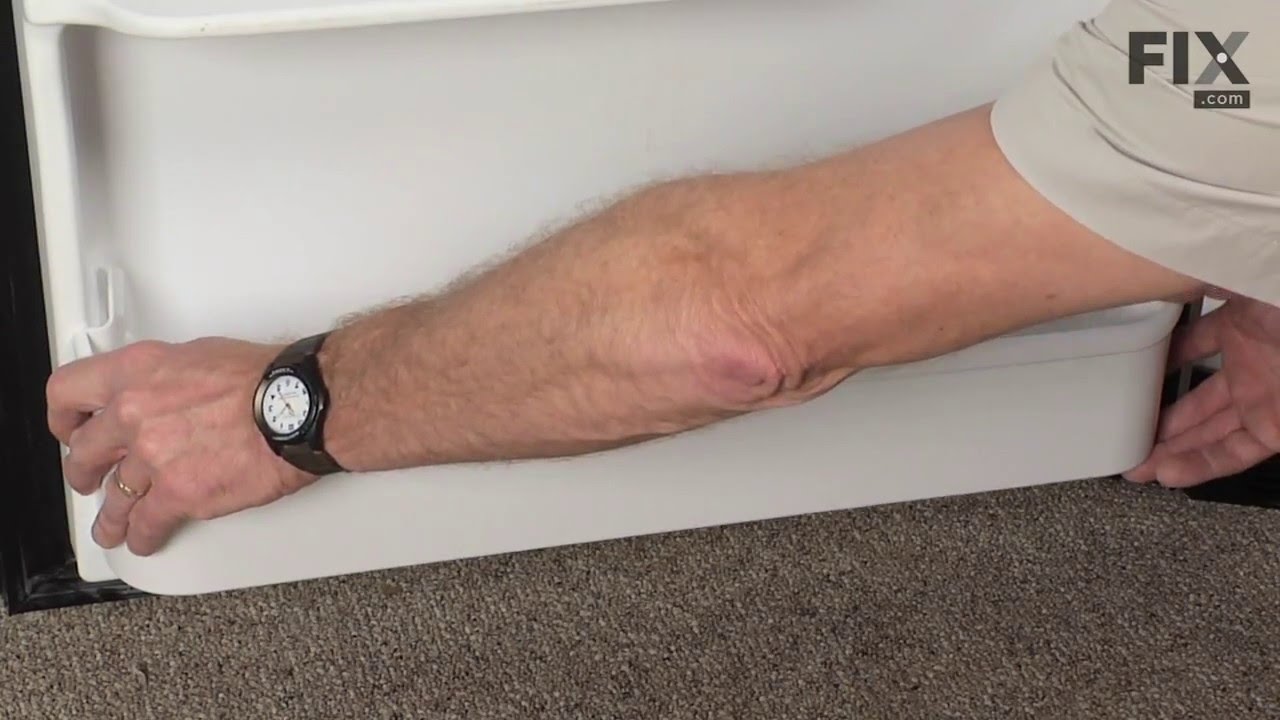
The door shelf/bin broke and fell off
I simply snapped in the new part. It took a few seconds. I would like to say that I found the part using the model number of the fridge. When I went to look at the description it said the part was 26 inches. The one I had was only 24 3/4 inches. I called you guys and was told that this was the correct part and to ignore the measuement.
... Read more
r />You were Right! the part fitted perfectly.
Read less
Was this instruction helpful to you?
Thank you for voting!