



Models
>
SBD20JW
SBD20JW Amana Refrigerator
Jump to:
Find Part by Name
Keep searches simple, eg. "belt" or "pump".
Keep searches simple, eg. "belt" or "pump".
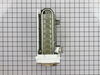
$99.38
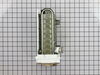
If your freezer has stopped making ice cubes, it may be time to replace your ice maker. Normal wear and tear, or accidental damage may be the cause of this. This model includes the control device and ...
In Stock
Order now and your part arrives by Aug 10
$9.79
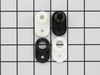
This part helps with the closing of the door and helps keep them in position.
In Stock
Order now and your part arrives by Aug 10
This refrigerator kick plate grill is sold individually. Order two if you need to replace both clips. *Please note, if you are ordering the kick plate, check with your model number as these parts may be included.
Special Order
$218.25
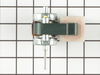
This evaporator fan motor is located in the back of the freezer, and circulates air over the refrigerator coils. These coils will convert the heat into cool air, which is then circulated.
Special Order
This refrigerator door gasket is approximately sixty and a half inches long and twenty inches wide. It is all white in color and it is made of rubber. This door gasket is intended for use with the fre...
No Longer Available

Common Problems and Symptoms for SBD20JW
Viewing 12 of 12Ice maker not making ice
Fixed by these parts
How to fix it
Leaking
Fixed by these parts
How to fix it
Ice maker won’t dispense ice
Fixed by these parts
How to fix it
Door won’t open or close
Fixed by these parts
How to fix it
Clicking sound
Fixed by these parts
How to fix it
Ice maker dispenses too much ice
Fixed by these parts
How to fix it
Ice maker dispenses too little ice
Fixed by these parts
How to fix it
Door Sweating
Fixed by these parts
How to fix it
Noisy
Fixed by these parts
How to fix it
Fridge too warm
Fixed by these parts
How to fix it
Won’t start
Fixed by these parts
How to fix it
Will Not Start
Fixed by these parts
How to fix it

Keep searches simple. Use keywords, e.g. "leaking", "pump", "broken" or "fit".
- Customer:
- Bernie from Diamond Bar, CA
- Parts Used:
- D7824706Q
- Difficulty Level:
- Easy
- Total Repair Time:
- 30 - 60 mins
- Tools:
- Nutdriver
Icemaker producing few or no cubes and often leaving "kling-ons" on ice tray
Interior surface of ice tray felt rough & flaky (coating deteriorated) so cubes would not release.
Unplug appliance.
Remove timer cover by hand pressure @ edge.
Remove single attachment screw & bracket at lower front of icemaker.
Disconnect wiring harness from socket @ rear of compartment.
Tricky part was determin ... Read more ing what type of connection held the other two attachment points along the long edge of the icemaker. I did not have repair manual or useful drawing but looked @ PartsDirect pic of side brackets & used a small mirror to confirm that mine were also some sort of "snap in" attachment.
Remove icemaker unit by pushing upward and outward on the unit. I takes a good bit of pressure and will pop loose, but be careful not to break attachment bracket from freezer wall.
Scavenge shut off bar and wiring harness from old icemaker once you have it out & attach to new one before installing it back in freezer.
Again, you might find a mirror useful to align those pesky snap-in brackets with the new unit.
Since you probably kept your freezer running while waiting for the part, the plastic snap-ins will be cold and brittle. I warmed them up first by applying a dampened cloth heated in the microwave to make them a little more pliable.
A good push of the new unit towards the snap-ins along with some upward force will get it stable.
Reattach the metal screw in bracket & connect the wiring harness to rear plug... and don't forget to plug the whole thing back in.
It will take awhile for the first batch of cubes dump as the timer may need to cycle completely around to get to the fill cycle... be patient.
Dump the first couple of batches of cubes just to make sure you're free of any residue.
Unplug appliance.
Remove timer cover by hand pressure @ edge.
Remove single attachment screw & bracket at lower front of icemaker.
Disconnect wiring harness from socket @ rear of compartment.
Tricky part was determin ... Read more ing what type of connection held the other two attachment points along the long edge of the icemaker. I did not have repair manual or useful drawing but looked @ PartsDirect pic of side brackets & used a small mirror to confirm that mine were also some sort of "snap in" attachment.
Remove icemaker unit by pushing upward and outward on the unit. I takes a good bit of pressure and will pop loose, but be careful not to break attachment bracket from freezer wall.
Scavenge shut off bar and wiring harness from old icemaker once you have it out & attach to new one before installing it back in freezer.
Again, you might find a mirror useful to align those pesky snap-in brackets with the new unit.
Since you probably kept your freezer running while waiting for the part, the plastic snap-ins will be cold and brittle. I warmed them up first by applying a dampened cloth heated in the microwave to make them a little more pliable.
A good push of the new unit towards the snap-ins along with some upward force will get it stable.
Reattach the metal screw in bracket & connect the wiring harness to rear plug... and don't forget to plug the whole thing back in.
It will take awhile for the first batch of cubes dump as the timer may need to cycle completely around to get to the fill cycle... be patient.
Dump the first couple of batches of cubes just to make sure you're free of any residue.
Read less
Was this instruction helpful to you?
Thank you for voting!
- Customer:
- Harry from Grand Ledge, MI
- Parts Used:
- D7824706Q
- Difficulty Level:
- A Bit Difficult
- Total Repair Time:
- 30 - 60 mins
- Tools:
- Pliers, Screw drivers
Water overflowed ice maker turnning ice bucket into solid mass of ice
My ice maker has been shedding its non-stick coating for over a year. Within the last month of so, it started pouring water into the ice bucket below, turning it into a solid mass of ice. So I purchased a new ice maker assembly. I encountered two problems not mentioned in the 21 or so do-it-yourselfer repair stories that precede this on
... Read more
e. First problem: one of the three screws that hold the ice maker to the refrigerator wall is hidden behind the large (black) end of the ice maker and is difficult to access. Before trying to replace the ice maker, make sure you have the physical dexterity to remove that screw. Second problem: it is not apparent how to remove the wire harness that plugs into the ice maker assembly. BEFORE you can remove the wire harness, you MUST remove the large white cap that covers the black end of the ice maker assembly and then push in a retaining tab to release the wire harness. If you don't do this, the wire harness will not release. Other than those two problems, it was relatively easy to remove three screws, unplug the wire harness, transfer three small, metal parts from the old ice maker to the new, plug in the new wire harness, mount the ice maker assembly so that the water tube is in the proper position, and then re-install the three screws. The ice maker works fine now. (P.S. I was told by an expert that the real problem might be a malfunctioning fill valve. I would have replaced the fill valve if replacing the ice maker assembly had not fixed the problem.)
Read less
Was this instruction helpful to you?
Thank you for voting!
- Customer:
- Russ from Asheville, NC
- Parts Used:
- R0181181
- Difficulty Level:
- Easy
- Total Repair Time:
- 15 - 30 mins
- Tools:
- Nutdriver, Screw drivers
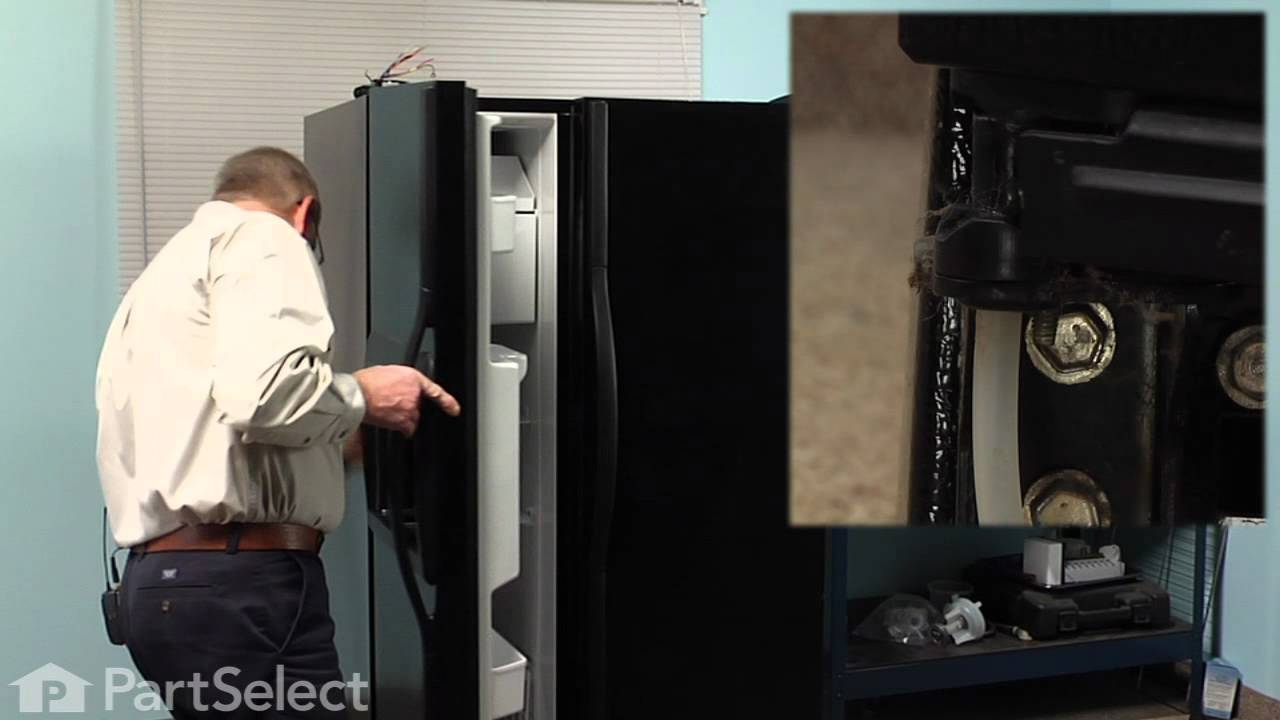
Door would not close
After emptying the refrig. door, I unscrewed the plate on the top of the refrigerator that covered the door bolts. Then off with the three bolts. I removed the door by lifting it up a few inches. The two parts of the door cam were easily removed and replaced with the new part. BEFORE REPLACING the door spread vasoline on both cam parts.
... Read more
(Not after as I did. The second time you do any of these repairs go SO much better :o)
After putting the door back on, adjust the tension of the screws holding the door in place if needed to align the door on the cams so that it shuts completely. Failure to do this will require taking the top off the door again. (see comment above on "... second time...")
If all is properly aligned, the door should swing completely shut.
Even with the mistakes that required removing the door to lubricate the cams, and removing it AGAIN to readjust the screws on the top to properly align the door on the cams, this was a twenty minute job. My wife and I were still speaking to one another at the end of it- a sure sign of an easy repair.
(Not after as I did. The second time you do any of these repairs go SO much better :o)
After putting the door back on, adjust the tension of the screws holding the door in place if needed to align the door on the cams so that it shuts completely. Failure to do this will require taking the top off the door again. (see comment above on "... second time...")
If all is properly aligned, the door should swing completely shut.
Even with the mistakes that required removing the door to lubricate the cams, and removing it AGAIN to readjust the screws on the top to properly align the door on the cams, this was a twenty minute job. My wife and I were still speaking to one another at the end of it- a sure sign of an easy repair.
Read less
Was this instruction helpful to you?
Thank you for voting!