



Models
>
RS363PXYH2
RS363PXYH2 Whirlpool Range
Jump to:
Find Part by Name
Keep searches simple, eg. "belt" or "pump".
Diagrams for RS363PXYH2
Viewing 4 of 4


Manuals & Guides for RS363PXYH2
Click to downloadKeep searches simple, eg. "belt" or "pump".
$19.75
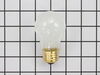
This is a genuine OEM 40-Watt replacement light bulb that is compatible with various types of appliances. It has a frosted glass bulb with a standard metal socket base, making it easy to screw and uns...
In Stock
Order now and your part arrives by Oct 22
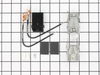
This is a genuine OEM replacement part. This surface burner plug-in block kit is designed for use with surface elements of your ranges and cooktops. This kit helps connect the wire harness to the surf...
In Stock
Order now and your part arrives by Oct 22
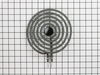
NOTE: The manufacturer recommends that you replace the burner receptacle at the same time.
In Stock
Order now and your part arrives by Oct 22
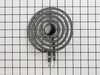
The manufacturer suggests replacing the receptacle at the same time.
In Stock
Order now and your part arrives by Oct 22
In Stock
Order now and your part arrives by Oct 22
$87.81
This part is what tells the dryer to stop running when the door is open.
In Stock
Order now and your part arrives by Oct 22
In Stock
Order now and your part arrives by Oct 22
$81.30
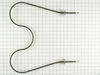
This partially open curved style bake element is 15 inches long and 19-1/4 inches wide. The terminals are 13 inches apart and they have a depth of 3-3/4 inches.
In Stock
Order now and your part arrives by Oct 22
In Stock
Order now and your part arrives by Oct 22

Common Problems and Symptoms for RS363PXYH2
Viewing 3 of 3Element will not heat
Fixed by these parts
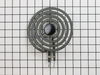
How to fix it
Will Not Start
Fixed by these parts
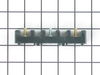
How to fix it
Little to no heat when baking
Fixed by these parts
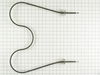
How to fix it


Keep searches simple. Use keywords, e.g. "leaking", "pump", "broken" or "fit".
8 inch burner wouldn't come on. Wires shorted out
One screw holds the block onto the stove top. Had to clean out fitting for phillips screwdriver or screw would have stripped because it was old with lots of buildup. Even cleaned out, this screw required great force with phillips screwdriver to keep from stripping. Caution! If you strip it, you'll have to drill it out! The rest was a snap
... Read more
. Cut the old wires leading to the old block (not too close to where wires disappear into back of stove, though!). Strip insulation off both wires and attach with the connectors that came in the kit. Then push the wires into the block, and finally, attach the block back to the stove top (new screw is supplied). Restore power and everything should be fine. One problem: Roper/Whirlpool built their appliance in such a way that when the connector block shorts out, it usually takes the infinite switch with it. So I ended up having to go back and purchase that switch as well (which just so happens to cost twice to three times as much!). If you put it all back together and it still doesn't work, that's probably what happened, so go ahead and remove the knob panel and check that switch (it's right behind the control knobs on the front). You will probably find a burned connector at the back top left or the switch. Don't forget to write down which wire goes where (or just take a picture of it).
Read less
Was this instruction helpful to you?
Thank you for voting!
1 had 2 large burners not working at all, and was cooking everything on the 2 smaller burners
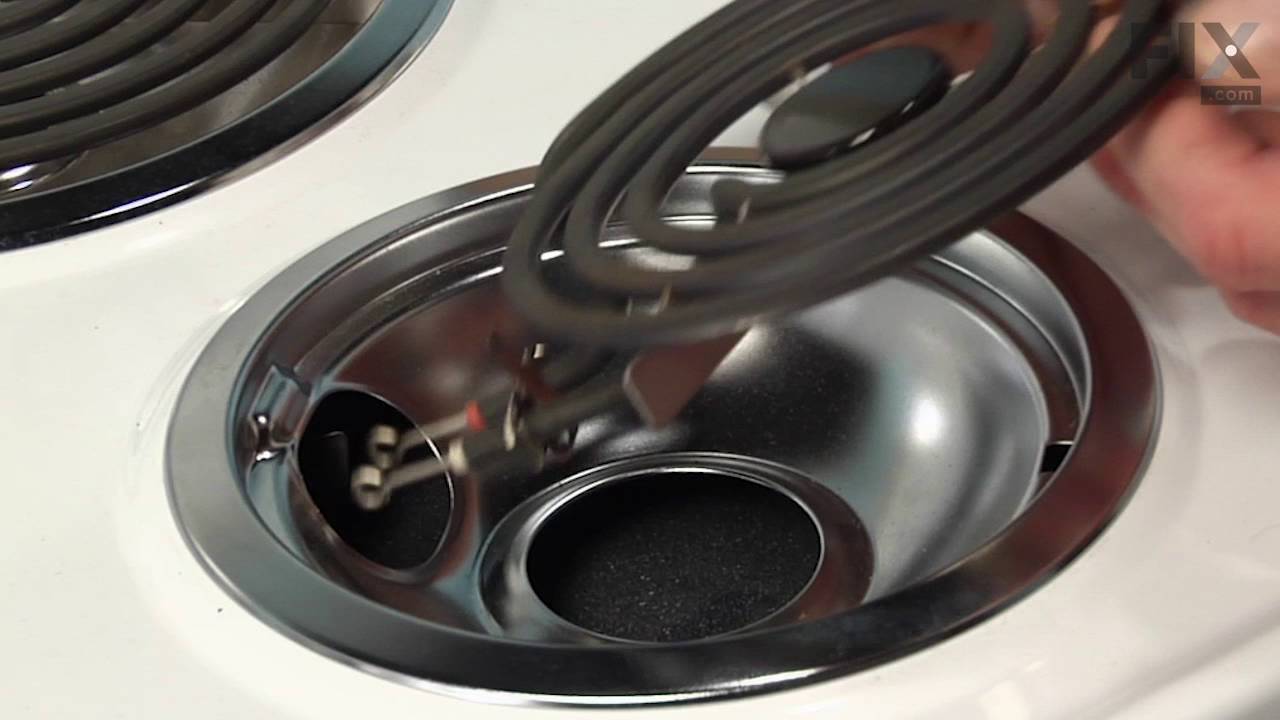
It was so simple to repair - all I had to do was slide the older burners out and slide the new ones in - it took less than 10 min to complete the whole job! No tools used at all.
Was this instruction helpful to you?
Thank you for voting!
- Customer:
- Edward from Malvern, AR
- Parts Used:
- W10900107
- Difficulty Level:
- A Bit Difficult
- Total Repair Time:
- 30 - 60 mins
- Tools:
- Pliers, Screw drivers
Burner would not heat
First i shut off the power since this is an electric cook top/range. I then removed the knob and the two screws that hold the burner switch in place. I removed the wires one at a time and connected each to the new switch. I then reattached the screws to the switch. The most difficult part to me was breaking off the switch stem at the
... Read more
right level. I got that done and finally selected the appropriate adapter for the stem/knob fit.
Read less
Was this instruction helpful to you?
Thank you for voting!