



Models
>
RESF5330DT
RESF5330DT Samsung Range
Jump to:
Find Part by Name
Keep searches simple, eg. "belt" or "pump".
Keep searches simple, eg. "belt" or "pump".
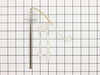
$43.92
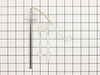
This is a factory-certified oven sensor kit with two harness adapters. Its purpose is to sense the temperature inside the oven. Replacing this part can fix an oven that is not reaching the proper temp...
In Stock
Order now and your part arrives by Oct 22

Special Order
Special Order
Special Order
Special Order
Special Order
Common Problems and Symptoms for RESF5330DT
Viewing 9 of 9Little to no heat when baking
Fixed by these parts
How to fix it
Element will not heat
Fixed by these parts
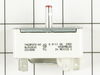
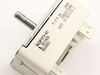
How to fix it
Oven is too hot
Fixed by these parts
How to fix it
Oven not heating evenly
Fixed by these parts
How to fix it
Will Not Start
Fixed by these parts
How to fix it
Touchpad does not respond
Fixed by these parts
How to fix it
Will not program
Fixed by these parts
How to fix it
Door won’t open after self cleaning cycle
Fixed by these parts
How to fix it
Little to no heat when broiling
Fixed by these parts
How to fix it
Keep searches simple. Use keywords, e.g. "leaking", "pump", "broken" or "fit".
- Customer:
- David from Westford, MA
- Parts Used:
- 12001656
- Difficulty Level:
- Really Easy
- Total Repair Time:
- 15 - 30 mins
- Tools:
- Screw drivers
Oven not holding 350 F, when cooling the coils did not reheat
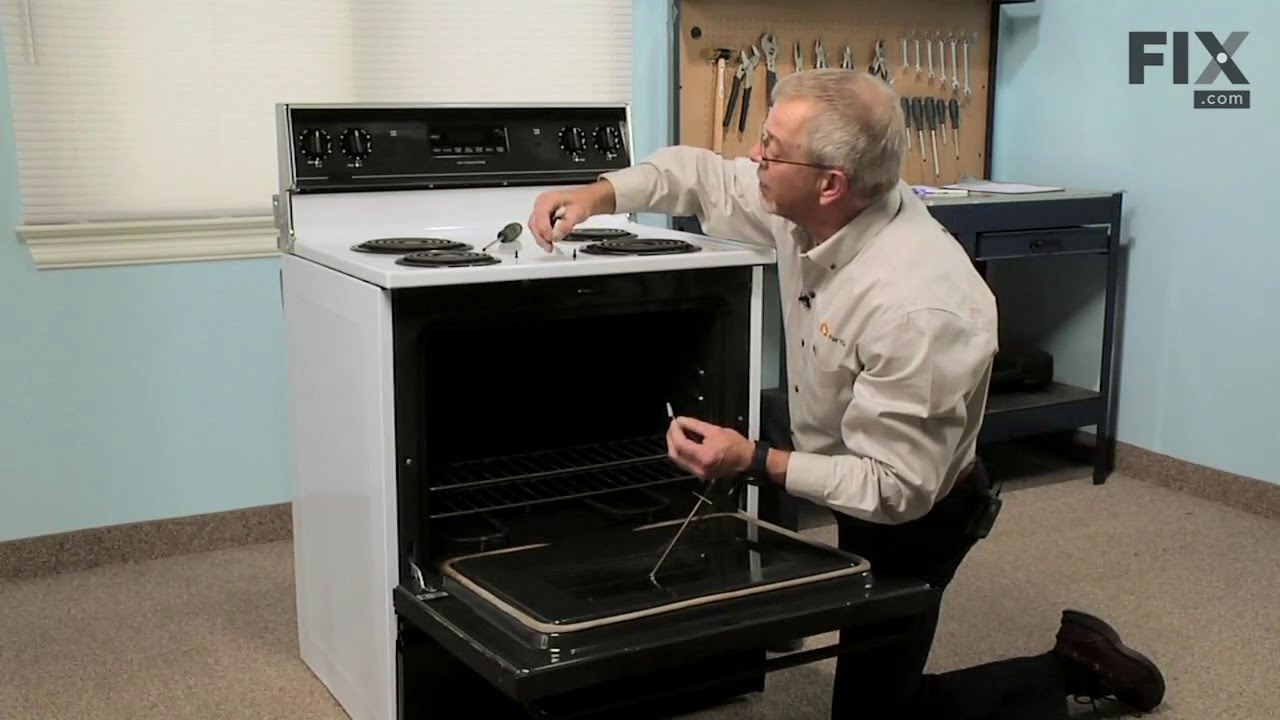
Removed the oven door by opening slightly, then pic door up to remove. Remove 2 screws holding oven sensor in place, gently pull on sensor to remove, had to remove about 8 inches to get at plastic connector. Unplug connector, had to use an adapter cable supplied with the PartSelect kit to install new sensor, push cable back into opening,
... Read more
reinstall 2 screws. The oven works fine! Note that due to thermal lag the temperature overshoots to 370 degrees and undershoots to 340 degrees, this appears to be normal oven operation. Putting door back in place was easy.
Read less
Was this instruction helpful to you?
Thank you for voting!
- Customer:
- Dennis from Hagerstown, MD
- Parts Used:
- 7403P239-60
- Difficulty Level:
- Really Easy
- Total Repair Time:
- Less than 15 mins
- Tools:
- Screw drivers
The Burner was getting too hot and you could not regular the tempature
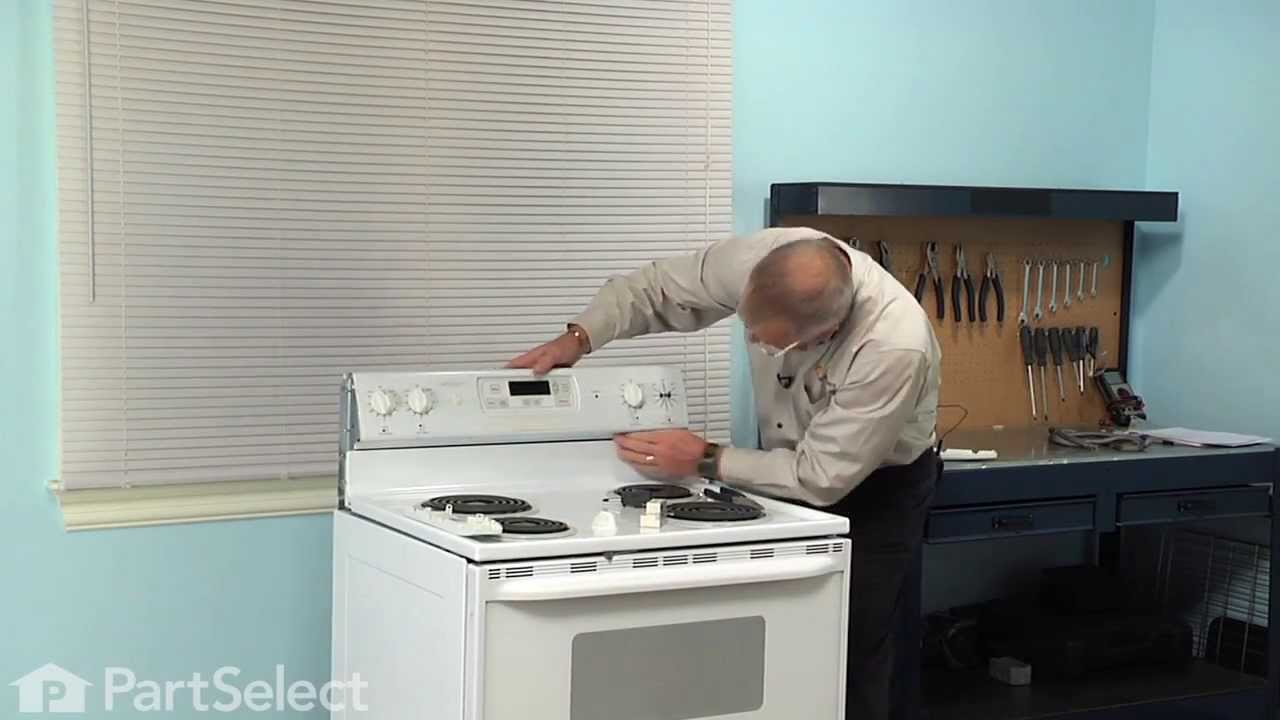
Moved the Appliance out unplugged it and removed the backing plate then Remove the Knob and unscrew the infinite switch then marking the 5 wires to know where the go on the new switch, removing and replaced it with the new one
Was this instruction helpful to you?
Thank you for voting!
- Customer:
- charles from marstons mills, MA
- Parts Used:
- 12001656
- Difficulty Level:
- Really Easy
- Total Repair Time:
- Less than 15 mins
- Tools:
- Screw drivers
F1-1 code
First I removed the two screws that hold the element in place. I then pulled the sensor out about 3 inches and disconnected the two wires. Next, I connected new sensor and screwed the new sensor back in place. One area for caution. Make sure that the electrical connection is pushed in past the insulation on the back side of the oven. Fa
... Read more
ilure to do so will cause the plastic plug connector to melt from oven heat.
Read less
Was this instruction helpful to you?
Thank you for voting!