



Models
>
NE58R9560WG
NE58R9560WG (AA-00) Samsung Range
Jump to:
Find Part by Name
Keep searches simple, eg. "belt" or "pump".
Keep searches simple, eg. "belt" or "pump".
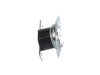
In Stock
Order now and your part arrives by Oct 8
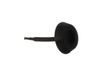
In Stock
Order now and your part arrives by Oct 8
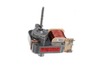
In Stock
Order now and your part arrives by Oct 8
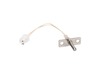
$101.95
This oven temperature sensor plays a critical role in maintaining consistent cooking performance by monitoring the internal temperature and relaying that data to the control board. By regulating the h...
In Stock
Order now and your part arrives by Oct 8
In Stock
Order now and your part arrives by Oct 8
In Stock
Order now and your part arrives by Oct 8
$42.95
The oven door switch shuts the oven light off when you close the oven door.
In Stock
Order now and your part arrives by Oct 8
$25.10
This convection fan blade (part number DG67-00011B) is for ranges. Convection fan blade DG67-00011B spins on the motor shaft to circulate hot air through the oven for even heating. Unplug the range or...
In Stock
Order now and your part arrives by Oct 8
In Stock
Order now and your part arrives by Oct 8
$155.38
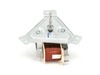
This convection fan motor assembly is designed to circulate hot air evenly throughout the oven cavity, enhancing cooking performance by eliminating hot spots and promoting uniform heat distribution. M...
In Stock
Order now and your part arrives by Oct 8
In Stock
Order now and your part arrives by Oct 8
In Stock
Order now and your part arrives by Oct 8
Common Problems and Symptoms for NE58R9560WG
Viewing 4 of 4Oven not heating evenly
Fixed by these parts
How to fix it
Door won’t open after self cleaning cycle
Fixed by these parts
How to fix it
Little to no heat when baking
Fixed by these parts
How to fix it
Oven is too hot
Fixed by these parts
How to fix it
Keep searches simple. Use keywords, e.g. "leaking", "pump", "broken" or "fit".
- Customer:
- Uwe from FORT COLLINS, CO
- Parts Used:
- DE47-20037A
- Difficulty Level:
- Very Easy
- Total Repair Time:
- 15 - 30 mins
- Tools:
- Screw drivers
Oven shut off during self clean cycle and door stayed locked.
I took off the back cover after I looked at youtube similar problems. Then removed the little thermostat and un hooked the 2 wires. I looked up the part and after is was delivered couple days later I connected the 2 wies and after putting the back cover on the oven was back to normal. Was such an easy repair and the part was only $11.
Was this instruction helpful to you?
Thank you for voting!
- Customer:
- John from NASHVILLE, TN
- Parts Used:
- DG31-00005C
- Difficulty Level:
- Easy
- Total Repair Time:
- 30 - 60 mins
- Tools:
- Screw drivers, Socket set
Bearing went out on the fan
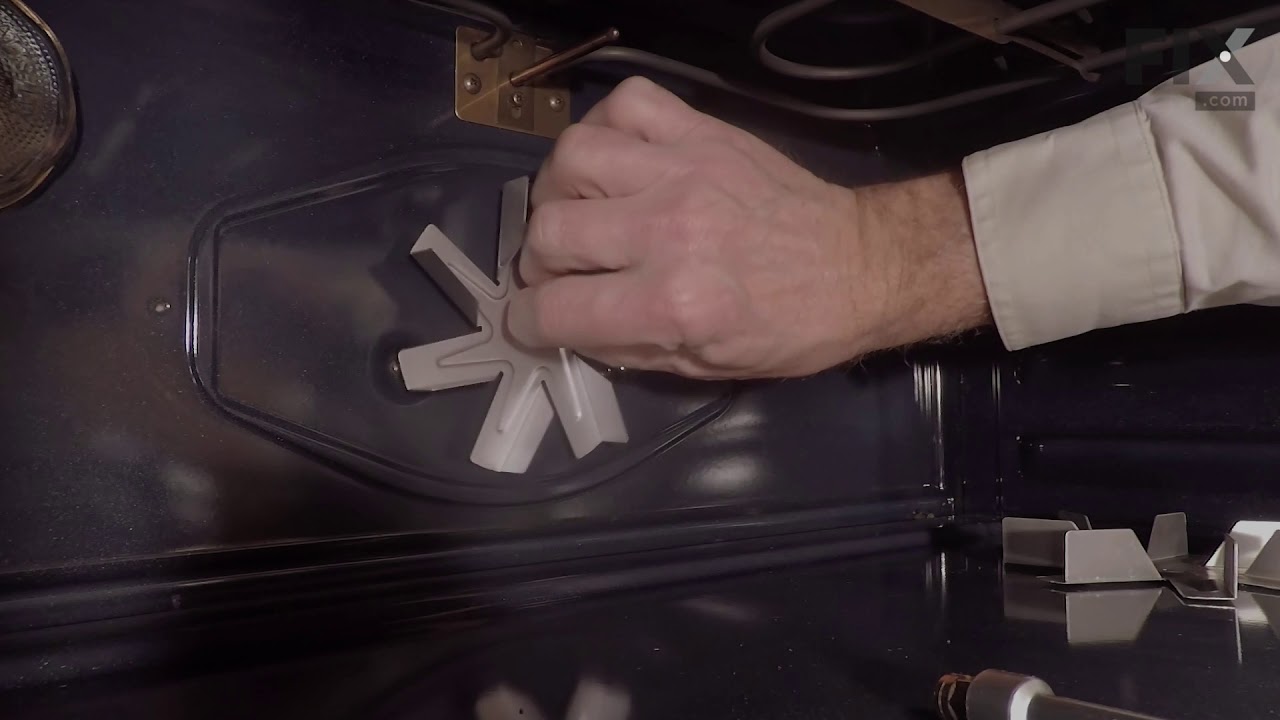
Slide out the stove. Unplug the electricity. Remove the back panel with a screwdriver. Then go inside the oven and remove the two Philips head screws holding the fan cover. Then remove the nut holding the fan. Note, it is a left handed nut, so turn it right to loosen it. Pull off the fan. Return to the back and remove the nut and two scr
... Read more
ews that hold the fan. The fan slides right out. The only problem I had was that the electrical contacts on the new motor were wider than the original. I had to break the plastic so I could separate the wire leads, so that they would fit the new motor. Works like a charm.
John
John
Read less
Was this instruction helpful to you?
Thank you for voting!
- Customer:
- Kelly from SEABECK, WA
- Parts Used:
- DG96-00110F
- Difficulty Level:
- Really Easy
- Total Repair Time:
- 30 - 60 mins
- Tools:
- Nutdriver, Screw drivers
Upper Oven convection Fan making bearing failure noises
First remove the internal fan guard, (two Philips Screws). Holding the fan blade and using a nut driver (10mm?) attempt to carefully remove the nut off of the shaft. If it loosens with a counterclockwise rotation, it is a Right Hand thread, Part#: PS11720788. If it loosens clockwise, it is Left Handed and is Part# PS11720787. When the co
... Read more
rrect fan arrives, check to make sure it matches, then continue with installation.
TURN THE POWER OFF
Following the door removal instructions in the Owners Manual, remove both upper and lower doors. Remove the screws that go into the cabinet on the sides, I believe there are (6). The bottom vent cover is also attached with the bottom screws, so you can remove that and set it aside.
Get some help to assist you with moving the stove out of the wall cavity, it's not heavy, but awkward. I used a small furniture cart, and the second time I used blocking on the cart to raise it to just below the oven and was able to easily slide out/in.
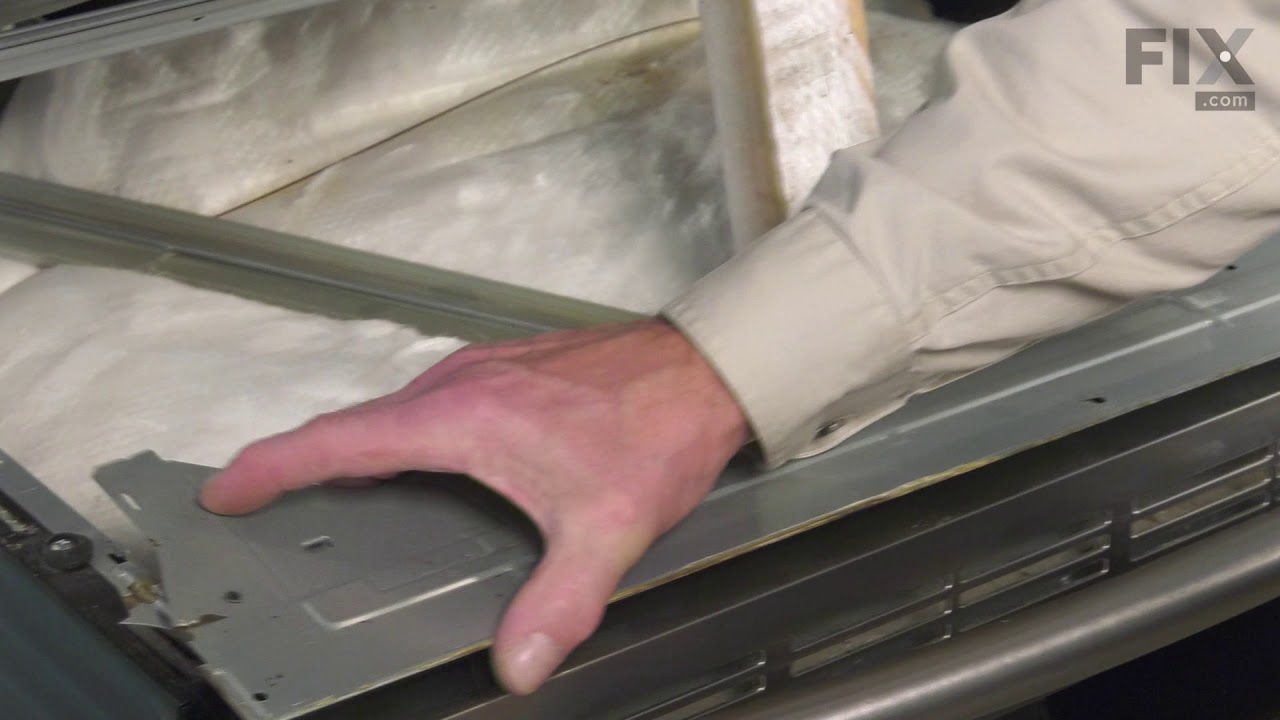
Rotate the oven so you can visualize the back. There are two panels on the back to remove, Starting with the bottom one, remove the screws, (a couple in the middle too) and slide the panel up, (Tabs into a notch on the top of each side of the panel) The second panel comes off the same way, there may be some screws on the side and top you need to be aware of. Once you open the back, the fan that needs to be replaced should be identical. If you have already removed the guard and fan blade from the inside compartment, it should be a simple swap out.
Put it back together in reverse order, put power back on and check to see if it worked. If so, slide it back into the cabinet, be careful the flex conduit is aligned so it doesn't interfere. Second time around it only took me about an hour total and I didn't need assistance.
Fan works, Oven quiet, Happy Wife, Happy Life.
TURN THE POWER OFF
Following the door removal instructions in the Owners Manual, remove both upper and lower doors. Remove the screws that go into the cabinet on the sides, I believe there are (6). The bottom vent cover is also attached with the bottom screws, so you can remove that and set it aside.
Get some help to assist you with moving the stove out of the wall cavity, it's not heavy, but awkward. I used a small furniture cart, and the second time I used blocking on the cart to raise it to just below the oven and was able to easily slide out/in.
Rotate the oven so you can visualize the back. There are two panels on the back to remove, Starting with the bottom one, remove the screws, (a couple in the middle too) and slide the panel up, (Tabs into a notch on the top of each side of the panel) The second panel comes off the same way, there may be some screws on the side and top you need to be aware of. Once you open the back, the fan that needs to be replaced should be identical. If you have already removed the guard and fan blade from the inside compartment, it should be a simple swap out.
Put it back together in reverse order, put power back on and check to see if it worked. If so, slide it back into the cabinet, be careful the flex conduit is aligned so it doesn't interfere. Second time around it only took me about an hour total and I didn't need assistance.
Fan works, Oven quiet, Happy Wife, Happy Life.
Read less
Was this instruction helpful to you?
Thank you for voting!