



Models
>
NX58K9850SG
NX58K9850SG (AA-01) Samsung Range
Jump to:
Find Part by Name
Keep searches simple, eg. "belt" or "pump".
Diagrams for NX58K9850SG
Viewing 5 of 5


Keep searches simple, eg. "belt" or "pump".
In Stock
Order now and your part arrives by Oct 16
In Stock
Order now and your part arrives by Oct 16
In Stock
Order now and your part arrives by Oct 16
In Stock
Order now and your part arrives by Oct 16
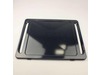
$175.26
This range oven bottom liner, also known as a cavity floor coating, is designed to protect the interior base of compatible Samsung gas ovens from spills, stains, and heat damage. Constructed from porc...
In Stock
Order now and your part arrives by Oct 16
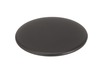
$54.44
If a surface burner clicks but lights poorly or burns more strongly on one side, inspect the cap before replacing other components. A chipped, misplaced, or grease-covered cap can disturb the flame pa...
In Stock
Order now and your part arrives by Oct 16
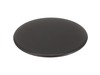
$82.95
The burner cap protects the burner head from spills and helps spread out the burner flame for even heating.
In Stock
Order now and your part arrives by Oct 16
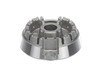
$51.95
Weak flames or a burner that will not light can point to a cracked, warped, or blocked burner base. This metal support helps hold the small surface burner assembly in place and directs gas toward the ...
In Stock
Order now and your part arrives by Oct 16
In Stock
Order now and your part arrives by Oct 16
On Order
$101.95
This oven temperature sensor plays a critical role in maintaining consistent cooking performance by monitoring the internal temperature and relaying that data to the control board. By regulating the h...
In Stock
Order now and your part arrives by Oct 16
The bake igniter is responsible for igniting the gas to light the bake burner within the range. Ensure safety precautions such as shutting off the house circuit breaker and gas supply. Tools Required:...
No Longer Available
Common Problems and Symptoms for NX58K9850SG
Viewing 7 of 7No heat
Fixed by these parts
How to fix it
Doesn’t shut off
Fixed by these parts
How to fix it
Won’t turn on
Fixed by these parts
How to fix it
Oven not heating evenly
Fixed by these parts
How to fix it
Door won’t open after self cleaning cycle
Fixed by these parts
How to fix it
Little to no heat when baking
Fixed by these parts
How to fix it
Oven is too hot
Fixed by these parts
How to fix it
Keep searches simple. Use keywords, e.g. "leaking", "pump", "broken" or "fit".
- Customer:
- Uwe from FORT COLLINS, CO
- Parts Used:
- DE47-20037A
- Difficulty Level:
- Very Easy
- Total Repair Time:
- 15 - 30 mins
- Tools:
- Screw drivers
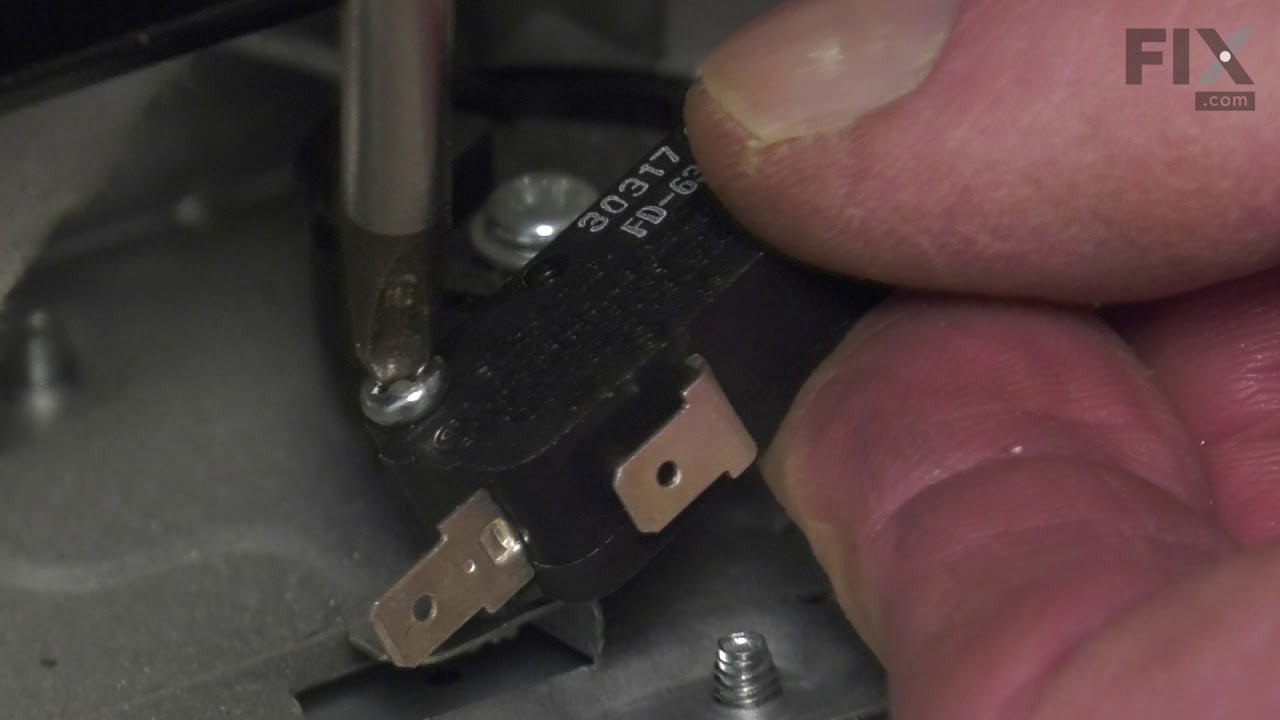
Oven shut off during self clean cycle and door stayed locked.
I took off the back cover after I looked at youtube similar problems. Then removed the little thermostat and un hooked the 2 wires. I looked up the part and after is was delivered couple days later I connected the 2 wies and after putting the back cover on the oven was back to normal. Was such an easy repair and the part was only $11.
Was this instruction helpful to you?
Thank you for voting!
- Customer:
- Madeleine from CHICAGO, IL
- Parts Used:
- DG61-00570A
- Difficulty Level:
- Really Easy
- Total Repair Time:
- Less than 15 mins
- Tools:
- Screw drivers
REPLACED THE FLOOR CAVITY
REMOVED THE TWO SCREWS AND THEN THE FLOOR PIECE. THEN REPLACED THE NEW FLOOR CAVITY AND SCREWED THE NEW ONE IN PLACE.
Was this instruction helpful to you?
Thank you for voting!
- Customer:
- Raymond from TROY, OH
- Parts Used:
- 3405-001034
- Difficulty Level:
- Easy
- Total Repair Time:
- 1- 2 hours
- Tools:
- Screw drivers
The microwave would not turn on or would run with the door open
Other tools that are usefull long needle nose pliers, long thin blade screw driver and small magnetic flashlight. Place the microwave on a work bench and remove the case it cover 3 sides. Place the microwave on a chair so it can stand with the controls up. You are replacing the lower door microswitch. The switch is located behind the
... Read more
control panel in the lower part of the area. The switch is several inches inside this area and your hands will not fit. Take care when moving wires and a couple of sensors. Use the thin blade screwdriver to release a tab holding the switch in place. Do not break this tab. Take the needle nose pliers and remove the switch. Put the wires on the new switch, open the door a short distance so a door lever moves enough to put the microswitch back into the bracket.
Read less
Was this instruction helpful to you?
Thank you for voting!