



Models
>
NE58K9500SG
NE58K9500SG (AA-01) Samsung Range
Jump to:
Find Part by Name
Keep searches simple, eg. "belt" or "pump".
Diagrams for NE58K9500SG
Viewing 5 of 5


Keep searches simple, eg. "belt" or "pump".
In Stock
Order now and your part arrives by Oct 25
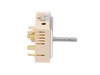
The control switch turns the surface element on and off and controls how much heat the element produces.
In Stock
Order now and your part arrives by Oct 25
In Stock
Order now and your part arrives by Oct 25
In Stock
Order now and your part arrives by Oct 25
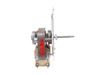
This convection fan motor assembly is designed to circulate hot air throughout the oven cavity, promoting even heat distribution for more consistent baking and roasting results. By keeping air moving ...
In Stock
Order now and your part arrives by Oct 25
In Stock
Order now and your part arrives by Oct 25

This cooktop and frame assembly is a genuine OEM replacement part supplied by Samsung. It is specially made to fit with Samsung gas ranges. It includes a black frame made of stainless steel and a blac...
In Stock
Order now and your part arrives by Oct 25

Need a new burner for your smooth-top stove? This dual radiant element heats evenly and works with both 6-inch and 8-inch pans, giving you flexibility for everyday cooking. It’s built to last and fits...
In Stock
Order now and your part arrives by Oct 25
In Stock
Order now and your part arrives by Oct 25
$101.95
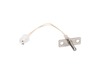
This oven temperature sensor plays a critical role in maintaining consistent cooking performance by monitoring the internal temperature and relaying that data to the control board. By regulating the h...
In Stock
Order now and your part arrives by Oct 25
In Stock
Order now and your part arrives by Oct 25

In Stock
Order now and your part arrives by Oct 25
Common Problems and Symptoms for NE58K9500SG
Viewing 8 of 8Element will not heat
Fixed by these parts


How to fix it
No heat
Fixed by these parts
How to fix it
Doesn’t shut off
Fixed by these parts
How to fix it
Oven not heating evenly
Fixed by these parts
How to fix it
Oven is too hot
Fixed by these parts
How to fix it
Won’t turn on
Fixed by these parts
How to fix it
Door won’t open after self cleaning cycle
Fixed by these parts
How to fix it
Little to no heat when baking
Fixed by these parts
How to fix it

Keep searches simple. Use keywords, e.g. "leaking", "pump", "broken" or "fit".
- Customer:
- Uwe from FORT COLLINS, CO
- Parts Used:
- DE47-20037A
- Difficulty Level:
- Very Easy
- Total Repair Time:
- 15 - 30 mins
- Tools:
- Screw drivers
Oven shut off during self clean cycle and door stayed locked.
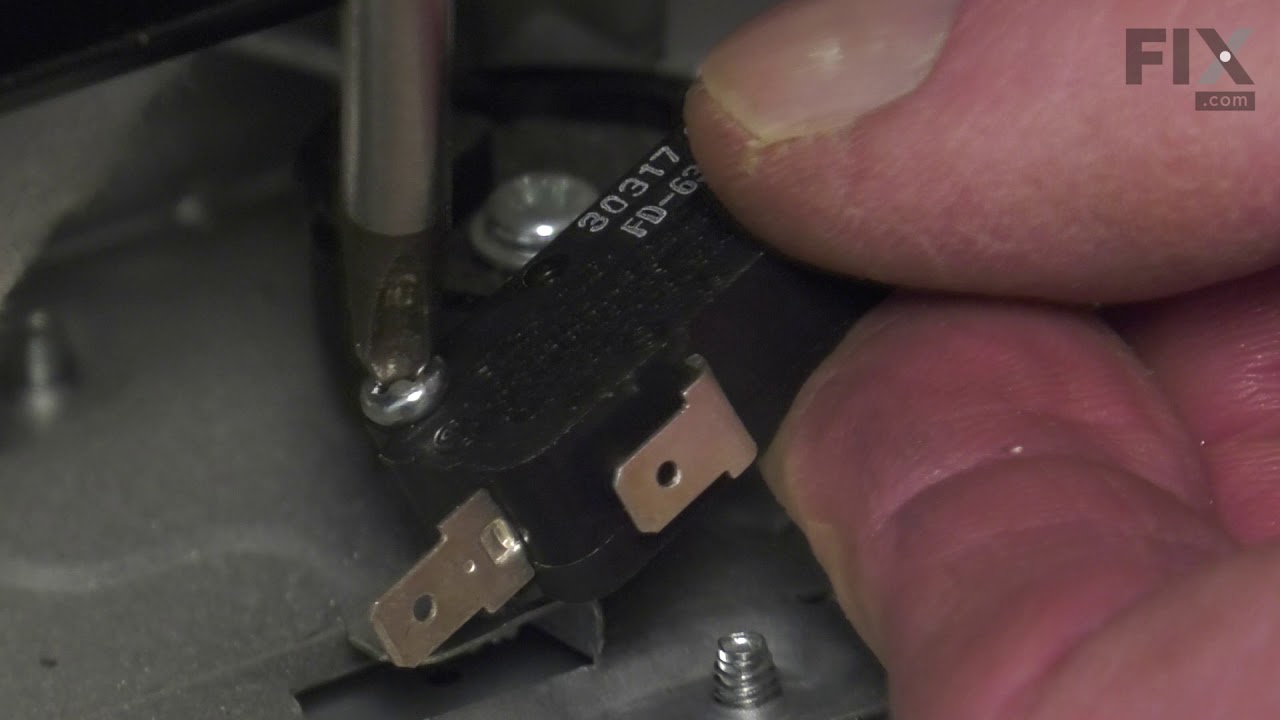
I took off the back cover after I looked at youtube similar problems. Then removed the little thermostat and un hooked the 2 wires. I looked up the part and after is was delivered couple days later I connected the 2 wies and after putting the back cover on the oven was back to normal. Was such an easy repair and the part was only $11.
Was this instruction helpful to you?
Thank you for voting!
- Customer:
- Raymond from TROY, OH
- Parts Used:
- 3405-001034
- Difficulty Level:
- Easy
- Total Repair Time:
- 1- 2 hours
- Tools:
- Screw drivers
The microwave would not turn on or would run with the door open
Other tools that are usefull long needle nose pliers, long thin blade screw driver and small magnetic flashlight. Place the microwave on a work bench and remove the case it cover 3 sides. Place the microwave on a chair so it can stand with the controls up. You are replacing the lower door microswitch. The switch is located behind the
... Read more
control panel in the lower part of the area. The switch is several inches inside this area and your hands will not fit. Take care when moving wires and a couple of sensors. Use the thin blade screwdriver to release a tab holding the switch in place. Do not break this tab. Take the needle nose pliers and remove the switch. Put the wires on the new switch, open the door a short distance so a door lever moves enough to put the microswitch back into the bracket.
Read less
Was this instruction helpful to you?
Thank you for voting!
- Customer:
- Judith from WASHINGTON, DC
- Parts Used:
- DG94-00550A
- Difficulty Level:
- Really Easy
- Total Repair Time:
- 30 - 60 mins
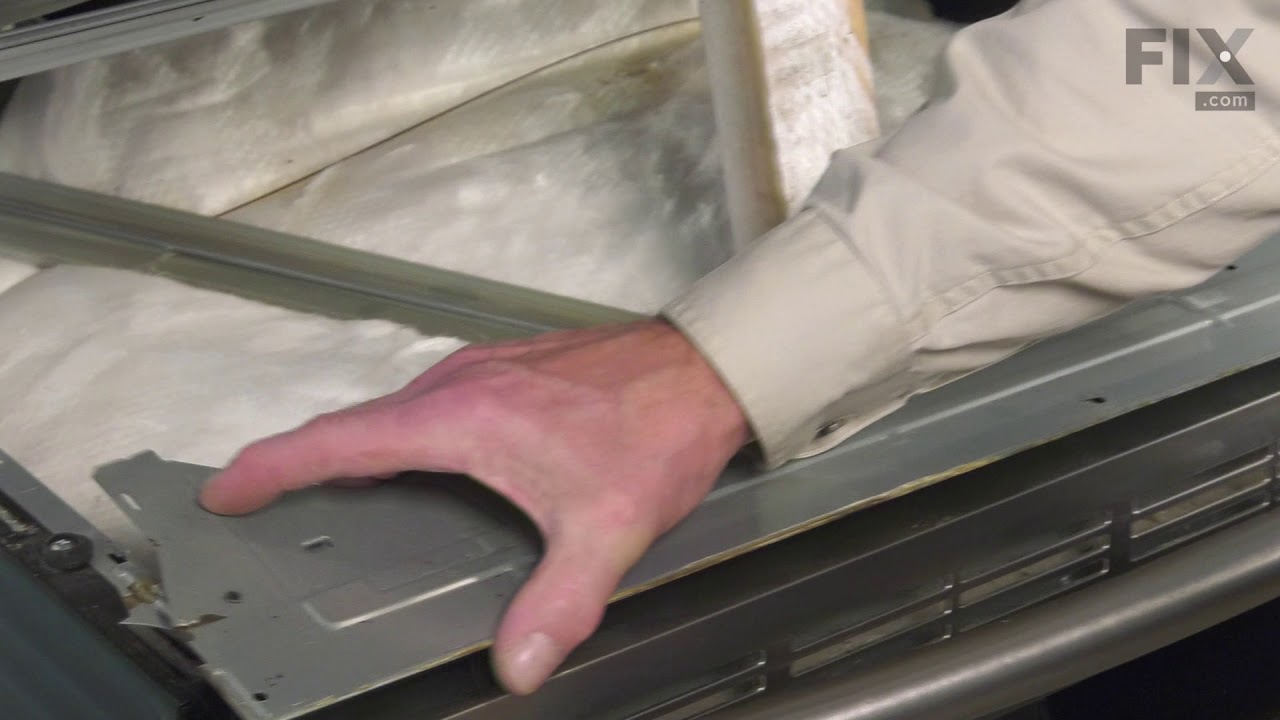
Slider Assembly in Oven Warming Drawer
Install handled by building engineer...thankfully. Did not take long for him, however, to install both sides of the drawer.
Was this instruction helpful to you?
Thank you for voting!