



Models
>
CRE7500ADA
CRE7500ADA Maytag Range
Jump to:
Find Part by Name
Keep searches simple, eg. "belt" or "pump".
Diagrams for CRE7500ADA
Viewing 5 of 5


Keep searches simple, eg. "belt" or "pump".
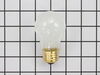
$19.75
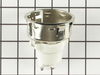
This is a genuine OEM 40-Watt replacement light bulb that is compatible with various types of appliances. It has a frosted glass bulb with a standard metal socket base, making it easy to screw and uns...
In Stock
Order now and your part arrives by Sep 3
$21.82
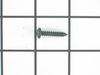
This is a screw and it is made for multiple appliances in your home. This model is called a sheet metal screw because it has sharp points, and the threads are closer together. This screw is designed t...
In Stock
Order now and your part arrives by Sep 3
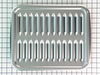
$50.36
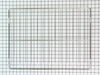
This broiler pan and roasting rack set features a two-piece design that allows fat to drain away for cleaner cooking and reduced splatter. Made with a durable, high-heat resistant porcelain finish, it...
In Stock
Order now and your part arrives by Sep 3
In Stock
Order now and your part arrives by Sep 3
In Stock
Order now and your part arrives by Sep 3
$13.07
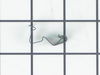
This clip is used to secure the thermostat bulb. They are sold individually.
In Stock
Order now and your part arrives by Sep 3
In Stock
Order now and your part arrives by Sep 3
Special Order

Special Order


Keep searches simple. Use keywords, e.g. "leaking", "pump", "broken" or "fit".
- Customer:
- Pat from Bucklin, KS
- Parts Used:
- WP9781049
- Difficulty Level:
- Really Easy
- Total Repair Time:
- Less than 15 mins
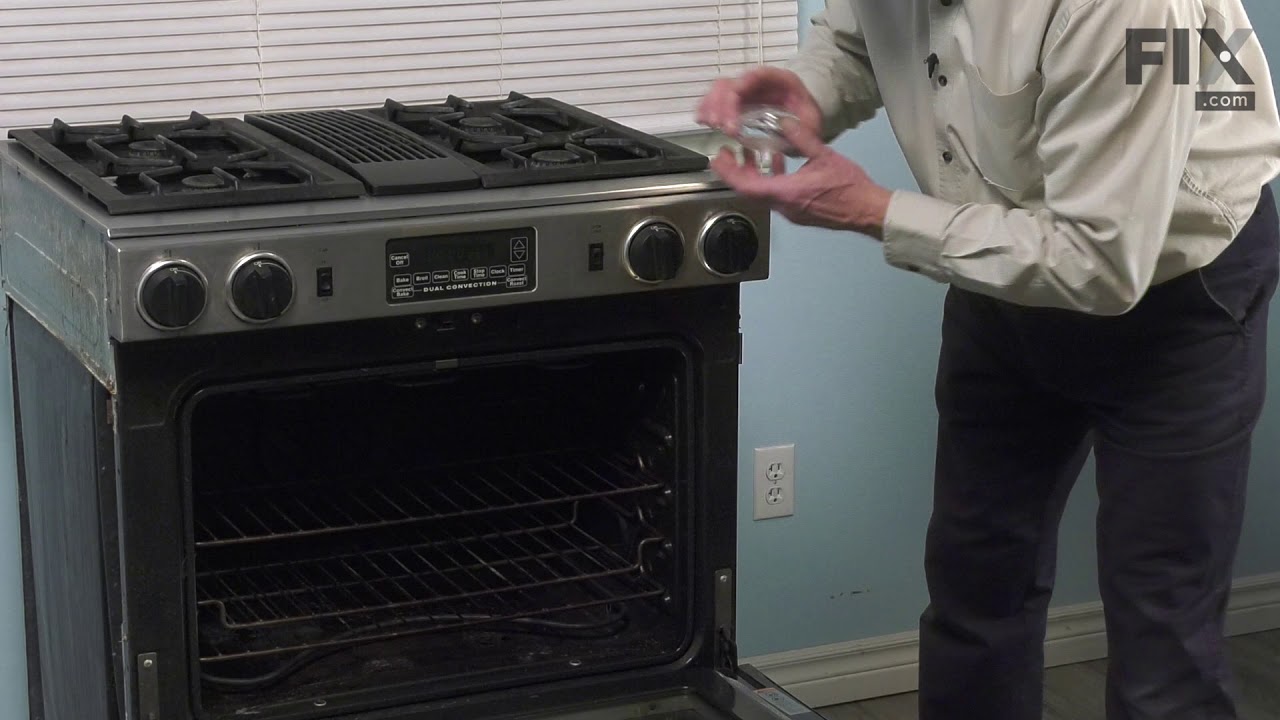
Original oven light lens had cracked and broken in two.
I screwed the light lens into the socket and went beautifully. Better than the original. (I am a retired, 75 yr. old woman).
Was this instruction helpful to you?
Thank you for voting!
- Customer:
- Raymond from BLOOMINGTON, MN
- Parts Used:
- 4396923
- Difficulty Level:
- Very Easy
- Total Repair Time:
- Less than 15 mins
Purchased home but stove had no broiler pan.
Purchased 2 piece broiler pan from this site
Was this instruction helpful to you?
Thank you for voting!
- Customer:
- Kenneth from Lynchburg, VA
- Parts Used:
- WP7407P182-60
- Difficulty Level:
- Really Easy
- Total Repair Time:
- 15 - 30 mins
- Tools:
- Screw drivers
Faulty bulb receptacle
Unplugged the stove and removed the back panel, disconnected the wires from the old receptacle, removed it, inserted the new receptacle, connected the wires, put the back panel of the stove on, plugged in the stove and then checked to see if the bulb was now burning. Success!
Was this instruction helpful to you?
Thank you for voting!