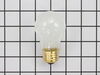
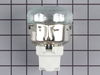
This is a genuine OEM 40-Watt replacement light bulb that is compatible with various types of appliances. It has a frosted glass bulb with a standard metal socket base, making it easy to screw and uns...
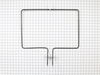
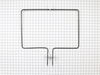
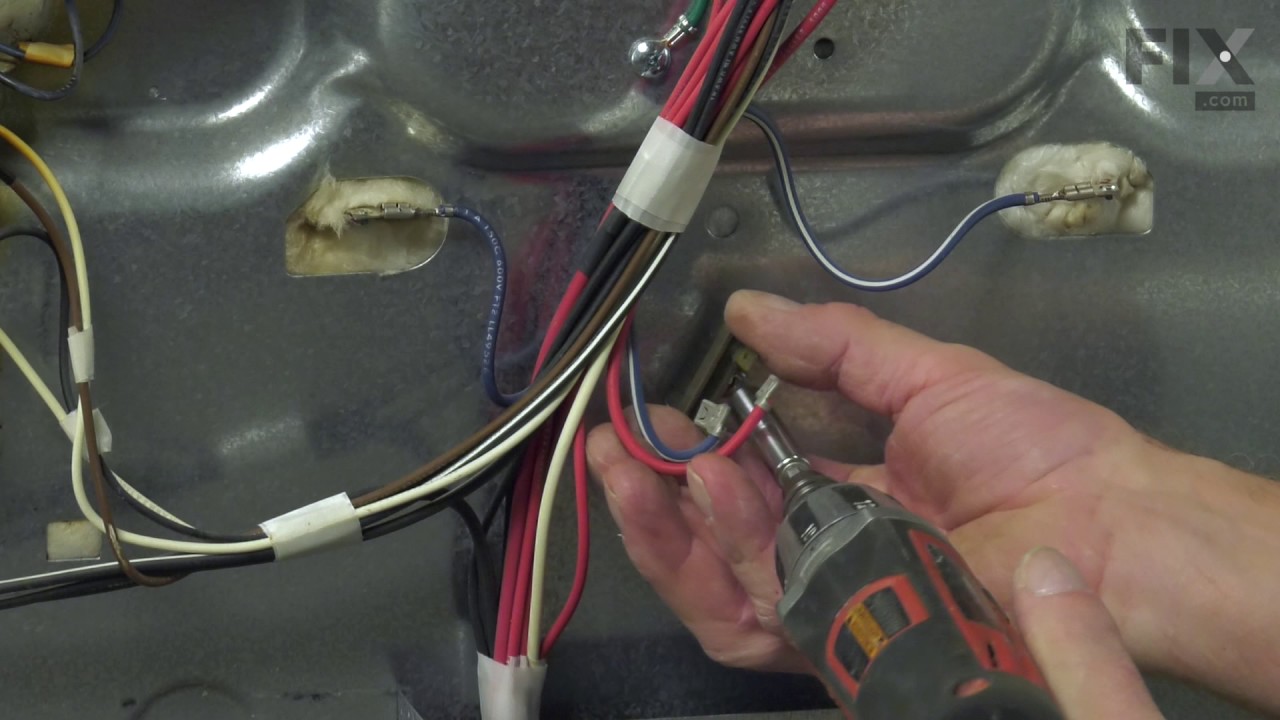
This authentic OEM bake element is square in shape with the terminals in the center and sits at the bottom of your oven. The purpose of this part is to heat your oven in order to cook your food. If yo...
This is a screw and it is made for multiple appliances in your home. This model is called a sheet metal screw because it has sharp points, and the threads are closer together. This screw is designed t...
This 18 ml bottle of white appliance touch-up paint is used to cover scratches or marks on your appliance. The white touch-up paint can be used on refrigerators, microwaves, ranges, clothes dryers, an...
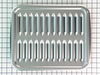
This broiler pan and roasting rack set features a two-piece design that allows fat to drain away for cleaner cooking and reduced splatter. Made with a durable, high-heat resistant porcelain finish, it...
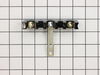
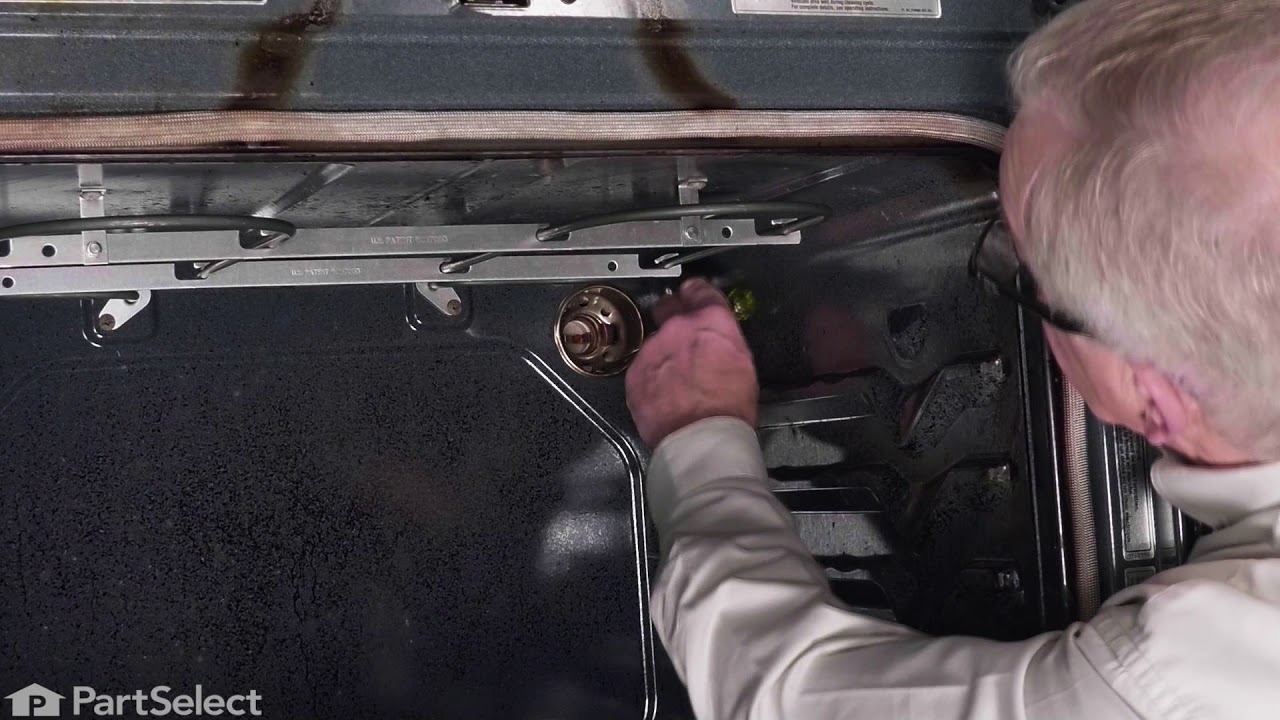
The light socket on your electric range connects the power source to the light bulb. If your oven light is malfunctioning, you may need to replace the light socket. The light socket is located in the ...
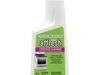
This 10 oz bottle of cooktop cleaner is formulated to safely and effectively remove tough, baked-on residues from glass, ceramic, and porcelain surfaces. Its non-abrasive, creamy texture breaks down s...
This cooling fan assembly helps regulate temperature around the control panel in compatible ranges and ovens. It includes a hall sensor and replaces older fan models to resolve issues like overheating...
Ask our experts a question about this part and we'll get back to you as soon as possible!
2 questions answered by our experts.
< Prev
1
Next >
Sort by:
Search filter:
Clear Filter
Your search term must have 3 or more characters.
Keep searches simple. Use keywords, e.g. "leaking", "pump", "broken" or "fit".
Sorry, we couldn't find any existing answers that matched. Try using some different or simpler keywords, or submit your new question by using the "Ask a Question" button above!
Miguel
March 7, 2024
Error code F2E0
For model number KSDB900ESS1
Hi Miguel, thank you for reaching out. This error code indicates that there is a problem with the user interface control board. You may need to check the wire connections to the control panel, part number FIX11769850. If the wire connections are not faulty, then you may need to replace the control panel to solve the problem. Glad to be of help!
HOW TO REMOVE THE LOWER OVEN DRAWER IN ORDER TO ACCESS THE LOWER OVEN TEMPERATURE SENSOR…..
For model number KSDB900ESS6
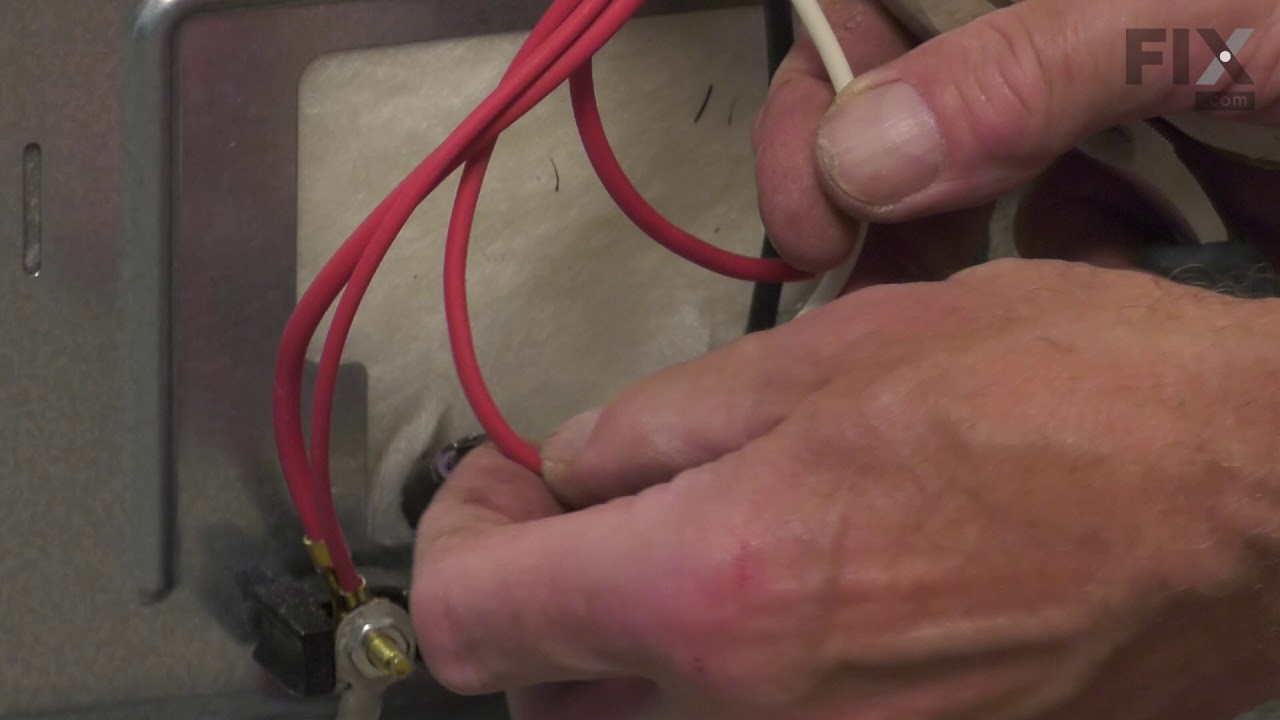
Hello Darrell, thank you for reaching out to us. Begin by opening the oven door and removing the screws securing the lower control panel cover. Unthread the screws holding the control panel to the frame, carefully detach it, and support it so there is no strain on the wiring. Next, remove the screws from the front bracket and rear corners of the main top and lift the top assembly off and set it aside. For easier access to the interior, remove the oven door by rotating the hinge locks back and lifting it straight off. With the top removed, unthread the screws securing the element support panel to the side panel and release the stop bracket. Remove the remaining side panel screws and use a flathead screwdriver to depress the retaining tab at the rear to fully detach the panel. Lift the insulation underneath to locate the warming drawer sensor wire connector and disconnect it. Pull out the warming drawer, remove the rack, and use pliers to gently bend the side rails outward to detach the drawer assembly. Unthread the screws securing the sensor to the corner cover and remove the old sensor. We hope this information helps!
I numbered every part. ex: 1 L., for first part removed left side. I used a magic marker to circle the holes and wrote the number of screws used on the part, set the srews in a separete place, so that I new where these screws went to. The cleanup was pretty time consuming, but I was able to keep my stove, when every repairman I called to
... Read more fix my stove told me I was better off buying a new stove. ($600.00 stove 2 years old)Please Note: The insulation blanket needed for the entire stove is two pieces, the sides and top are one part # and the bottom and back, are another part #. I did not know this. I just purchased the top and sides. I got lucky, the back and bottom were still in good shape. So I guess I should have read the description of the part more carefully to see what it covers, before I ordered it. It took two people two hours to do the work, it was really nice to have an extra set of eyes, to remember what direction pieces of metal from the stove went. I would do it all over in a heart beat instead of buying a new stove.
First, we turned on broil and the upper element turned orange and obviously worked. We figured the bottom element went out. The diagram on this site showed a bottom heating element that looked nothing like ours, but after reading other reviews, and reading that part that goes through the back of the oven was in the middle, and not off to
... Read morethe side, we ordered this element. It was perfect. All you have to do is unplug the oven, take out the bottom pan covering the element by removing 2 screws in the back, remove the lower small cover on the back of the oven and then unplug the old element, unscrew the old element on the inside of the stove, then install the new element and put everything back like it was. Nothing to it. It worked like a charm and my oven now heats up fast again. Easiest appliance repair job ever!