



Models
>
79093772100
79093772100 Kenmore Range
Jump to:
Find Part by Name
Keep searches simple, eg. "belt" or "pump".
Keep searches simple, eg. "belt" or "pump".
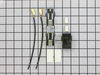
$15.35
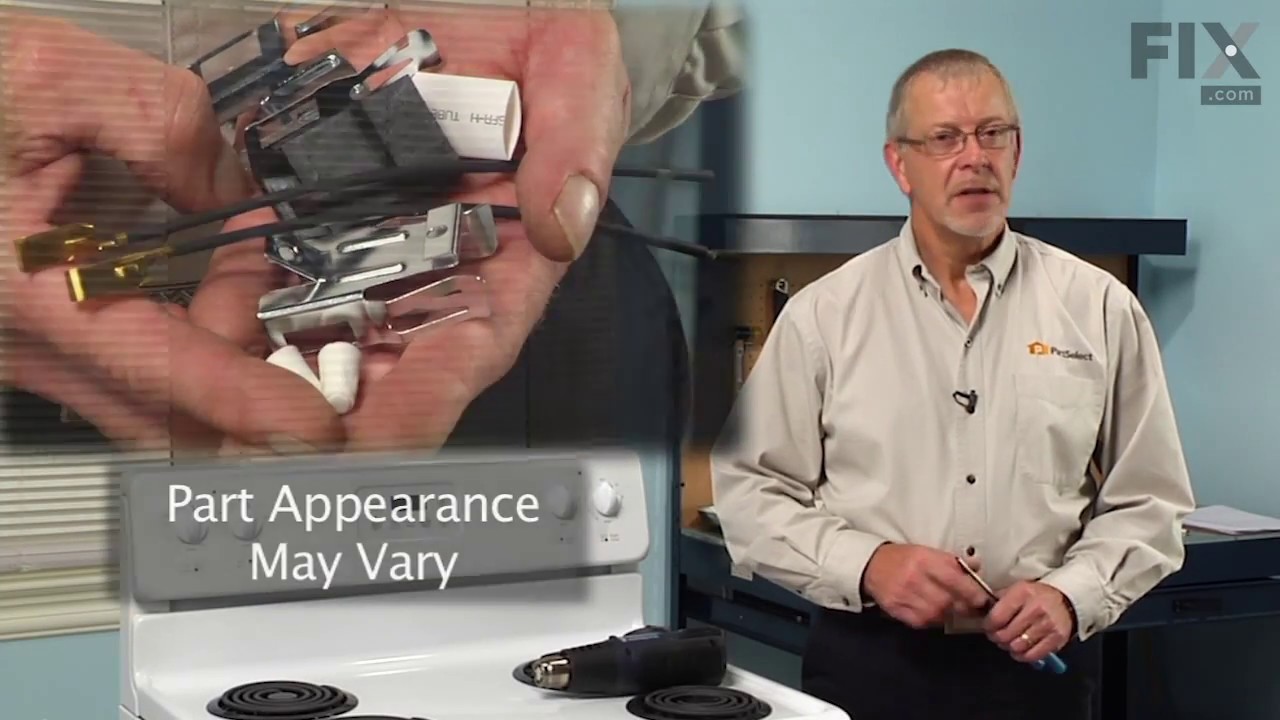
This kit comes with the necessary components to replace your burner terminal block. It includes interchangeable mounting brackets, a terminal box, ceramic wire nuts, heat shrink protective tubing, and...
In Stock
Order now and your part arrives by Sep 20
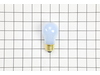
$27.45
This 40-watt light bulb has a standard screw-in base and is used in many different appliances. If your current bulb is burnt out or broken you will need to replace it. This light bulb is a genuine OEM...
In Stock
Order now and your part arrives by Sep 20
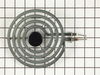
$57.70
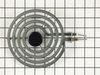
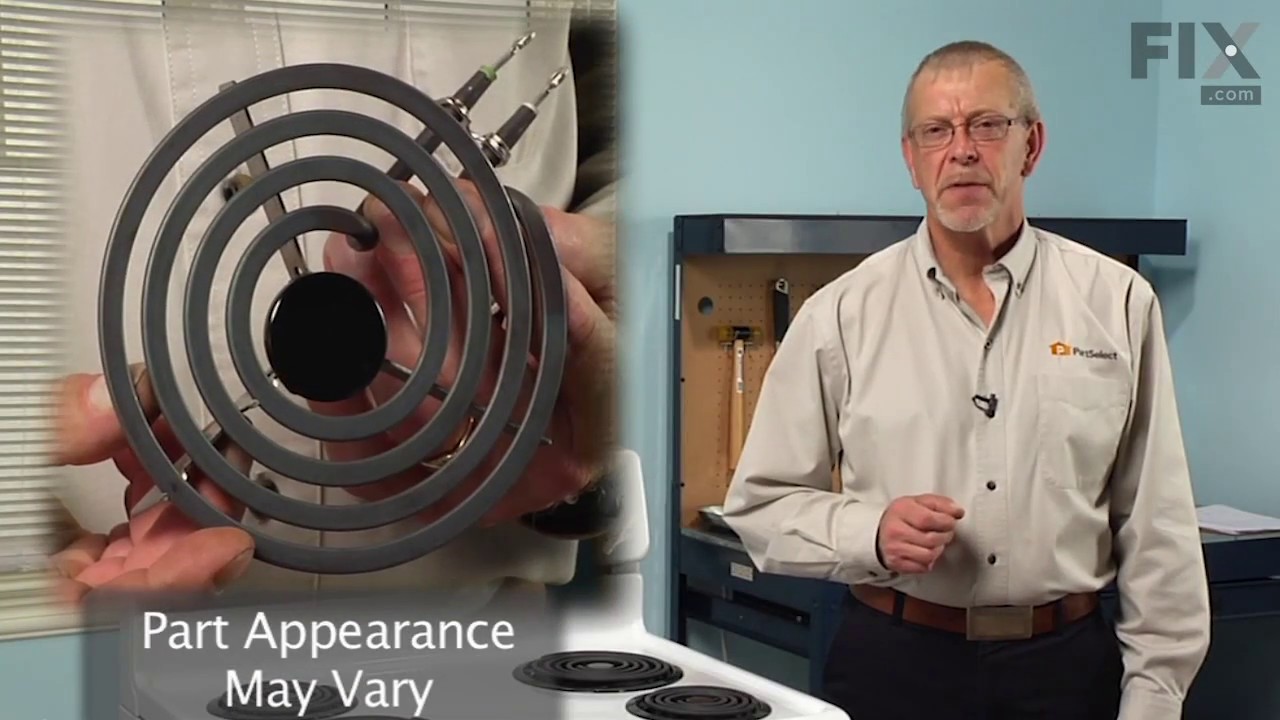
This element has looped terminal ends and comes with a black medallion center. This element is a genuine OEM replacement part, has looped terminal ends, comes with a black medallion center, and fits m...
In Stock
Order now and your part arrives by Sep 20
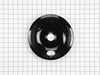
$15.35
This is an 8-inch drip bowl for your range or cooktop. It is made of porcelain and is black in color. Place the drip pan under your burner to catch food that may drip or spill while you cook. It is 10...
In Stock
Order now and your part arrives by Sep 20
$12.81
This drip bowl is a genuine OEM replacement part for your stovetop. It is black in color, made of porcelain, and six inches in diameter. To replace the drip pan, you simply need to remove the burner e...
In Stock
Order now and your part arrives by Sep 20
In Stock
Order now and your part arrives by Sep 20
$26.83
This is a light bulb lens, and it is made for your oven. This part protects the light bulb inside your oven by covering it. The lens is made of glass, and has a 3-inch diameter. Before making this rep...
In Stock
Order now and your part arrives by Sep 20
In Stock
Order now and your part arrives by Sep 20

In Stock
Order now and your part arrives by Sep 20
$48.35
Also known as a temperature sensor. This part is used to detect the temperature within the oven cavity.
**The following instructions only apply if the connector piece is different than the original...
In Stock
Order now and your part arrives by Sep 20
Common Problems and Symptoms for 79093772100
Viewing 7 of 7Element will not heat
Fixed by these parts
How to fix it
Will Not Start
Fixed by these parts
How to fix it
Little to no heat when broiling
Fixed by these parts
How to fix it
Little to no heat when baking
Fixed by these parts
How to fix it
Oven is too hot
Fixed by these parts
How to fix it
Oven not heating evenly
Fixed by these parts
How to fix it
Door won’t close
Fixed by these parts
How to fix it



Keep searches simple. Use keywords, e.g. "leaking", "pump", "broken" or "fit".
- Customer:
- Mitch from Fernandina Beach, FL
- Parts Used:
- 5304503232
- Difficulty Level:
- Easy
- Total Repair Time:
- 15 - 30 mins
- Tools:
- Screw drivers
Cracked oven door inner glass
Repair was quite easy, as long as you have the instructions for removing the door. The screws that hold the bottom of the door to the fixed hinge are placed into the side of the hinge assembly after removal; this holds the door at a 45 degree angle for easy removal. After that, just place the door on a flat surface and dismantle the door
... Read more
from the inside. The inner glass is contained in a metal frame with another piece of glass; this frame comes apart easily using the clips in each side. The door assembles easily after the glass is replaced; just take your time and give yourself enough room to lay out the parts as you go. Good luck!
Read less
Was this instruction helpful to you?
Thank you for voting!
- Customer:
- Paul from Spokane Valley, WA
- Parts Used:
- 316116400
- Difficulty Level:
- Easy
- Total Repair Time:
- 30 - 60 mins
- Tools:
- Screw drivers
Oven light receptacle broken - bulb base broke off
Turned power off at electrical panel. Pulled oven away from wall. Removed back cover (6 screws), then unplugged wires from old receptacle. I had to pull the squeeze clips backwards & break them to remove the old receptacle - couldn't squeeze them enough to remove them otherwise. The old receptacle came out through the inside of the oven,
... Read more
and the new one snapped in easily from inside the oven as well. Replaced wiring, installed new bulb, restored power & tested. Replaced back cover. Good time to vacuum under/behind where the oven usually lives before sliding it back to the wall.
Read less
Was this instruction helpful to you?
Thank you for voting!
- Customer:
- louis from cuba, NY
- Parts Used:
- 5303051140
- Difficulty Level:
- Easy
- Total Repair Time:
- 15 - 30 mins
- Tools:
- Socket set
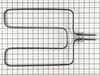
Broiler element burned out
Remove old element by removing two screws on back wall of oven, pull attached wires out about 6" and disconnect. Reverse to install, very easy. Of course the oven door makes it harder to get at things, but it all worked out. Partselect was the only place I could find the element since the stove is 18 years old. I love keeping appliances g
... Read more
oing as long as possible.
Read less
Was this instruction helpful to you?
Thank you for voting!