



Models
>
79072583518
79072583518 Kenmore Range
Jump to:
Find Part by Name
Keep searches simple, eg. "belt" or "pump".
Keep searches simple, eg. "belt" or "pump".
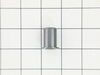
$40.51
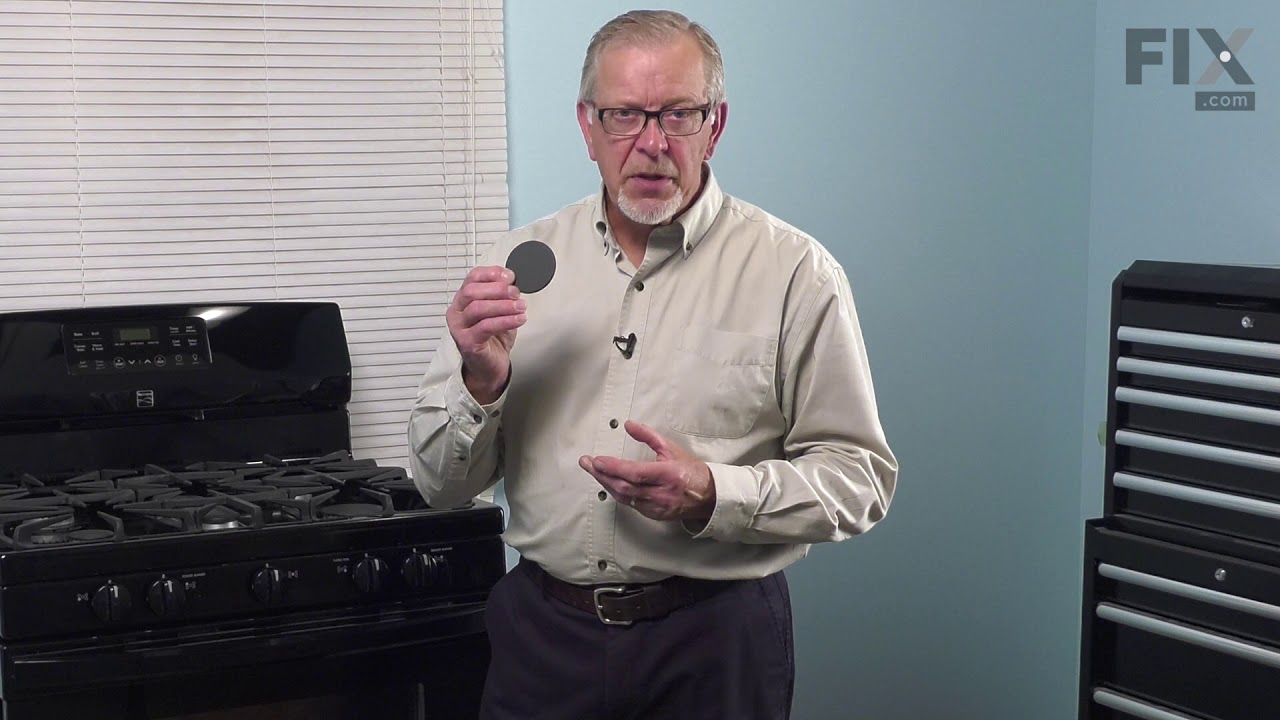
Sold individually. This part helps the flame to spread for even heat. Also protects your burner head from spills. The surface burner cap is located on the top of the burner head and is used in ranges ...
In Stock
Order now and your part arrives by Sep 19
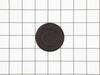
$43.56
Sold individually. This part helps the flame to spread for even heat. Also protects your burner head from spills.
In Stock
Order now and your part arrives by Sep 19
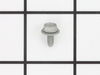
This part is the igniter/orifice mounting screw for your cooktop or range. It is approximately ½ an inch in length and is made of metal. The mounting screw connects the orifice to the cooktop. If the ...
In Stock
Order now and your part arrives by Sep 19
$20.85
This range indicator light lens is designed to cover and protect the appliance’s indicator light, allowing you to easily see when a burner or oven is in use. Made from clear, heat-resistant plastic, i...
In Stock
Order now and your part arrives by Sep 19
In Stock
Order now and your part arrives by Sep 19
On Order
$26.35
This is a screw for your range or microwave. This part is sold individually. It has a pan head, a pointed tip for use with sheet metal, and an x-shaped drive. This screw is a #8, has 18 threads to the...
In Stock
Order now and your part arrives by Sep 19

$52.75
A cracked or warped burner cap can interfere with flame shape and cooking performance. This replacement sits on the burner head, helping distribute the flame evenly while protecting the openings below...
In Stock
Order now and your part arrives by Sep 19
In Stock
Order now and your part arrives by Sep 19
In Stock
Order now and your part arrives by Sep 19
Special Order
In Stock
Order now and your part arrives by Sep 19
Common Problems and Symptoms for 79072583518
Viewing 2 of 2Gas igniter glows, but will not light
Fixed by these parts
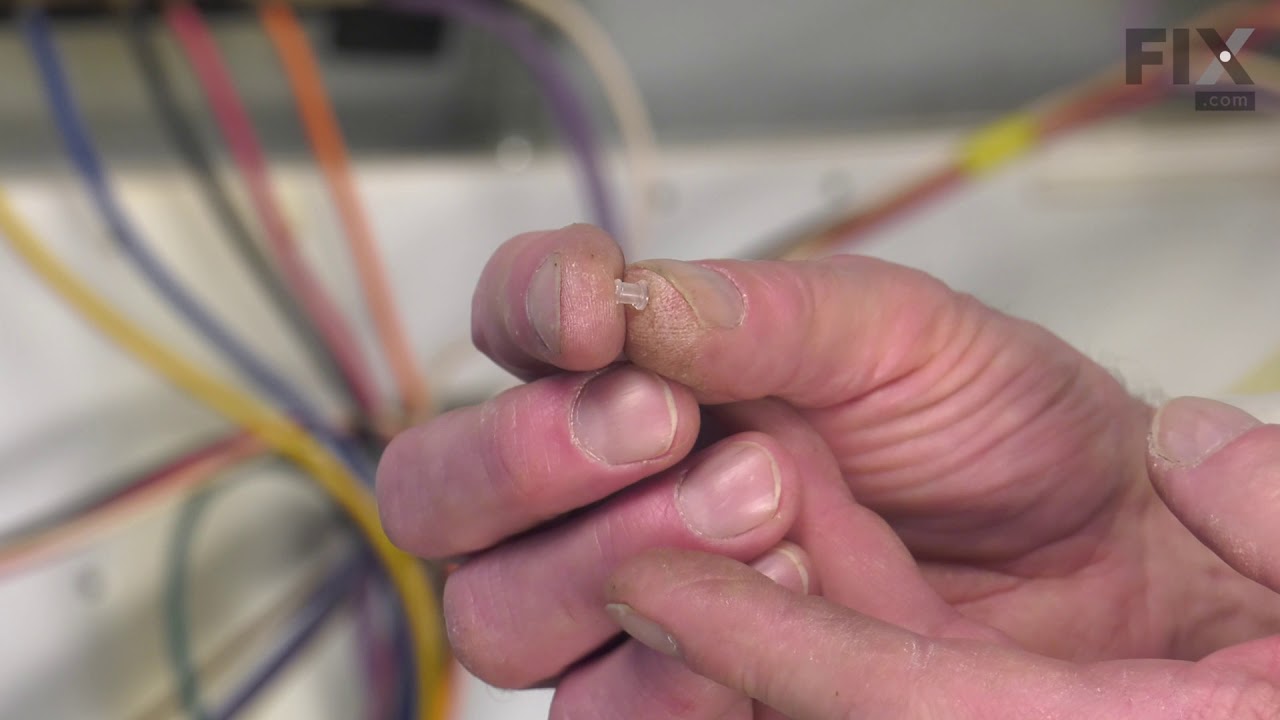
How to fix it
Gas smell
Fixed by these parts
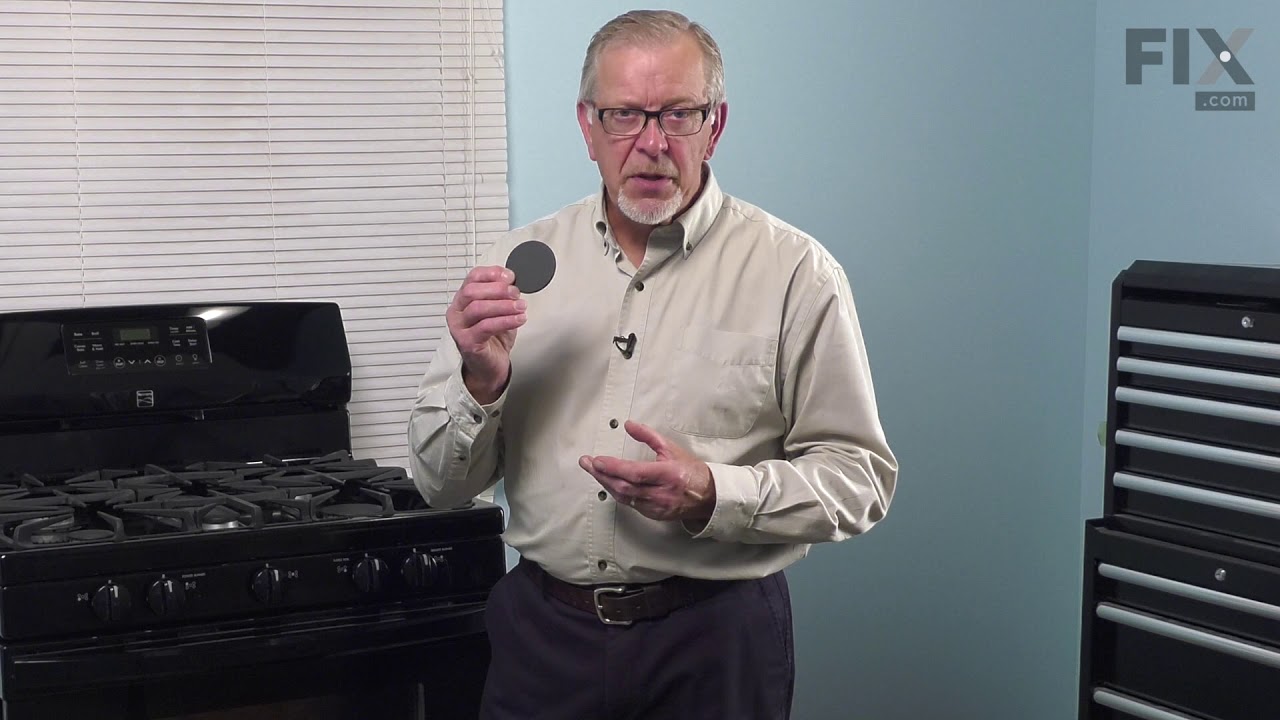
How to fix it

Keep searches simple. Use keywords, e.g. "leaking", "pump", "broken" or "fit".
- Customer:
- John from Stevensville, MD
- Parts Used:
- 318398302
- Difficulty Level:
- A Bit Difficult
- Total Repair Time:
- 30 - 60 mins
- Tools:
- Pliers, Screw drivers, Socket set
replacing the fan on a convection oven (fan was making a vibration noise)
This was the first time replacing the fan. It is a lot easier to work in the oven compartment with the oven door removed, only two screws on the door and the hinges were released. I found that a couple of the screws were either rusted or stripped so I used a pair of pliers to remove the screws that were holding the diffuser in place. O
... Read more
nce there was access to the fan I found that the fan was warped and that the blades were scraping against the back wall of the oven. The next challenge was to remove the retaining nut. I used a sheet metal screw to secure the warped fan to keep it from spinning. once I figured out that you have to turn the retaining nut to the right to loosen, it came off easily. 1/2" socket with extension. When I replace the fan I used two washers for spacers to make sure that the fan would not scrape the wall of the oven. Its been tested many times and the oven does not make that horrible sound anymore.
Read less
Was this instruction helpful to you?
Thank you for voting!
- Customer:
- Hans from JERUSALEM, AR
- Parts Used:
- 316031501
- Difficulty Level:
- A Bit Difficult
- Total Repair Time:
- 1- 2 hours
- Tools:
- Nutdriver, Pliers, Screw drivers, Wrench set
Replace oven gas safety valve.
It went really well until test when the flame was reaching up into the oven itself, not good. Much research finally found an older repairman who informed me the nozzle that injects the gas into the oven burner had to be fully screwed down for LP Gas. The unit is pre-set for Natural Gas. Tightened it all the way down and everything work
... Read more
s just fine. We live rurally so use Liquid Propane Gas, not Natural Gas.
Read less
Was this instruction helpful to you?
Thank you for voting!
- Customer:
- Kathy from NEW BERN, NC
- Parts Used:
- 316557300
- Difficulty Level:
- Really Easy
- Total Repair Time:
- Less than 15 mins
- Tools:
- Nutdriver
Burner indicator light lense broke off
The light apparatus was loose behind the panel. Remove the remaining part of the lens. Install the new lens from the outside of the panel and hold it in position, protruding into the inside of the panel. Slide the light apparatus onto the lens from the inside, allowing the bracket to hold it in place - it will be spring loaded, which will
... Read more
hold it in place.
Read less
Was this instruction helpful to you?
Thank you for voting!