



Models
>
JCBP23WK1WW
JCBP23WK1WW General Electric Range
Jump to:
Find Part by Name
Keep searches simple, eg. "belt" or "pump".
Diagrams for JCBP23WK1WW
Viewing 5 of 5



Keep searches simple, eg. "belt" or "pump".
$26.95
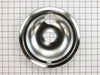
This is a 10-inch chrome drip bowl intended to fit an 8-inch burner. This bowl is used to catch drips from food cooking on the oven element. This bowl might burn, become rusty, and just generally wear...
In Stock
Order now and your part arrives by Sep 27
$104.93
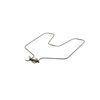
The bake element is the part of your oven that heats up in order to cook your food, and is found in the bottom part of the oven. If the temperature in your oven is inconsistent, or not heating up at a...
In Stock
Order now and your part arrives by Sep 27
In Stock
Order now and your part arrives by Sep 27
$33.95
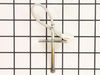
If your oven is running hot, not heating evenly, not coming up to temperature, or just not heating up at all, there may be an issue with the temperature sensor. This sensor is usually found in the bac...
In Stock
Order now and your part arrives by Sep 27
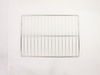
$70.95
If the racks in your oven have become discolored, or if you need a spare, this is a genuine OEM replacement. The rack is used to hold cookware in the oven, and slides in and out of the oven for easy a...
In Stock
Order now and your part arrives by Sep 27
$15.26
This is a replacement drawer support for your oven. The drawer support provides stability to the drawer unit as it opens and closes. If your oven drawer is hanging or will not slide in or out efficien...
In Stock
Order now and your part arrives by Sep 27
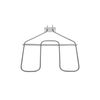
$88.71
This broil element restores proper heating in wall ovens by providing direct heat from the top of the oven cavity. It’s ideal for replacing a faulty element that prevents the oven from reaching broil ...
In Stock
Order now and your part arrives by Sep 27
In Stock
Order now and your part arrives by Sep 27
In Stock
Order now and your part arrives by Sep 27
$15.26
This part is the replacement light socket for your oven. The oven light socket provides power to the light, and at the same time holds the light bulb in place.
In Stock
Order now and your part arrives by Sep 27
$15.26
This part is a replacement lens for your oven or range. The lens is red in color, and when the elements are turned on, the light behind the lens will turn on to inform the user that the element is, in...
In Stock
Order now and your part arrives by Sep 27
This switch controls the large burner on a range/stove top.
In Stock
Order now and your part arrives by Sep 27
Common Problems and Symptoms for JCBP23WK1WW
Viewing 7 of 7Element will not heat
Fixed by these parts
How to fix it
Little to no heat when baking
Fixed by these parts
How to fix it
Oven not heating evenly
Fixed by these parts
How to fix it
Oven is too hot
Fixed by these parts
How to fix it
Little to no heat when broiling
Fixed by these parts
How to fix it
Will Not Start
Fixed by these parts
How to fix it
Door won’t close
Fixed by these parts
How to fix it




Keep searches simple. Use keywords, e.g. "leaking", "pump", "broken" or "fit".
- Customer:
- Ronald from Nassau, NY
- Parts Used:
- WB30X46987
- Difficulty Level:
- Really Easy
- Total Repair Time:
- Less than 15 mins
- Tools:
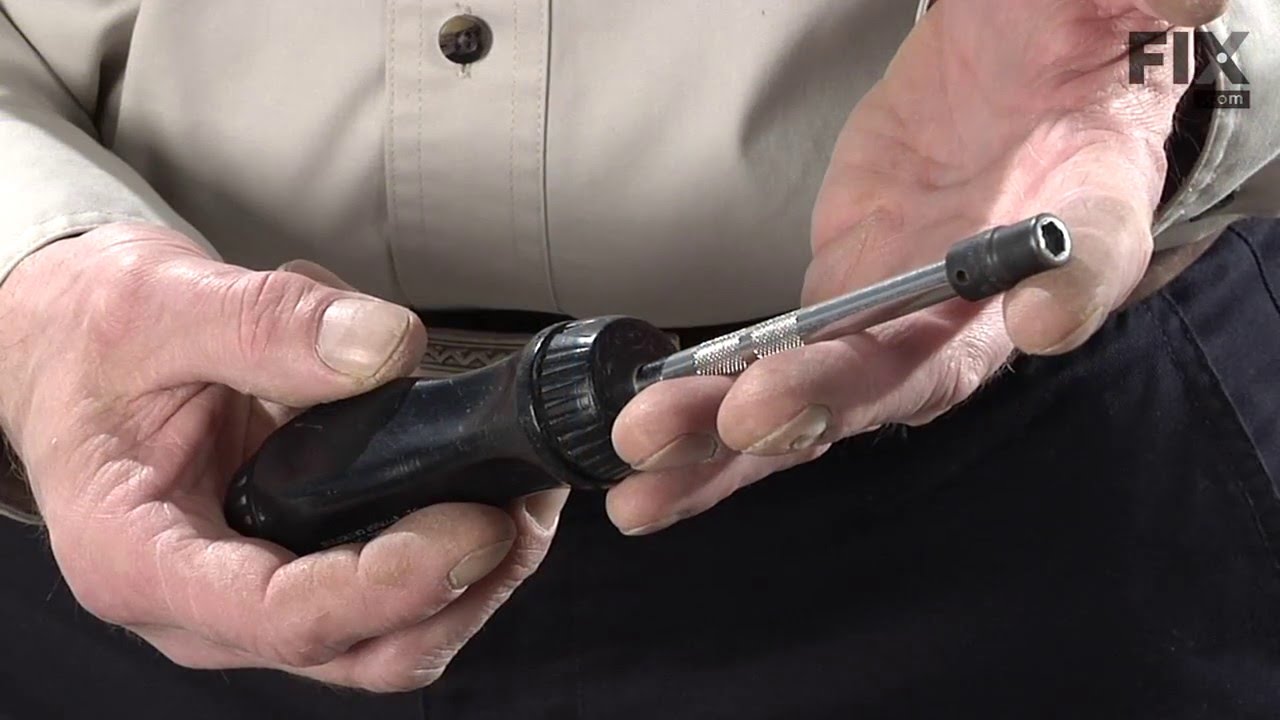
- Nutdriver, Pliers
Lower bake Element would not heat.
First I slid the stove out and unpluged it, then removed two screws,slid out element, disconected two wires, slid new element in to place, pluged two wires in ,put into place and installed two screws, pluged stove back in, and turned on to try. Works perfect.
Was this instruction helpful to you?
Thank you for voting!
- Customer:
- Robert from Mt. Vernon, IN
- Parts Used:
- WB2X8228
- Difficulty Level:
- Really Easy
- Total Repair Time:
- Less than 15 mins
- Tools:
- Nutdriver
The Bake-o-lite (Hard Plastic) block that holds the burners female connection in place had chipped away over time and wouldn't allow the male part of the burner to connect up correctly.
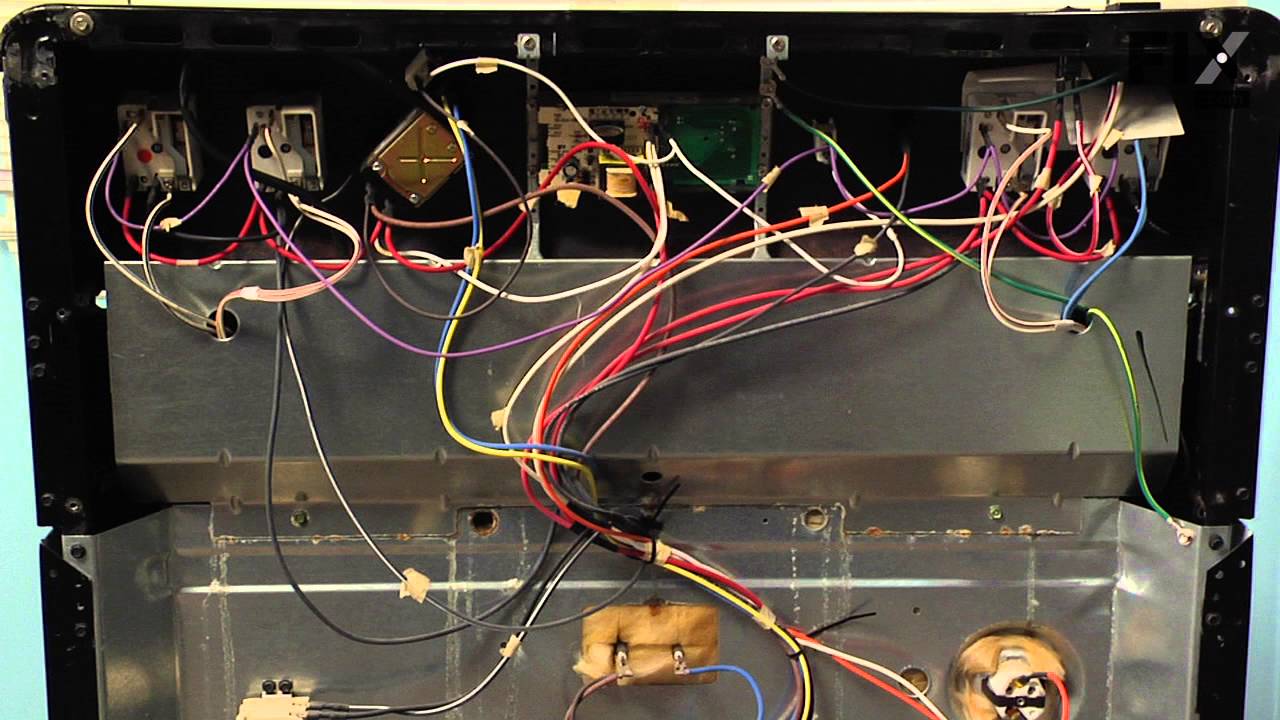
After unplugging the range I took the rear sheet metal panel at the top off with a nut driver to expose the wiring connections. The next step was to remove the single screw holding the old part in place. (under the drip pan) Once free I snipped the old part from the wires and then taped the new female ends to the old wires with black elec
... Read more
trical tape. From rear I carfully pulled the old wires through the back until I could reach the new wiring connections. Unplugged old, plugged in new and replaced the rear metal cover. Then I put the screw that holds the new block bracket in place, replaced drip pan, and burner. The final step was to plug the range back in and check to see if the burner worked. It did and I was done. Approx. 5 minutes
Read less
Was this instruction helpful to you?
Thank you for voting!
- Customer:
- Peter from stamford, CT
- Parts Used:
- WB21X22134
- Difficulty Level:
- Really Easy
- Total Repair Time:
- 15 - 30 mins
- Tools:
- Nutdriver
Oven would go in to a F2 Error
Removed six 1/4" hex nuts on rear of oven. Then through front/inside removed a single 1/4" hex nut to actually remove sensor. Unplug sensor connector, remove. Reversed steps, push oven back in place and plugged in. Tested oven function.
Was this instruction helpful to you?
Thank you for voting!