



Models
>
JP389BV1BB
JP389BV1BB General Electric Range
Jump to:
Find Part by Name
Keep searches simple, eg. "belt" or "pump".
Keep searches simple, eg. "belt" or "pump".
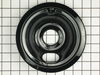
$18.95
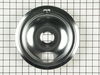
This genuine OEM burner bowl, also known as a drip tray, is black and color and measures 6 inches in diameter. It is designed to be used under the coiled elements on an electric stove or range, in ord...
In Stock
Order now and your part arrives by Oct 29
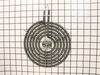
In Stock
Order now and your part arrives by Oct 29
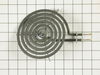
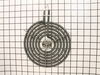
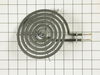
This Y-frame six inch surface burner element has five turns and a metallic center medallion.
In Stock
Order now and your part arrives by Oct 29
In Stock
Order now and your part arrives by Oct 29

Special Order

Common Problems and Symptoms for JP389BV1BB
Viewing 2 of 2Element will not heat
Fixed by these parts
How to fix it
Little to no heat when broiling
Fixed by these parts
How to fix it
Keep searches simple. Use keywords, e.g. "leaking", "pump", "broken" or "fit".
Replacement of Coils
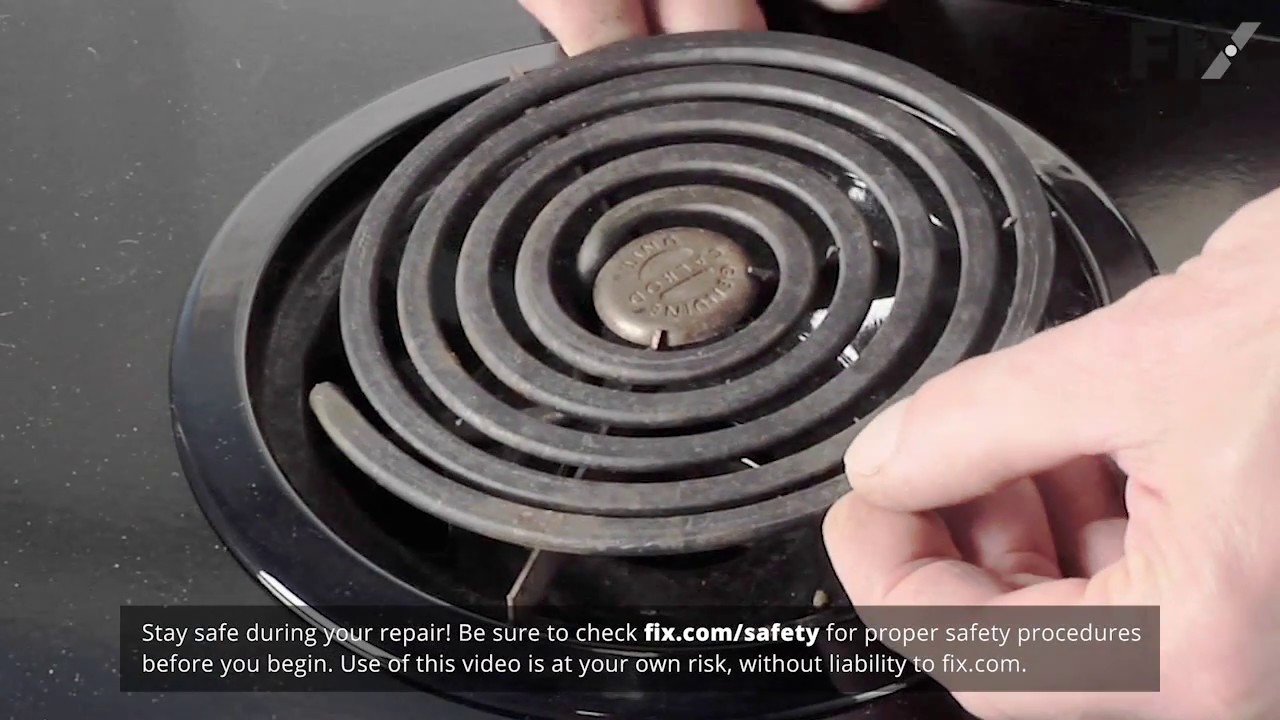
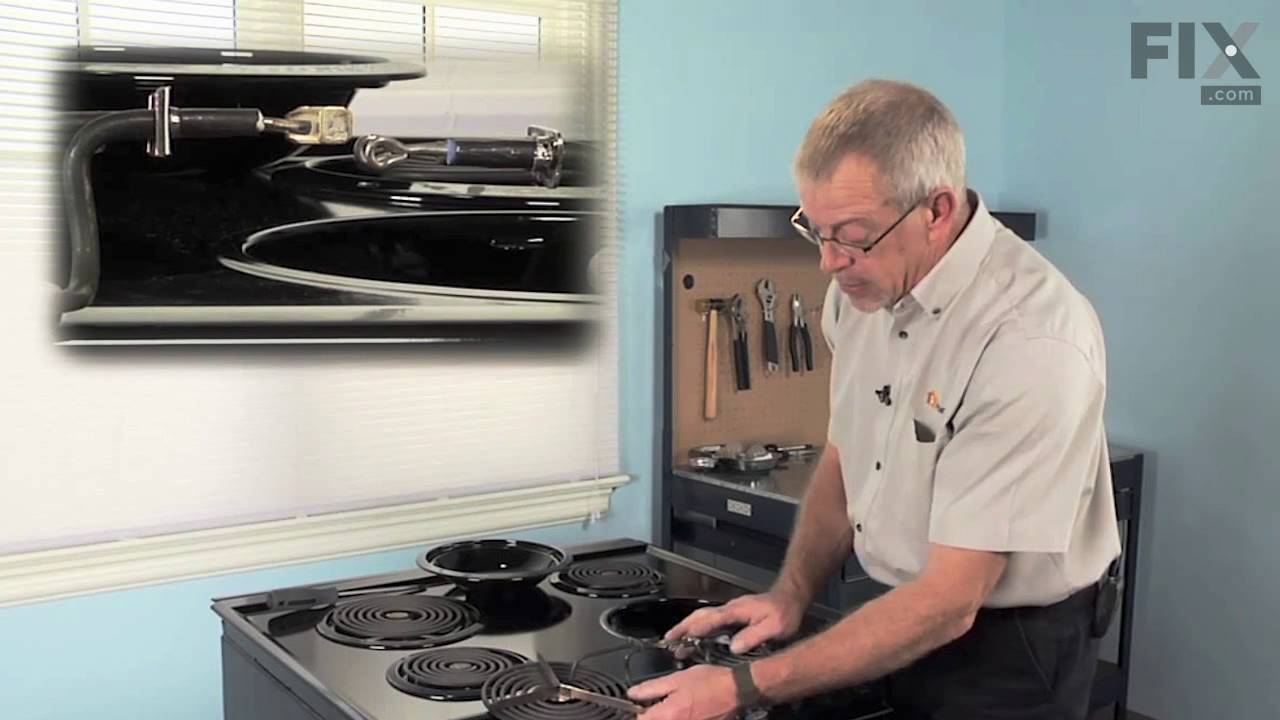
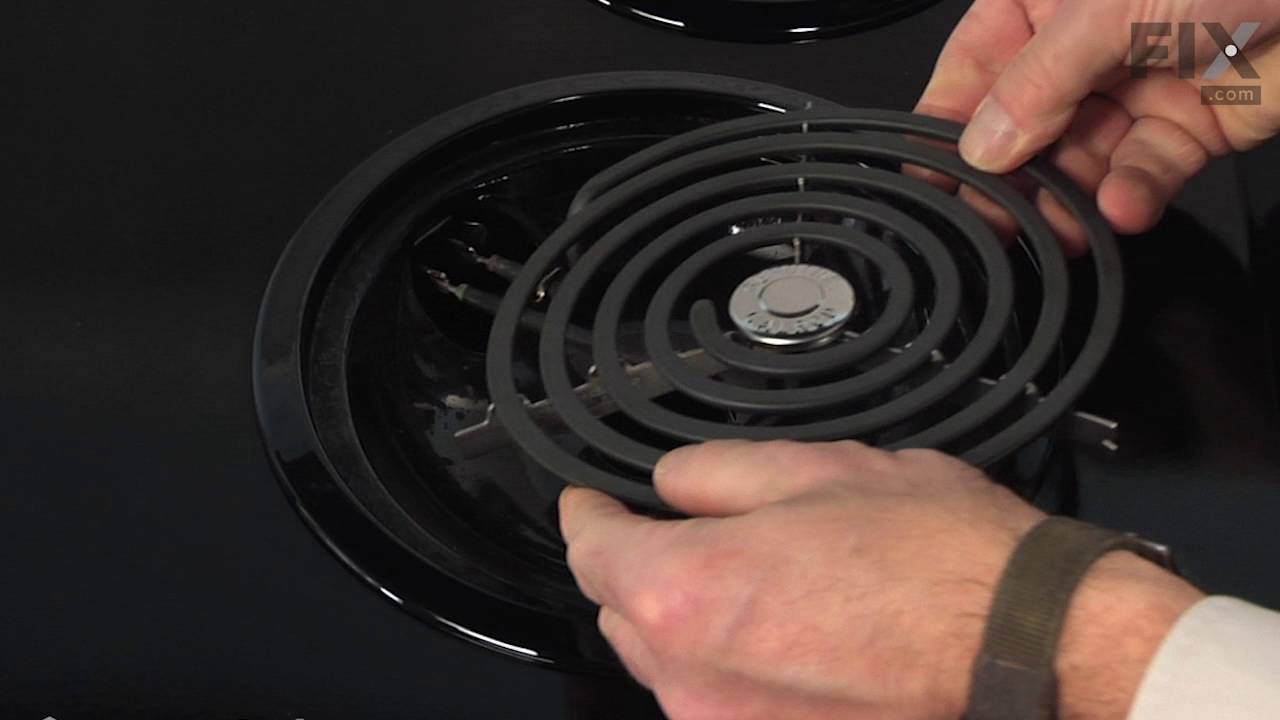
Removed by slightly wiggling out of the coupling. No tools needed, seriously, (and I'm a contractor). Basically, pull out and snap back in.
Was this instruction helpful to you?
Thank you for voting!
- Customer:
- Drusilla from Bloomfield, NY
- Parts Used:
- WB30X260
- Difficulty Level:
- Really Easy
- Total Repair Time:
- Less than 15 mins
- Tools:
- Pliers, Screw drivers
Large burner very slow heating
Downdraft stove is over 20 years old, but everything else works fine and it would be a real pain to replace it.
This quick-heat back burner is part of a two burner plug- in unit which takes up half of the top of the stove.
I removed the top from the rest of the unit easily removing five screws. Because of the age an ... Read more d long use it was tough getting the old nut off which holds on the disc, but with the help of some spray lubricant it came off. The old wire ends were also rusted, and to get them off I bent up the old holder, which was going to be discarded anyhow. It was a simple matter to plug in the new unit, tighten the nut, clean up the lubricant with a paper towel, and reassemble the unit, which I cleaned inside since it was dusty. After plugging in the unit I turned on the burner...it works like new and has saved me a very costly replacement. I like it so much that even though the front element works perfectly I am considering buying that disc too just so they will match. Finding your company was absolutely great, and I would recommend you to anyone looking for parts. I still have the manual for this stove so I would feel confident in replacing pretty much any part needed....not bad for a 72 year old woman, (My Dad taught me to do my own work and I am a passable carpenter and plumber; a little more wary when it's something electrical !
This quick-heat back burner is part of a two burner plug- in unit which takes up half of the top of the stove.
I removed the top from the rest of the unit easily removing five screws. Because of the age an ... Read more d long use it was tough getting the old nut off which holds on the disc, but with the help of some spray lubricant it came off. The old wire ends were also rusted, and to get them off I bent up the old holder, which was going to be discarded anyhow. It was a simple matter to plug in the new unit, tighten the nut, clean up the lubricant with a paper towel, and reassemble the unit, which I cleaned inside since it was dusty. After plugging in the unit I turned on the burner...it works like new and has saved me a very costly replacement. I like it so much that even though the front element works perfectly I am considering buying that disc too just so they will match. Finding your company was absolutely great, and I would recommend you to anyone looking for parts. I still have the manual for this stove so I would feel confident in replacing pretty much any part needed....not bad for a 72 year old woman, (My Dad taught me to do my own work and I am a passable carpenter and plumber; a little more wary when it's something electrical !
Read less
Was this instruction helpful to you?
Thank you for voting!
Surface Burners were very slow.
Removed old surface burners and replaced them by plugging in the new surface burners. Now they work GREAT! Parts ordered and received with-in 3 business days. Fed EX delivered parts in good order very quickly. We recommend PartSelect.com
Was this instruction helpful to you?
Thank you for voting!