This part includes one worm gear for a stand mixer. It measures approximately 1.5-inches in diameter and is sourced directly from the manufacturer. The worm gear is responsible for turning the planeta...
Sometimes referred to as a retaining clip, the retaining ring is used to hold the drum support roller onto the shaft in your dryer. The clip may need to be replaced if you find that your dryer is nois...
This flat beater is a genuine OEM part for your stand mixer. If your beater has become worn out or is missing, this is the replacement you need. The beater is white in color and has a powder coated fi...
This genuine OEM part is a motor brush for your stand mixer. The brush is sold individually, however, there are two motor brushes on your mixer, and we recommend replacing both at the same time, as th...
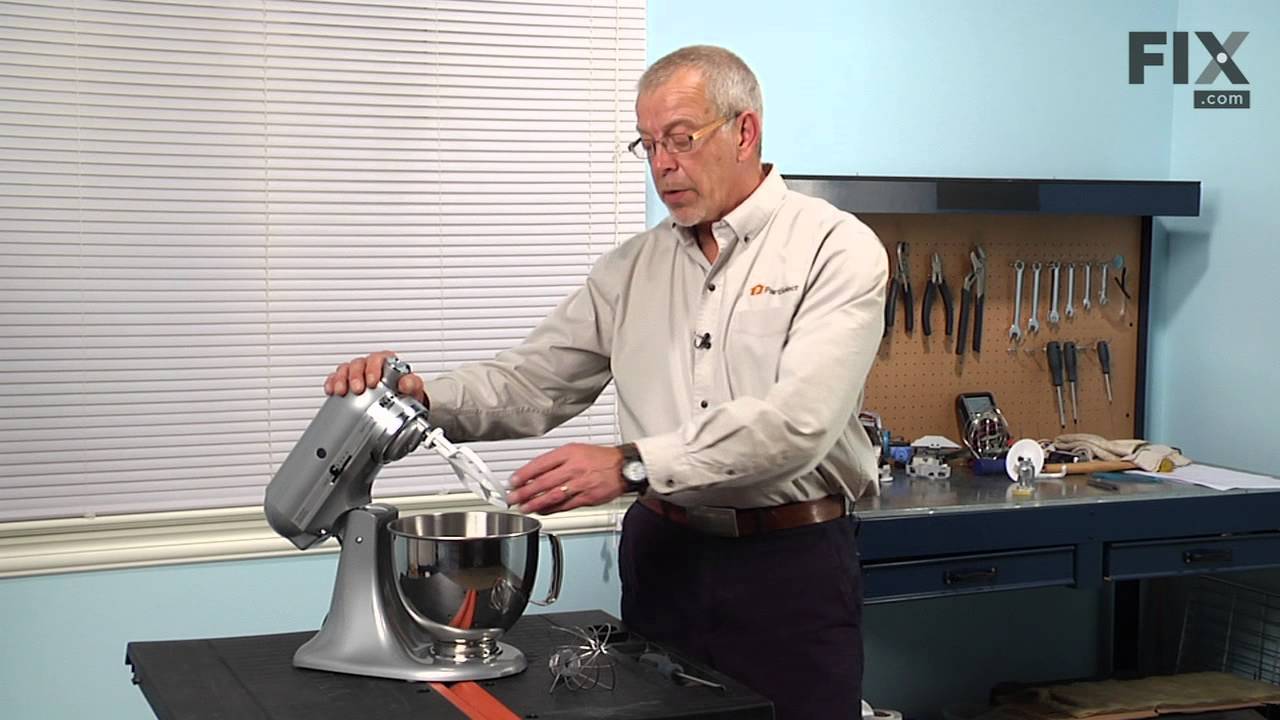
This wire whip is for stand mixers.
Wire whip attaches to the beater shaft and incorporates air into cream, eggs and frostings.
Follow the instructions in the owner's manual for using and installing this part.
This part works in conjunction with the worm and bevel gear.
In Stock
Order now and your part arrives by Jul 11
Questions and Answers
Ask our experts a question about this part and we'll get back to you as soon as possible!
4 questions answered by our experts.
< Prev
1
Next >
Sort by:
Search filter:
Clear Filter
Your search term must have 3 or more characters.
Keep searches simple. Use keywords, e.g. "leaking", "pump", "broken" or "fit".
Sorry, we couldn't find any existing answers that matched. Try using some different or simpler keywords, or submit your new question by using the "Ask a Question" button above!
Arlene
September 12, 2022
Will a brand name reikame Flex edge beater work with my model?
For model number KSM90
Hello Arlene, thank you for asking! The beater that will work on Mixer KSM90 is a flat beater, part number FIX11757063, which is manufactured by Whirlpool. If you would like assistance placing an order, please contact customer service. Good luck with your repair!
Hi Scott, thank you for reaching out. Based on our understanding, we would recommend checking the speed control plate, part number FIX11748567. It controls both the speed of the mixer and its on/off function. You may need to replace it to fix the issue. We hope that helps!
While cleaning the mixer it fell on the side with the Solid State Speed Control, cracked the knob, and now I can't move the lever. Probably bent something inside. What do I do? Thanks.
For model number KSM90
Hi Marilyn,
Thank you for your question. You will likely need to replace the speed control plate, part number FIX11748567, and the speed control lever, part number FIX11747016. We hope this helps!
The mixer speed control sometimes slips out of off into stir. Can this be repaired?Thank you.
For model number KSM90
Hello Mark, thank you for contacting us. According to our research on your model, replacing the speed control lever, part number FIX11747016, and the speed control plate, part number FIX11748567, can help with the problem. If you need help placing an order for it, please feel free to give us a call. We look forward to hearing from you!
Pulled the Knob off of the new Lever then pressed it on the old Lever. I had to order the whole lever because it was the part nearest the knob in the illustrated parts break-down. I RECOMMEND THAT THE KNOB BE ADDED TO THE ILLUSTRATED PARTS BREAK-DOWN.
My girlfriends' stand mixer failed when the accessory drive cap fell into the mixing bowl and jambed the beater, spliting the worm gear. The teeth on this gear are made of nylon and are molded to an aluminum center. This part is designed to fail in situations like this, saving the more expensive transmission parts. Following a repair manu
... Read moreal I found online, I first removed the rear cover and pulled out the cord strain relief out from the base. Next I removed the drip cup from around the base of the planetary drive. I then used a pin punch to drive out the pin holding the planetary to the center shaft and removed the planetary. The unit was then inverted and I removed 4 screws holding the bottom cover to the gear case, and the 5 screws from around the planetary drive. The bottom cover was then lifted off. Three screws holding the worm gear bracket in place were then removed and the worm gear assembly lifted out. A small pin holds the worm gear to the shaft. I drove this out with a small pin punch and the shaft and worm gear were then removed. There is also a thrust washer on this shaft, and it's location is important. Make a note for re-assembly. The new gear was installed and the entire process reversed for re-assembly. A successful repair completed! My girlfriend would have replaced this $200 appliance, but I was able to repair it for less than $30 including shipping.
I removed screws in a sequence that I felt wouldn't further damage the mixer until I had it completely unassembled. When I found the broken worm gear, I went online to find a part. I found an exploded view, but the part numbering was old, and the salesperson couldn't tell me what the worm gear and bracket assembly consisted of, as I only
... Read morewanted the worm gear. After trying to drive the pin out of the assembly, and failing, I decided to back online and see if anyone else had a photo of the assembly. Luckily (and wisely) PartSelect,com did and that answered any questions I had. The price was better, too. Reassembly of the mixer was a cinch with the exploded view. It's working like new, and we're hoping for another 35 years of service from it! Thanks.