



Models
>
SMH4150BD
SMH4150BD Maytag Microwave
Jump to:
Find Part by Name
Keep searches simple, eg. "belt" or "pump".
Diagrams for SMH4150BD
Viewing 3 of 3


Keep searches simple, eg. "belt" or "pump".

$8.95
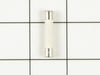
This is a ceramic fuse for a microwave. It is just over 1 inch long. This fuse is 20 amps and 250 volts. This part powers your microwave. If your appliance is not heating properly, or is not turning o...
In Stock
Order now and your part arrives by Nov 19

In Stock
Order now and your part arrives by Nov 19

In Stock
Order now and your part arrives by Nov 19

In Stock
Order now and your part arrives by Nov 19

In Stock
Order now and your part arrives by Nov 19

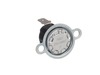
This thermostat (part number DE47-20059B) is for microwaves. Thermostat DE47-20059B is a safety device that shuts off the microwave if it overheats. Because high-voltage capacitors in a microwave can ...
In Stock
Order now and your part arrives by Nov 19

In Stock
Order now and your part arrives by Nov 19

In Stock
Order now and your part arrives by Nov 19

$30.40
This light socket (part number DE47-00006A) is for microwaves. Light socket DE47-00006A provides power to the light while holding the light bulb in place. Because high-voltage capacitors in a microwav...
In Stock
Order now and your part arrives by Nov 19

In Stock
Order now and your part arrives by Nov 19

In Stock
Order now and your part arrives by Nov 19

Common Problems and Symptoms for SMH4150BD
Viewing 4 of 4No heat
Fixed by these parts
How to fix it
Won’t turn on
Fixed by these parts
How to fix it
Doesn’t shut off
Fixed by these parts
How to fix it
Tray won’t turn
Fixed by these parts
How to fix it
Keep searches simple. Use keywords, e.g. "leaking", "pump", "broken" or "fit".
- Customer:
- tad from tamarack, MN
- Parts Used:
- WPM0805101
- Difficulty Level:
- Really Easy
- Total Repair Time:
- Less than 15 mins
- Tools:
- Pliers, Screw drivers
microwave oven blew fuse
First I removed upper front grill by removing two Philips head screws on top and pulling off. This exposed the Philips head screw which holds control panel in place. After removing screw I pushed up on panel and it came off to expose fuse. With needle nose pliers I removed old fuse and again with pliers held new fuse in position. With th
... Read more
e help of a bladed screwdriver, I pushed new fuse into holder, then replaced panel, screw and grill. This took less than 15 minutes even as one of the wires on control panel pulled out of connection and took some time to locate where to reconnect, otherwise was an easy fix
.
.
Read less
Was this instruction helpful to you?
Thank you for voting!
- Customer:
- Ted from Hudson, NH
- Parts Used:
- DE91-70063D
- Difficulty Level:
- Easy
- Total Repair Time:
- 30 - 60 mins
- Tools:
- Pliers, Screw drivers
Buzzing noise, no heating of food
Removed control panel, discharged HV capacitor. Removed old diode, tested to confirm failure. Replaced part. Other than the removal of the panel swapping the part was almost as easy as replacing a light bulb.
Was this instruction helpful to you?
Thank you for voting!
- Customer:
- david from WASHINGTON, DC
- Parts Used:
- 3405-001033, 3405-001034
- Difficulty Level:
- Easy
- Total Repair Time:
- 30 - 60 mins
- Tools:
- Screw drivers
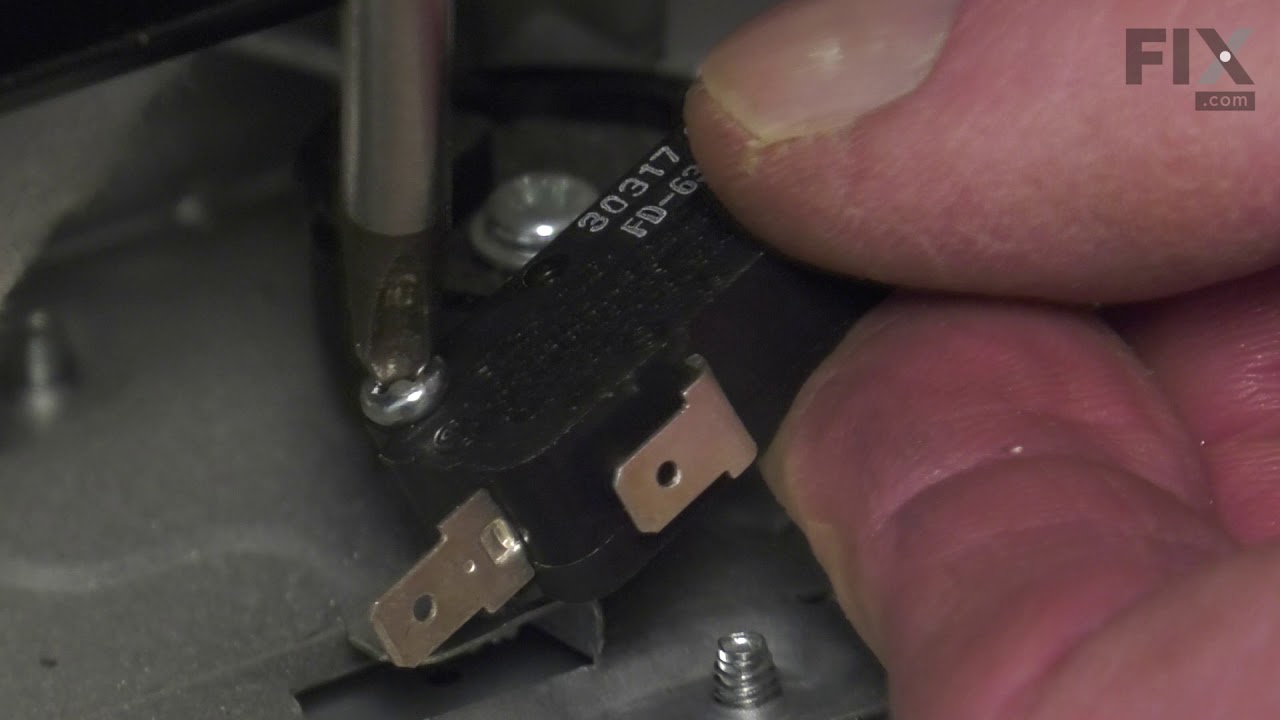
microwave ran with the door open
First I read through the customer comments, reviews, questions, etc. at Parts Select, which is always a good bet. Then I put "samsung microwave door switch replacement" into youtube and watched some videos. They don't even have to be for Samsung. From what I can tell, many of the appliance companies use the same design and the same jun
... Read more
k parts, so watching a GE video is almost the same for example. Watch some videos to familiarize yourself with the steps. There are maybe six to disassemble and install the new part. I replaced all three switches. They are not expensive and to replace 3 is only 5% more work than to replace just one; you have to take the microwave apart in either case. UNPLUG THE MICROWAVE FROM THE WALL. Start taking it apart. I use my phone to take a picture of any thing I remove, unscrew or disconnect, especially wires, BEFORE I disconnect them. Thee pictures serve as a reference when I go to reconnect and reassemble. If I am uncertain then I check the picture. Good luck!
Read less
Was this instruction helpful to you?
Thank you for voting!