



Models
>
RVM1625SJC01
RVM1625SJC01 General Electric Microwave
Jump to:
Find Part by Name
Keep searches simple, eg. "belt" or "pump".
Diagrams for RVM1625SJC01
Viewing 1 of 1
Keep searches simple, eg. "belt" or "pump".
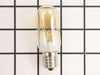
$24.00
This 40-Watt 130-Volt lightbulb is a genuine OEM replacement for your microwave. The bulb is used either inside the microwave and turns on when the door is open, or the appliance is running. Or it can...
In Stock
Order now and your part arrives by Aug 20
In Stock
Order now and your part arrives by Aug 20
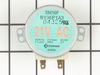
$40.71
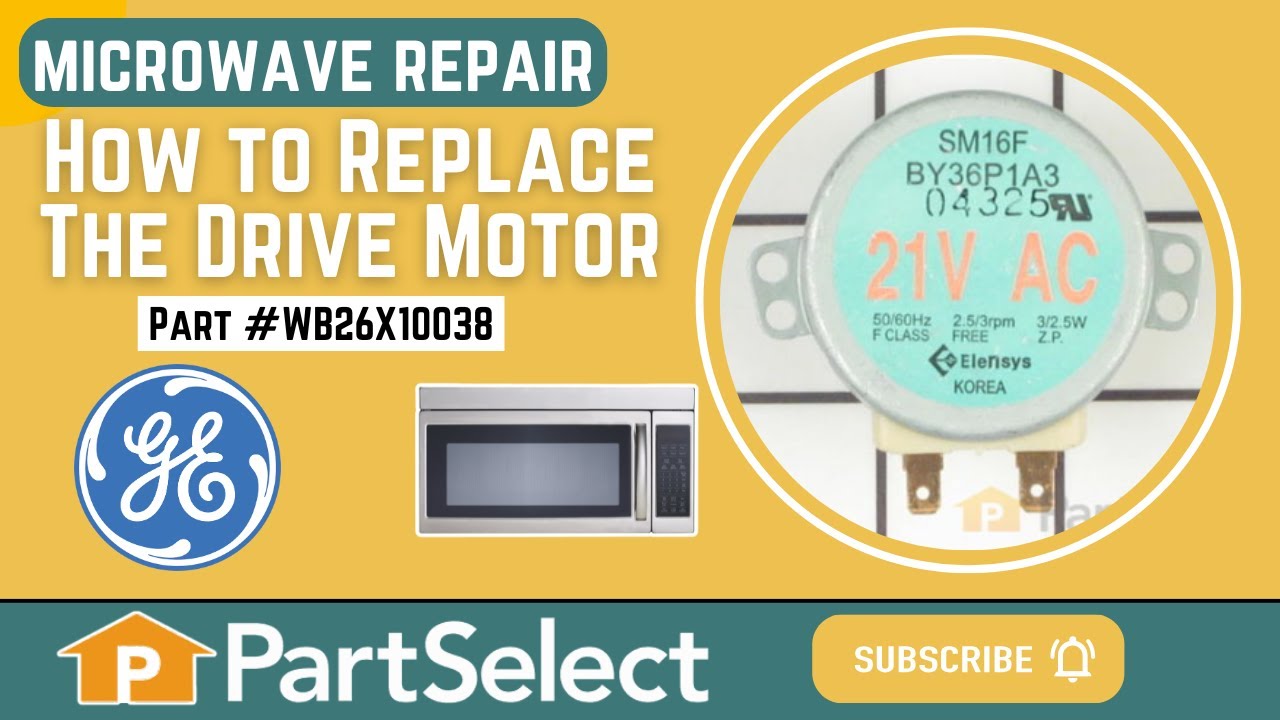
This motor rotates the glass turntable in the microwave and accepts a D-shaped shaft.
In Stock
Order now and your part arrives by Aug 20
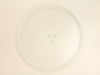
$88.46
There are two different couplers (also known as a turntable shaft) that can be used for this tray - a male D-shaped shaft and a female D-shaped shaft. The couplers are sold separately.
In Stock
Order now and your part arrives by Aug 20
$80.13
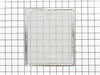
This aluminum filter collects grease particles in the air from cooking. Sold individually.
In Stock
Order now and your part arrives by Aug 20
In Stock
Order now and your part arrives by Aug 20
In Stock
Order now and your part arrives by Aug 20
In Stock
Order now and your part arrives by Aug 20
$291.22
This magnetron uses electrical and magnetic currents in order to create an intense heat output.
In Stock
Order now and your part arrives by Aug 20
Common Problems and Symptoms for RVM1625SJC01
Viewing 5 of 5Tray won’t turn
Fixed by these parts
How to fix it
Won’t turn on
Fixed by these parts
How to fix it
Noisy
Fixed by these parts
How to fix it
Door not closing properly
Fixed by these parts
How to fix it
No heat
Fixed by these parts
How to fix it
Keep searches simple. Use keywords, e.g. "leaking", "pump", "broken" or "fit".
- Customer:
- Gene from Urbana, IL
- Parts Used:
- WB36X10003, WB08X10016
- Difficulty Level:
- Really Easy
- Total Repair Time:
- Less than 15 mins
- Tools:
- Screw drivers
Light bulb out, tried to remove, lamp socket broke
Above the stove mounted microwave. I dropped the lens cover from under the bulb and tried to remove the bulb. The bulb separated from the base. I tried to remove the base with a pliers and the lamp socket broke. I ordered the parts and dropped the bottom cover of the unit down (5 screws). Removed 1 screww from the lamp socket, unplugged t
... Read more
he wires and took it out. Simply replaced socket, fastened bottom cover of microwave, installed new bulb and closed lens cover.
Read less
Was this instruction helpful to you?
Thank you for voting!
- Customer:
- Kim from Centerville, GA
- Parts Used:
- WB26X10038
- Difficulty Level:
- Really Easy
- Total Repair Time:
- Less than 15 mins
- Tools:
- Screw drivers
The turntable motor went out and was making a horrible sound when I started the microwave
First I unplugged the microwave. :) Then, I removed the 6 screws found underneath the microwave, which allowed the bottom piece to hang down so I could see the turntable motor. I took the two screws out holding the motor in place and pulled the electric connectors off the motor terminals. Then I got the new part from PartSelect.com, repla
... Read more
ced the electrical commectors, fit the motor back into the slot it came from (cause the pin has to be seated up in the hole) and replaced the 2 screws holding in the motor. Then I put the bottom metal piece back up and put the 6 screws back in. It was really easy - and I'm a chick! ;)
Read less
Was this instruction helpful to you?
Thank you for voting!
- Customer:
- william from san antonio, TX
- Parts Used:
- WB36X10003
- Difficulty Level:
- A Bit Difficult
- Total Repair Time:
- 15 - 30 mins
- Tools:
- Pliers, Screw drivers
bulb had broken off in base that was still screwed into socket
At first I tried to use pliers to unscrew the base,very uncomfortable working position,upside down and backwards(the microwave is installed over the range top)very limited space for your body and arms to manuver and you really cant see the base,all of this took place after the breaker was turned off ofcourse,finally figured out that you c
... Read more
an drop the entire bottom housing of the microwave by unscrewing 6 screws and the light sockets are easily accessable once you lower it,take out 1 retaining screw ,remove the entire socket and unscrewed the broken base and replaced the bulbs,I said bulbs,there is no sense in having to replace another bulb in who knows how long since only one had burned out but they were both the same age
Read less
Was this instruction helpful to you?
Thank you for voting!